
Italian Renaissance Costume Challenge – April report
A change of plans
When I entered IRCC 9 I had no idea that I would be spending most of the month of May in Italy! Specifically, on my sister’s farm in Piedmonte, near Cisterna d’Asti. I’m delighted & looking forward eagerly to the trip – and scrambling to finish non-IRCC work scheduled for May before I leave.
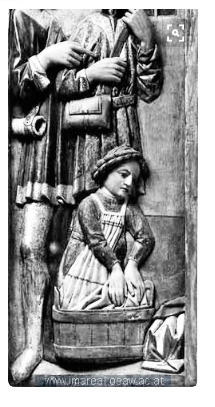
This has also reshuffled my sewing plans; initially I had planned to make the gown, based on the Pisa half-gown, first, then the camicia based on the one worn by Laura Battiferri in the Bronzino portrait (the images above), followed by the underskirt, while working on the lace and jewellery when not sewing.
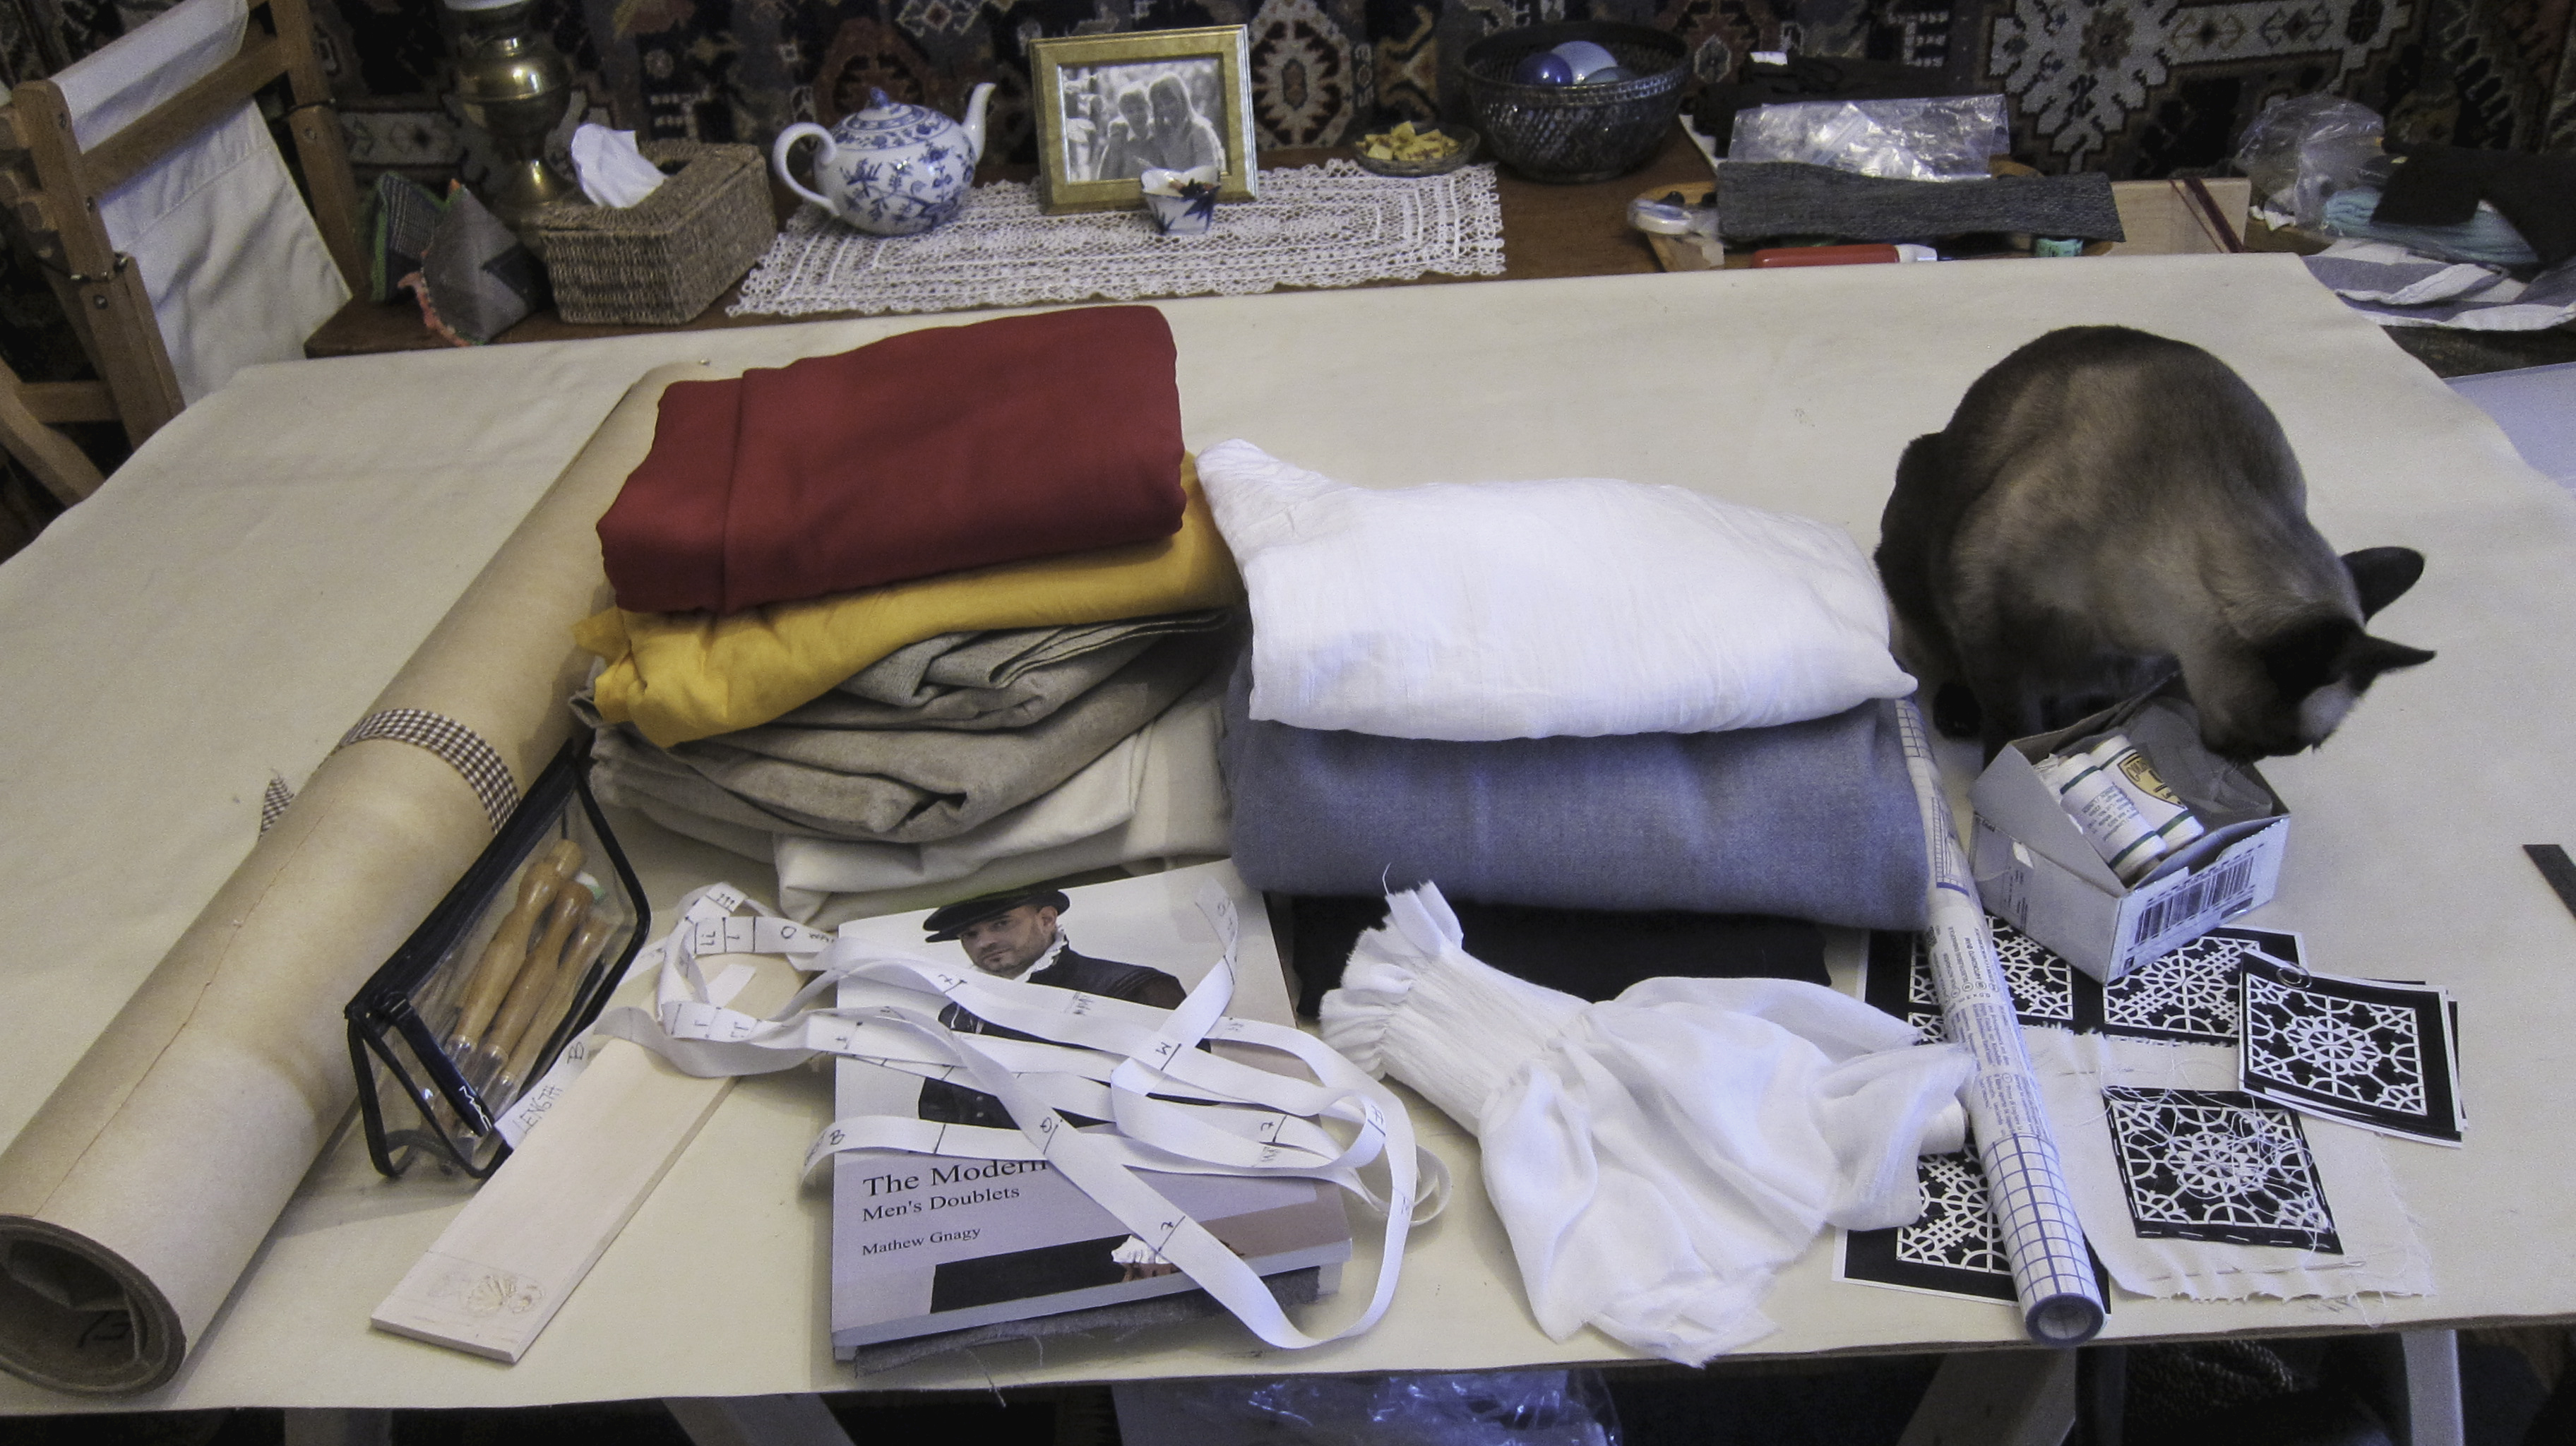
So, as I’m going to be in Italy instead of my studio, I’m focusing instead on what I can take along in a carry-on suitcase. This includes the materials/components for
- the camicia
- the lace (or lace-edged) cap
- the pearl necklace
- the belt
All of these involve a lot of handwork and minimal volumes of materials – even the camicia which, though it’s lots of yardage, is fine cotton & folds up small
So far,
- I made progress with the preliminary steps for cutting & fitting the bodice of the gown before the trip to Italy came up
- completed the assembly of the camicia components, hemming & pleating its collar & cuffs preparatory to smocking
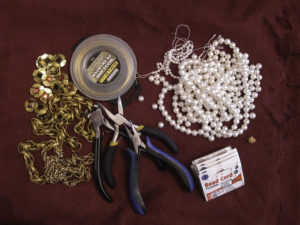
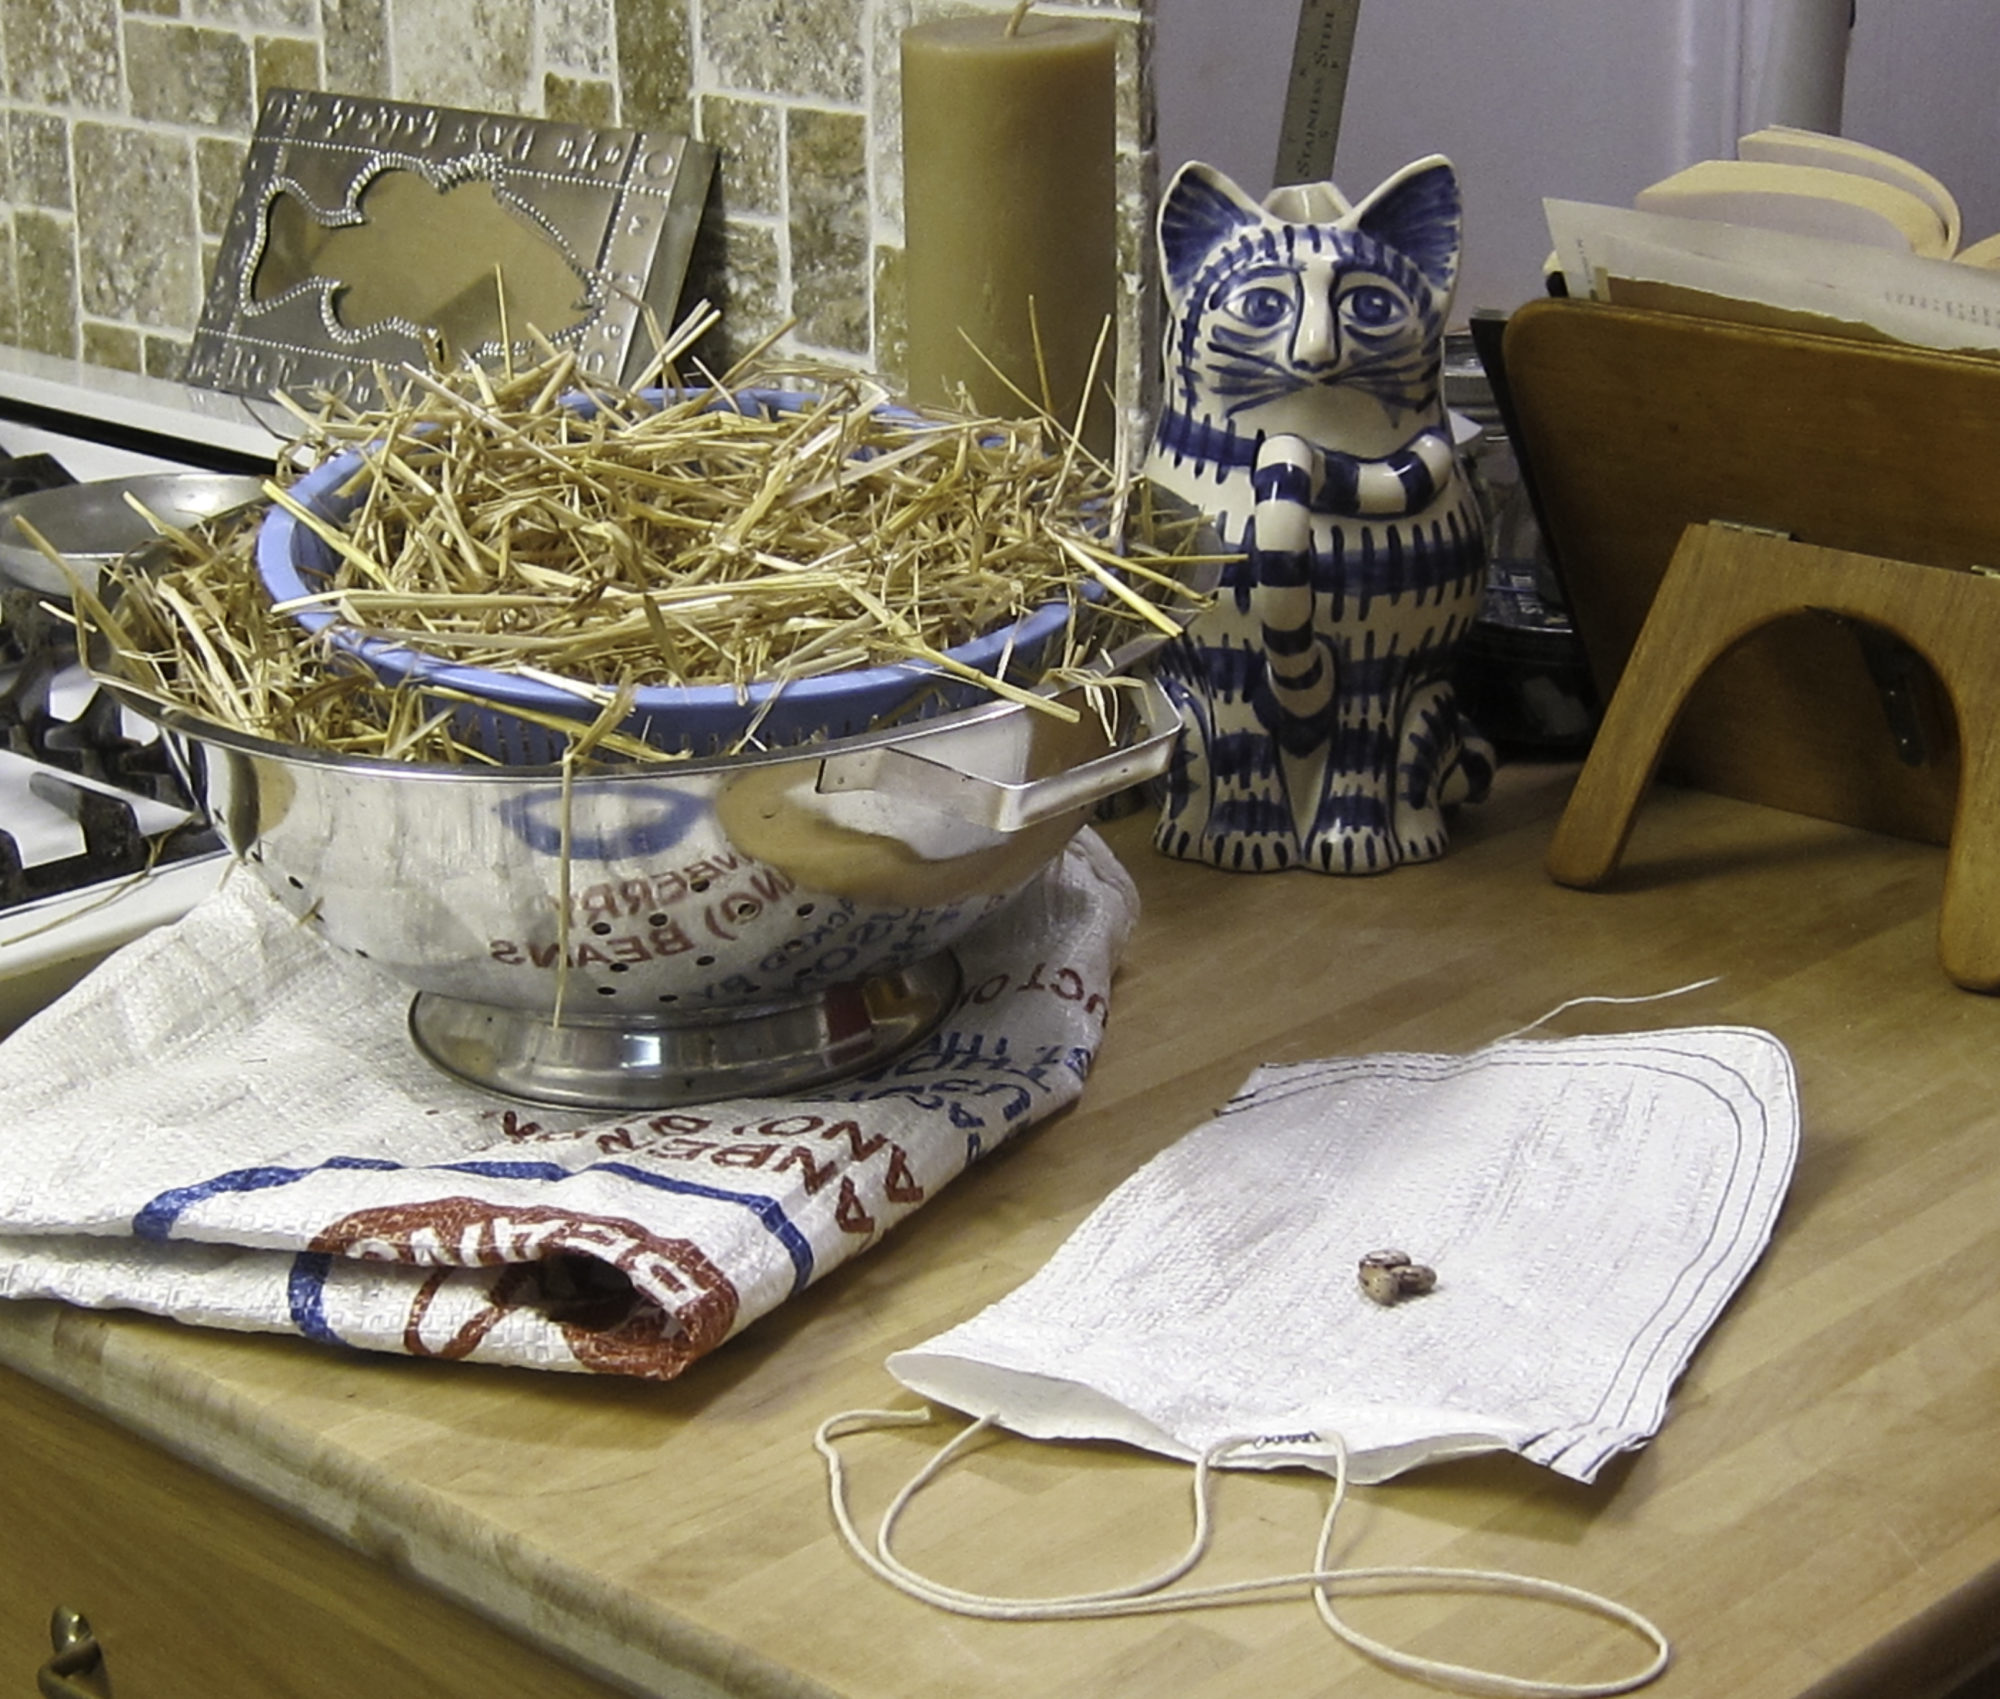
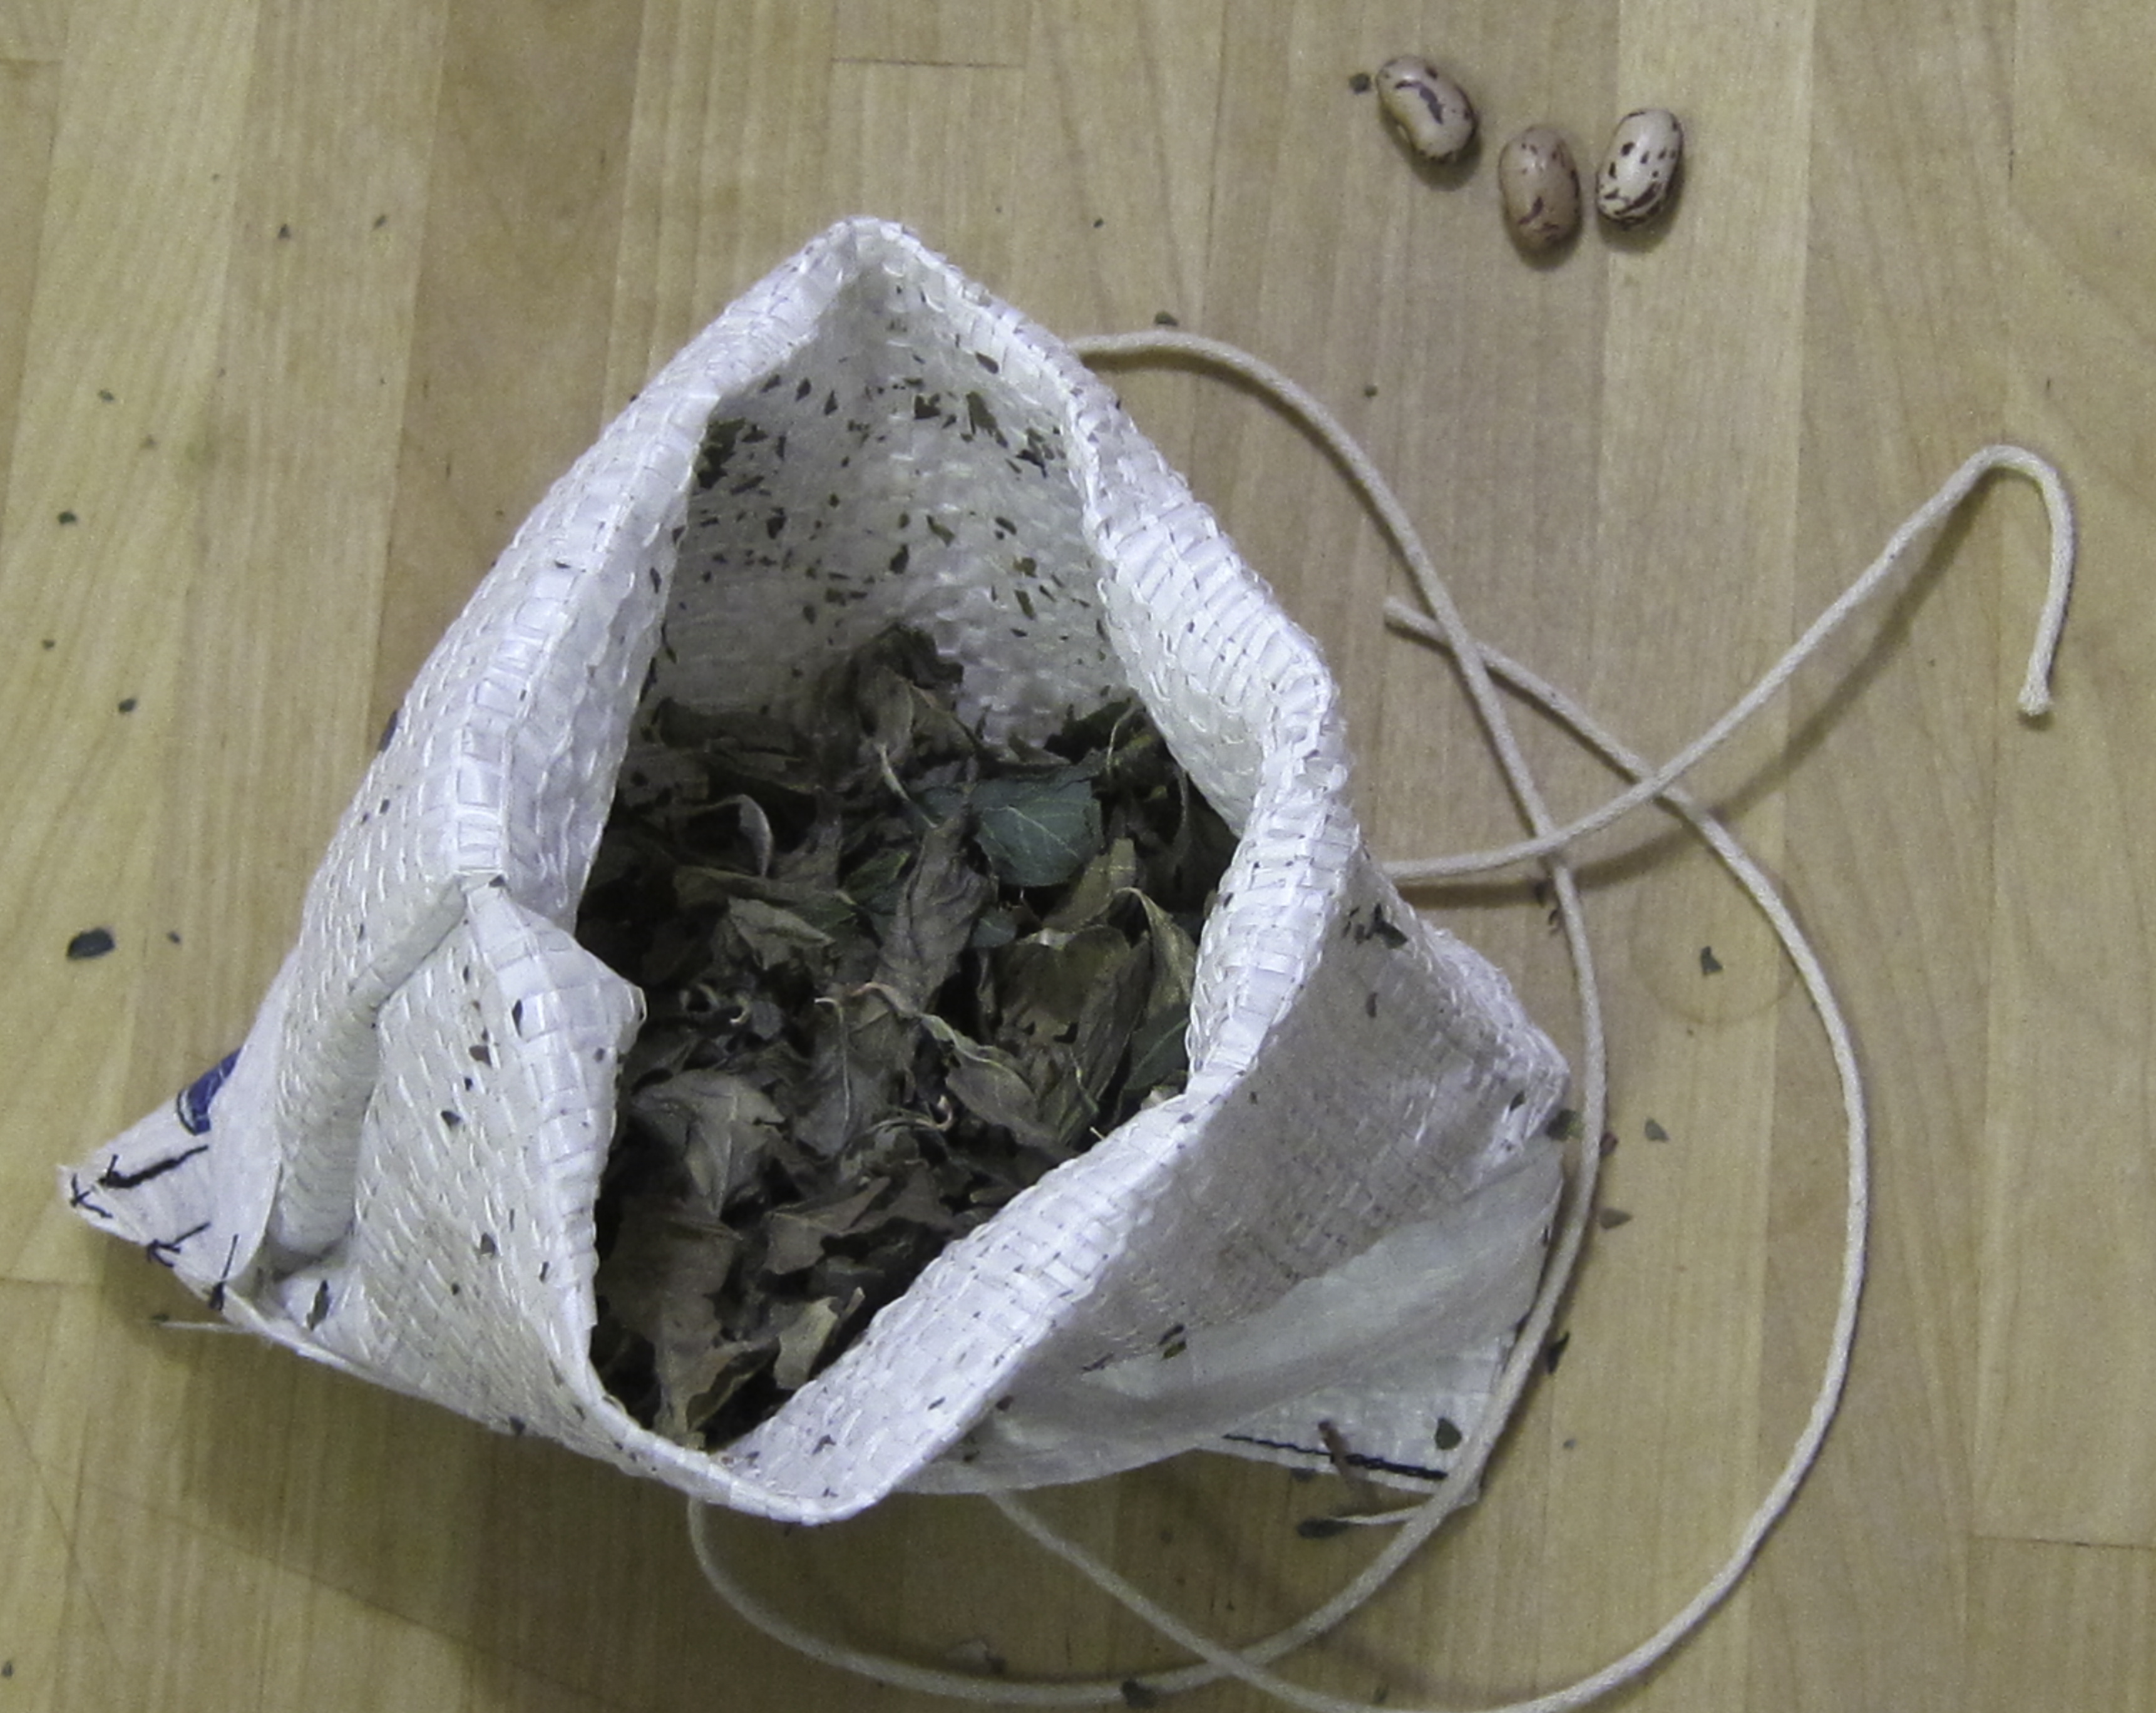
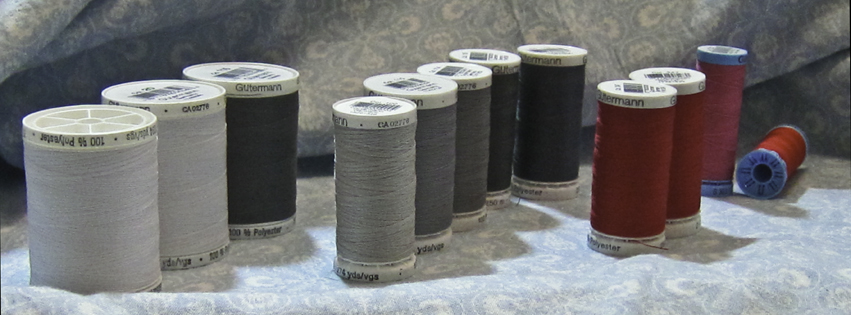
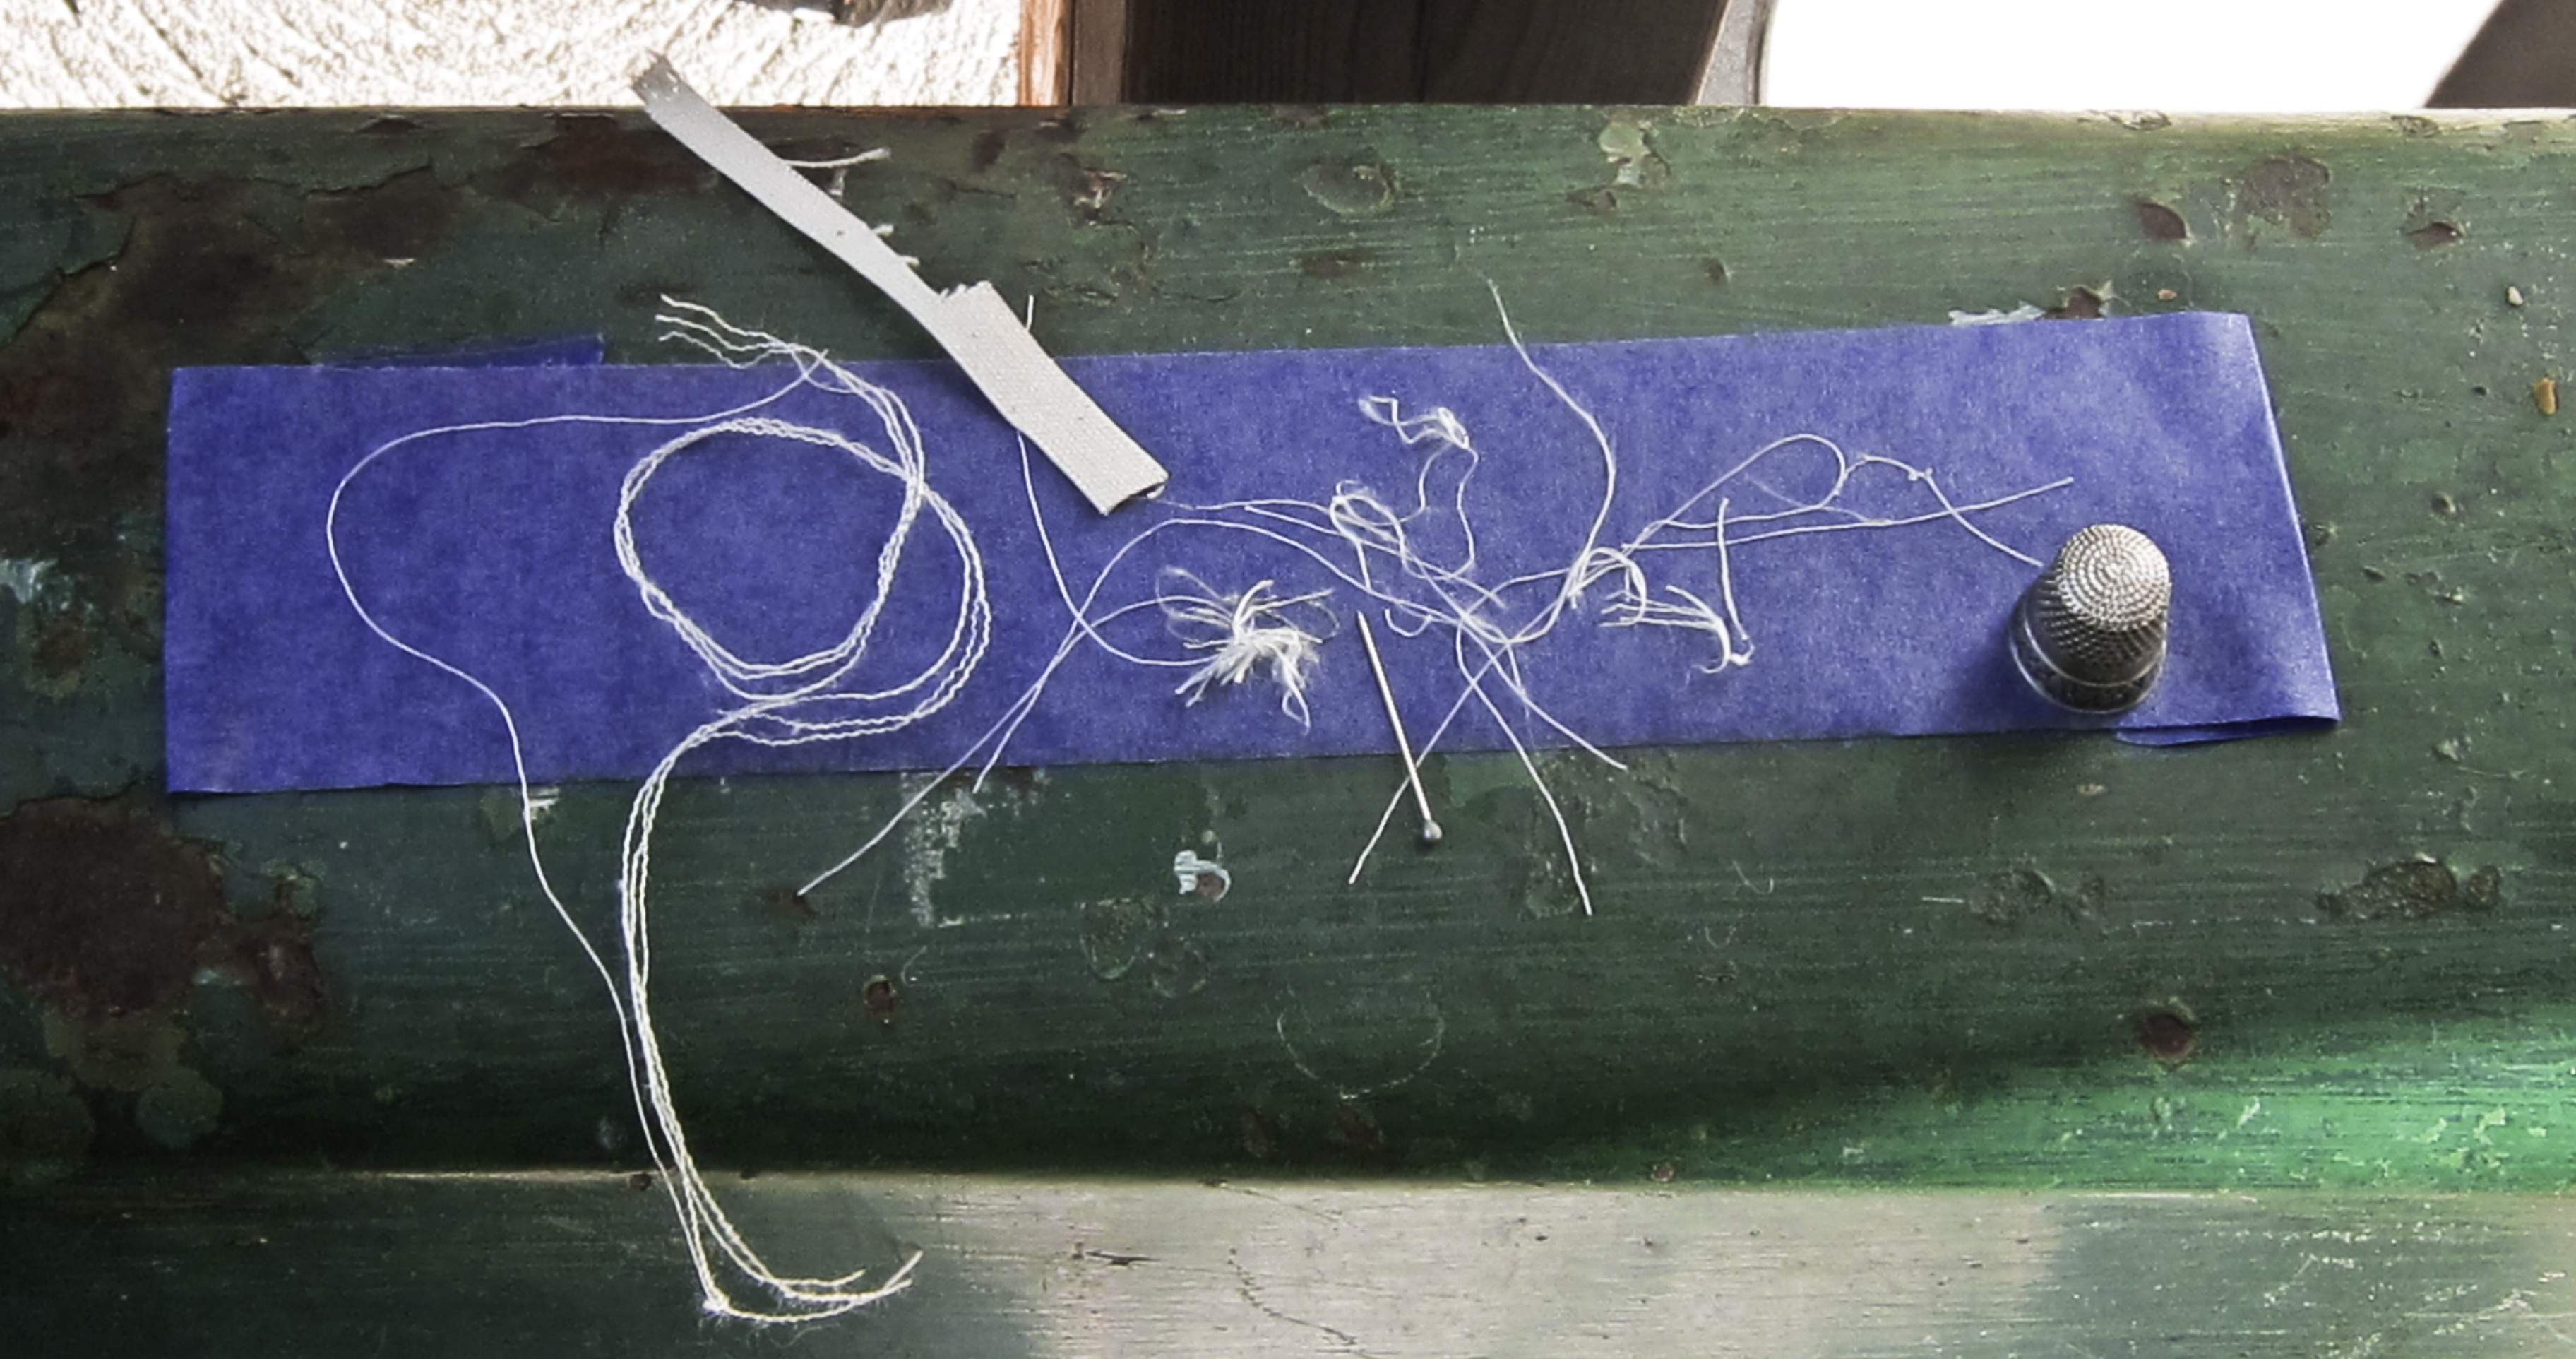
- assembled the materials & tools for the other items I’m planning to take along

April working notes
1 April 2019
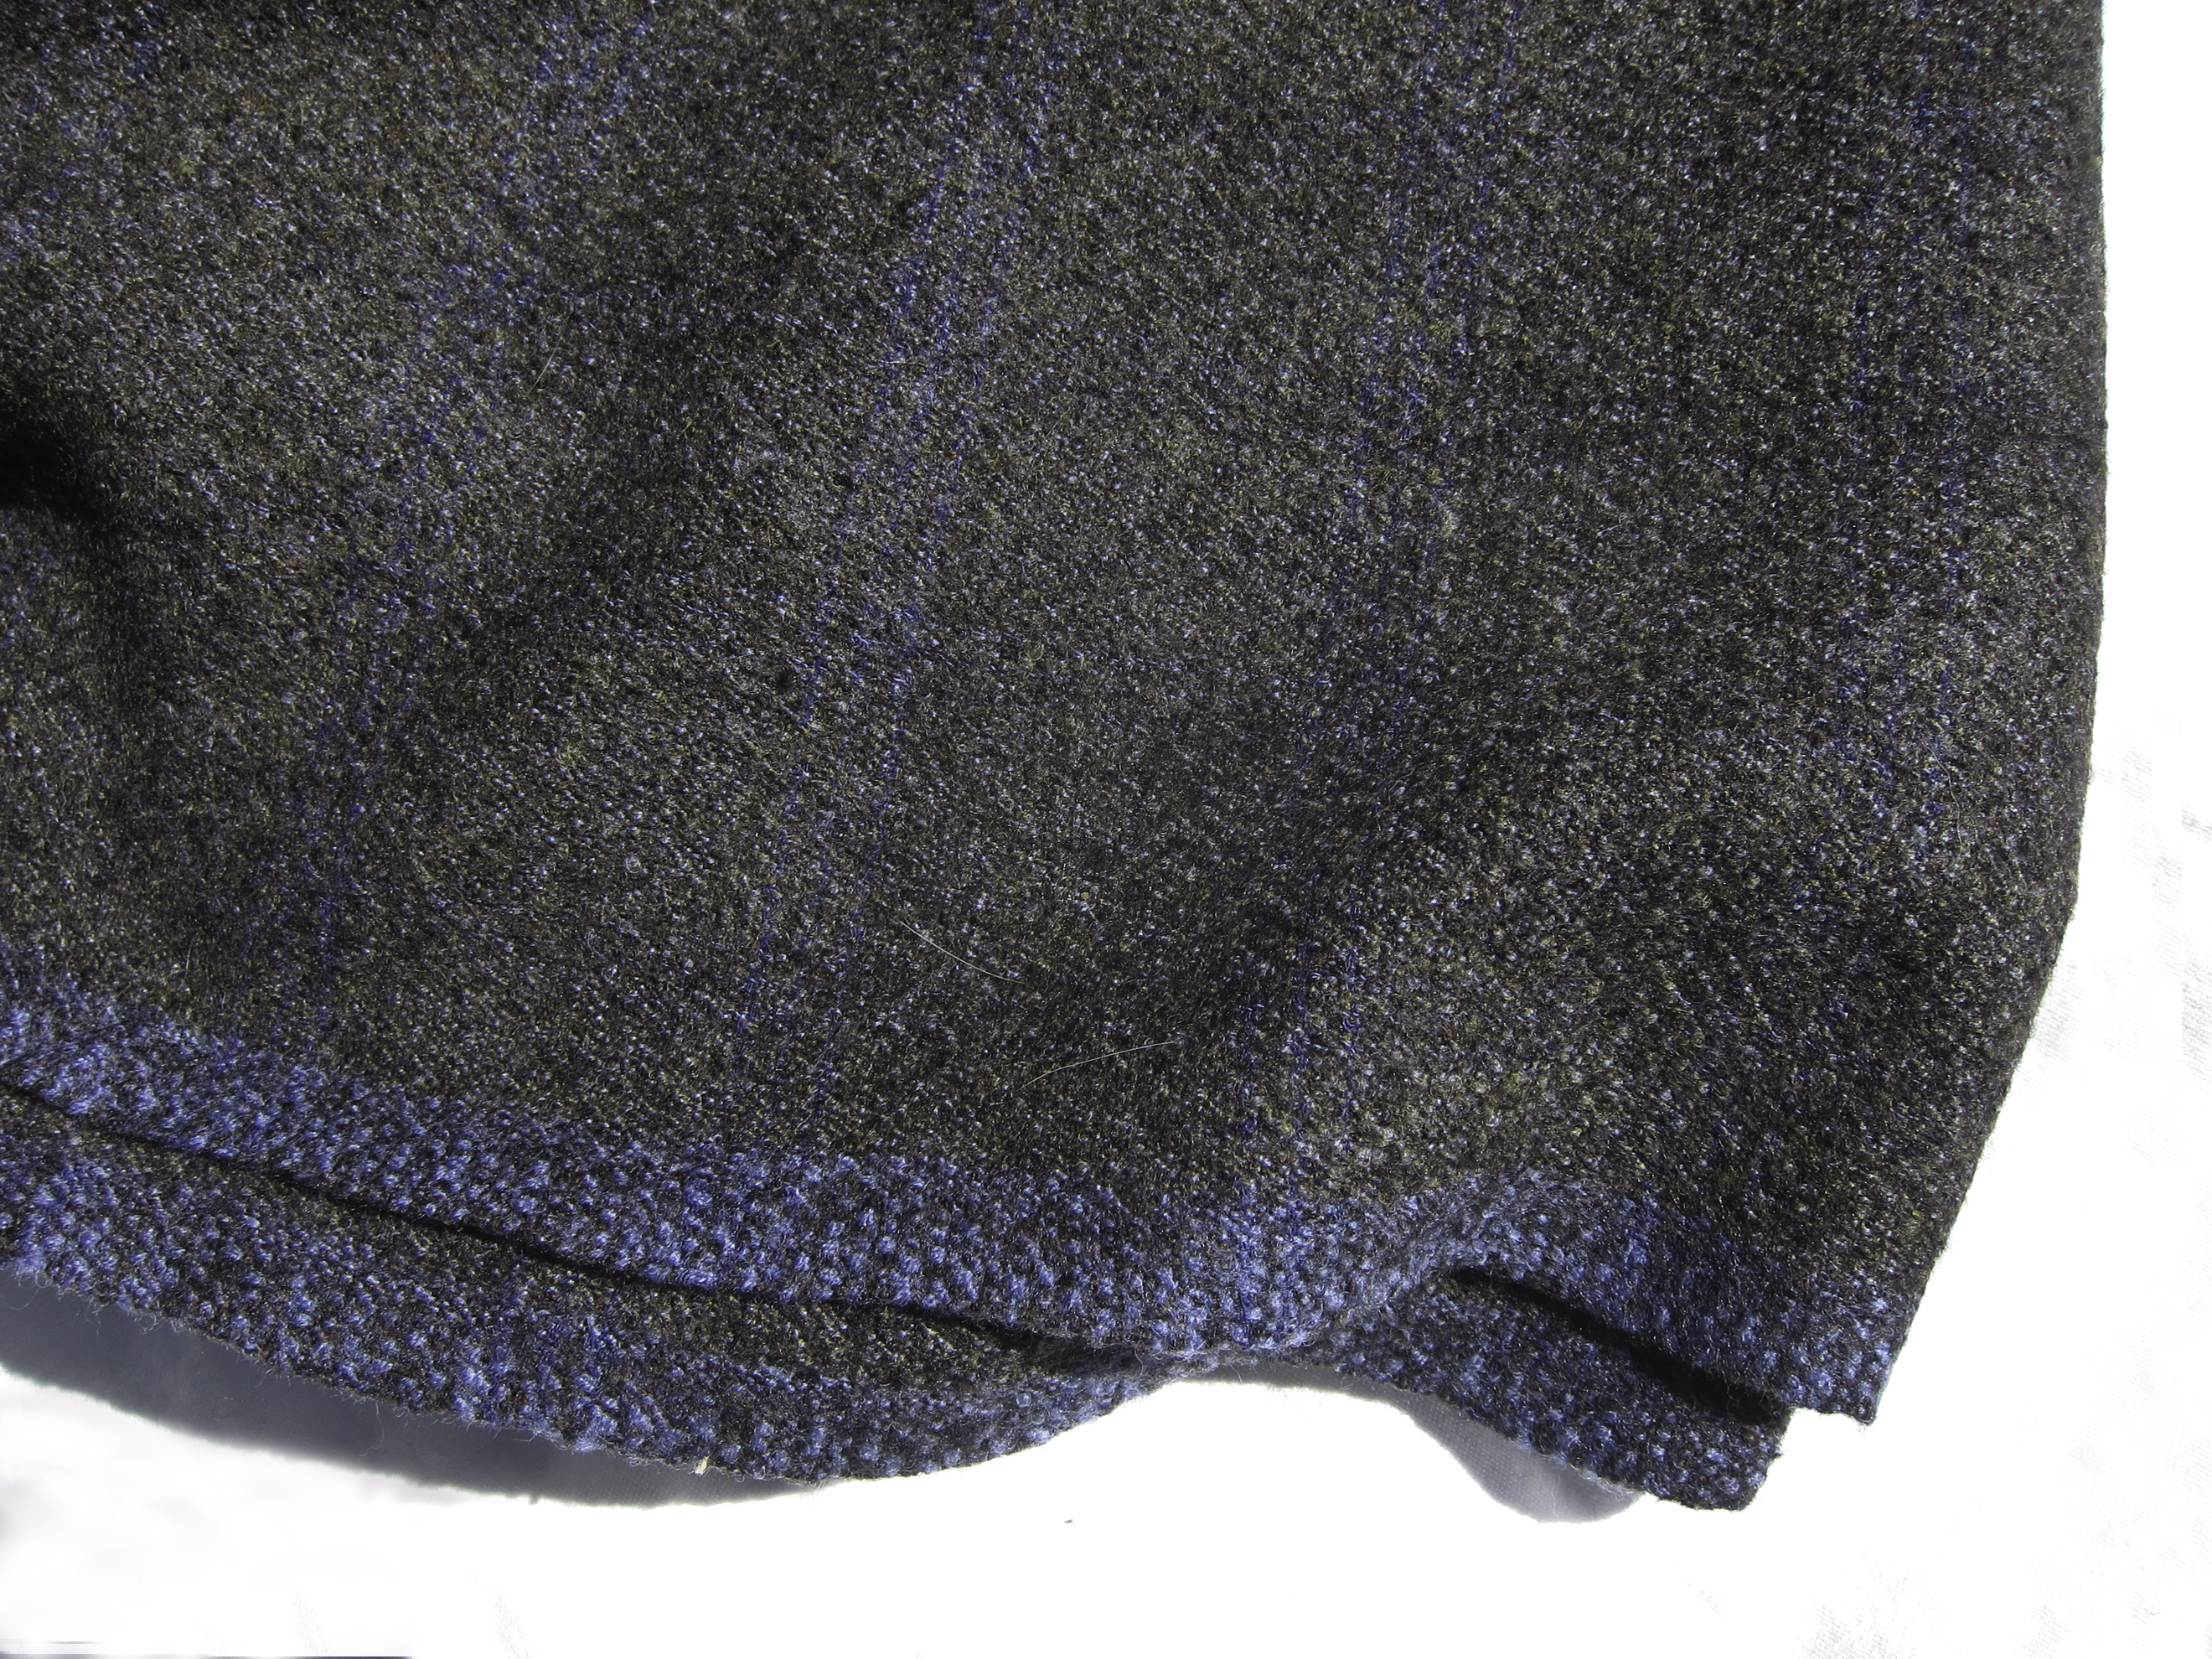
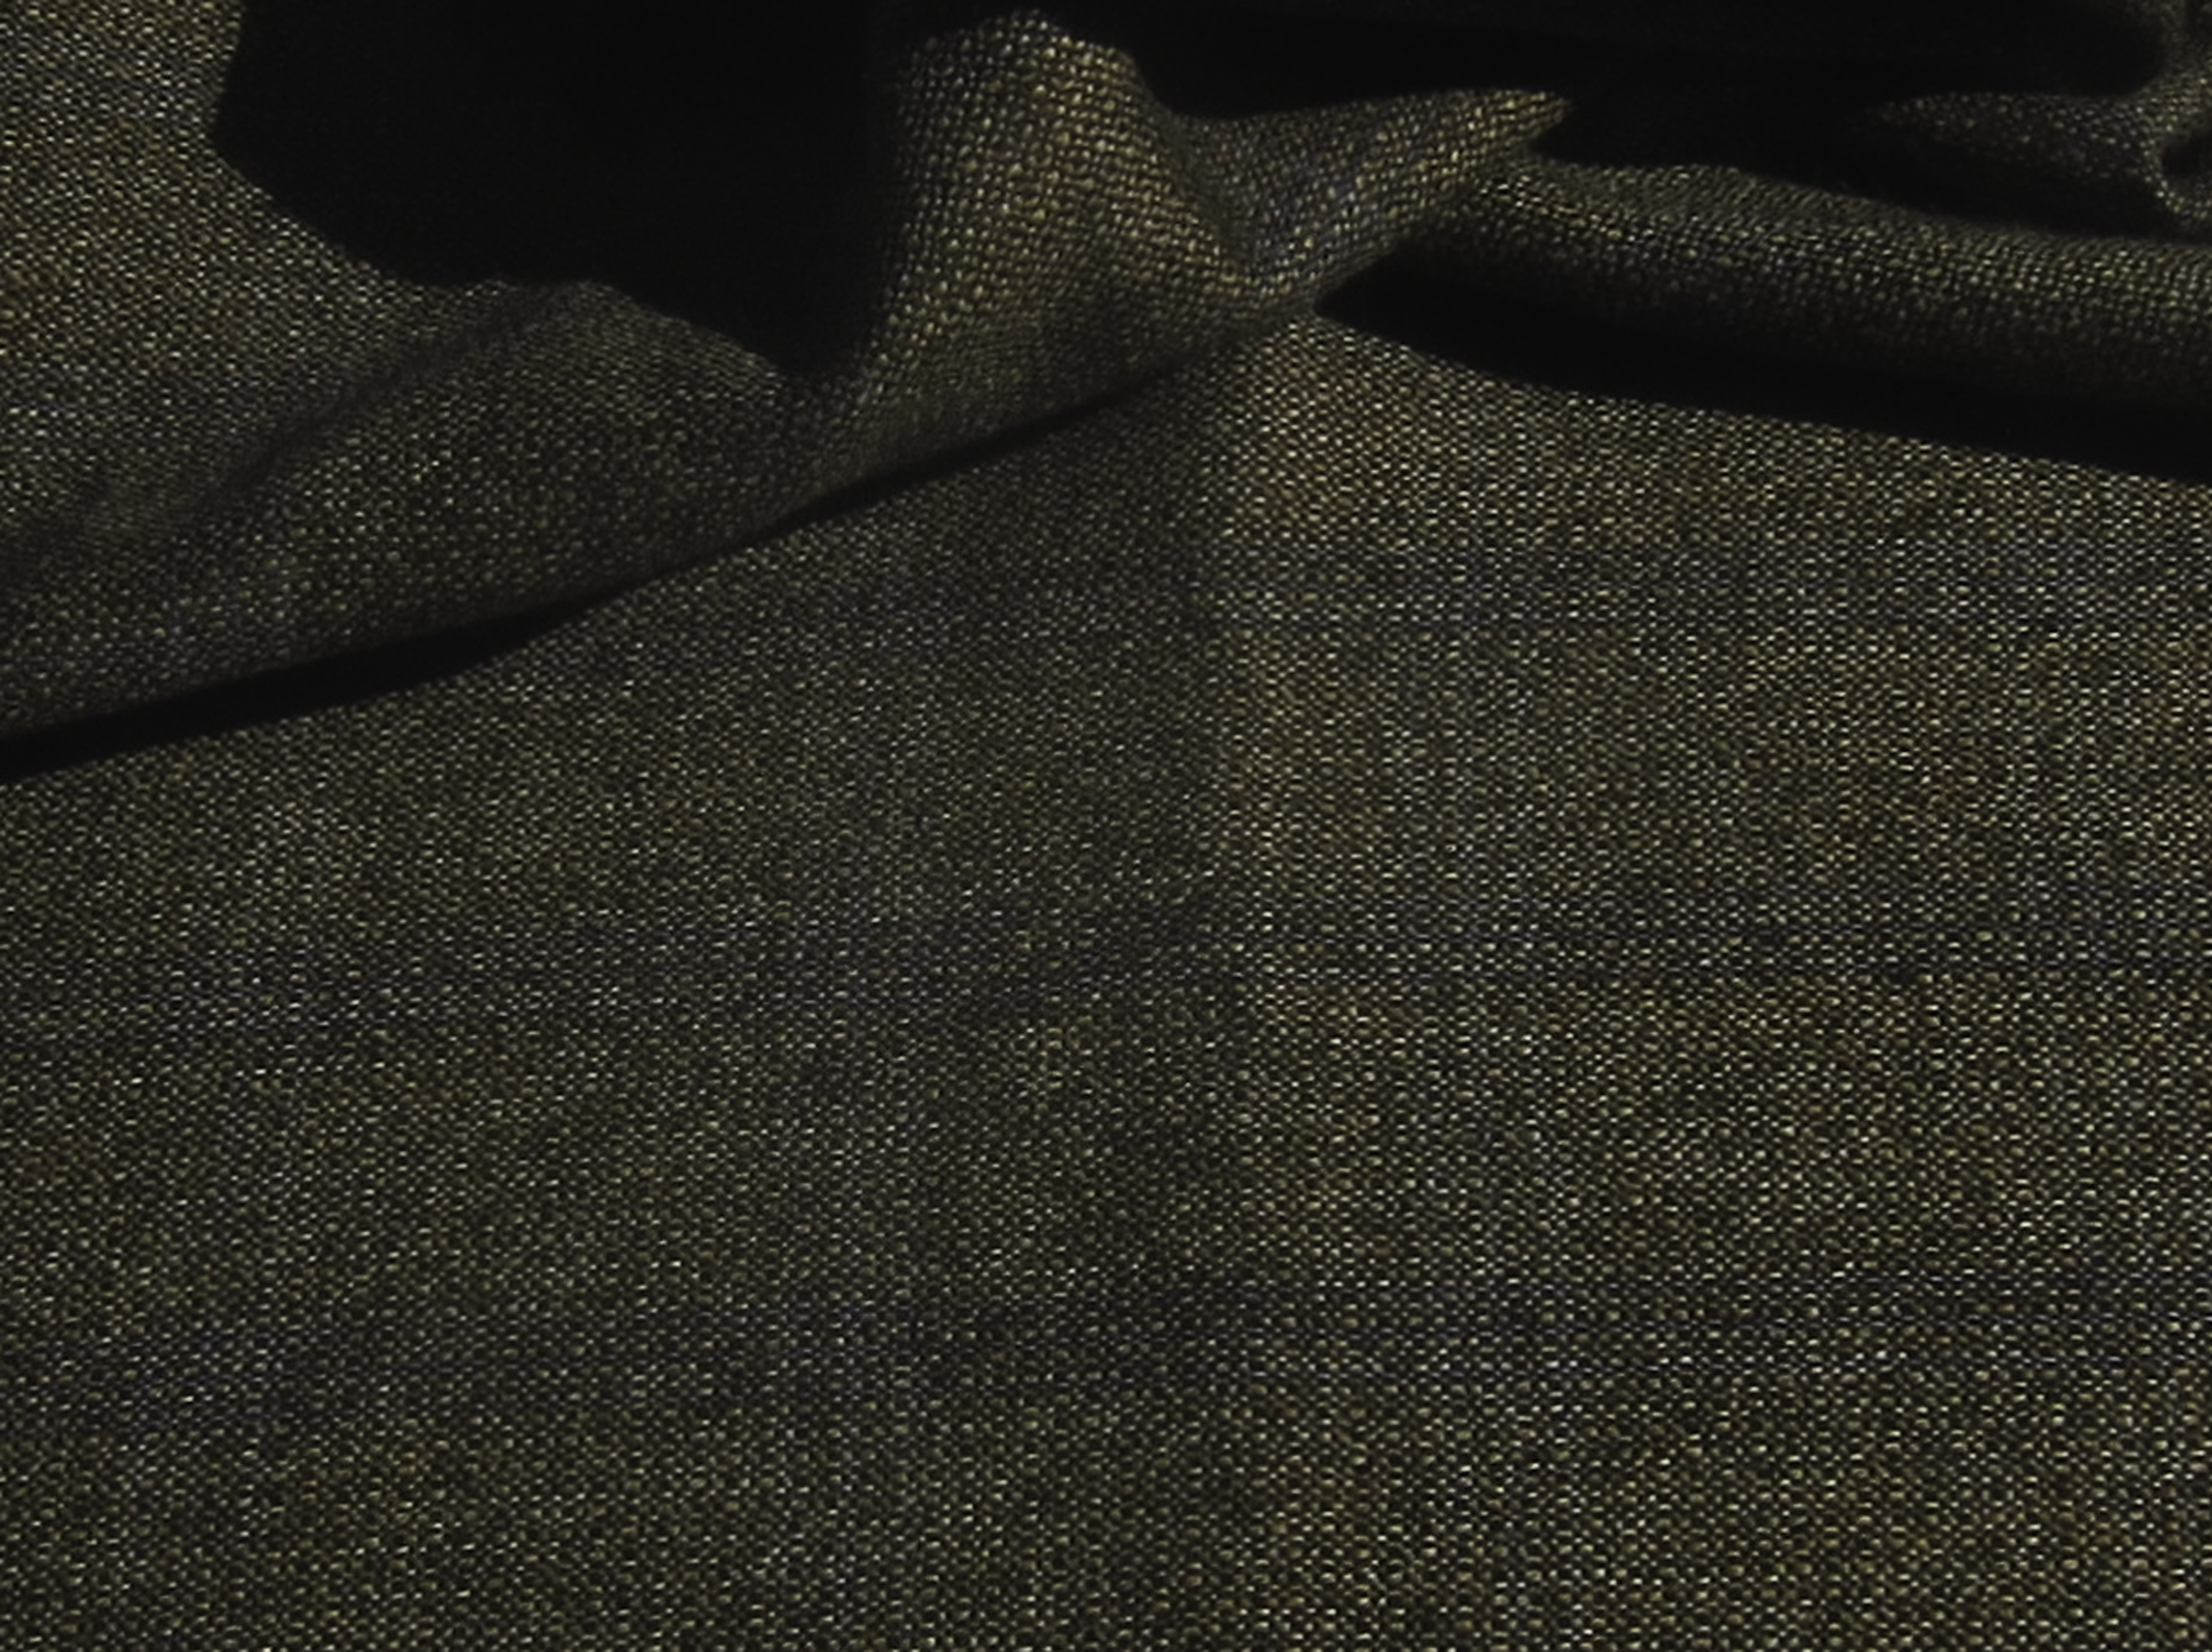
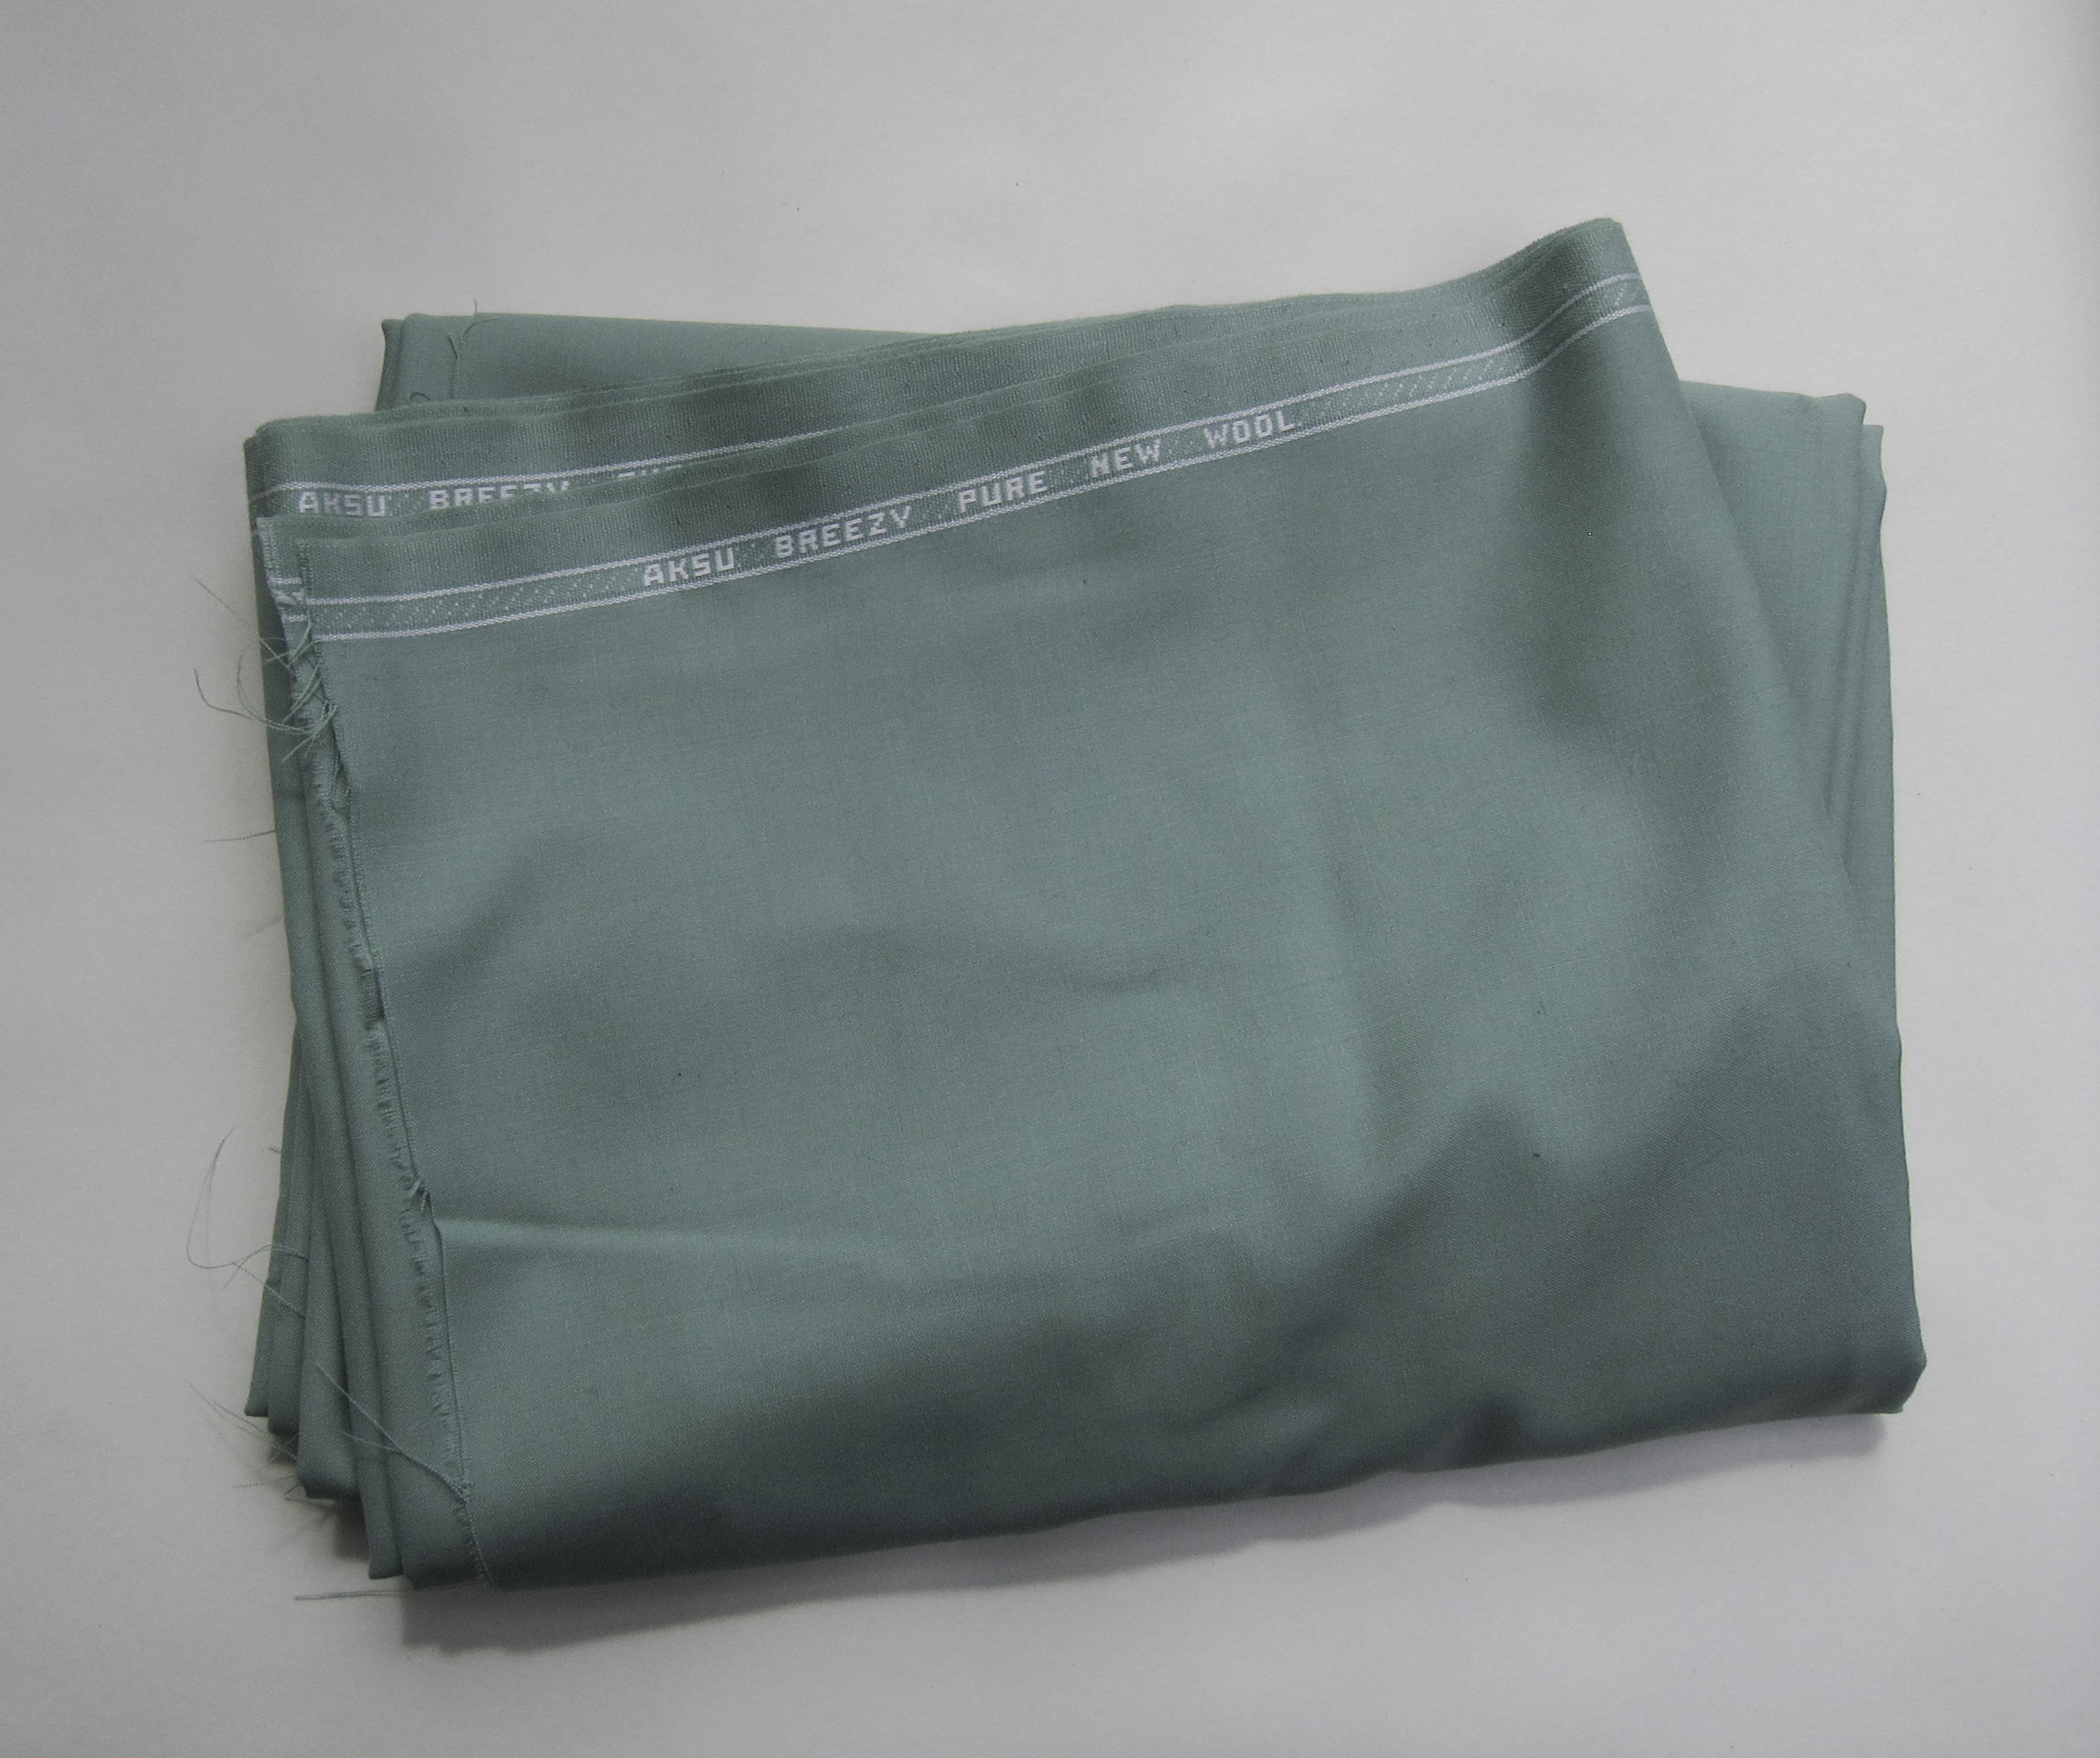
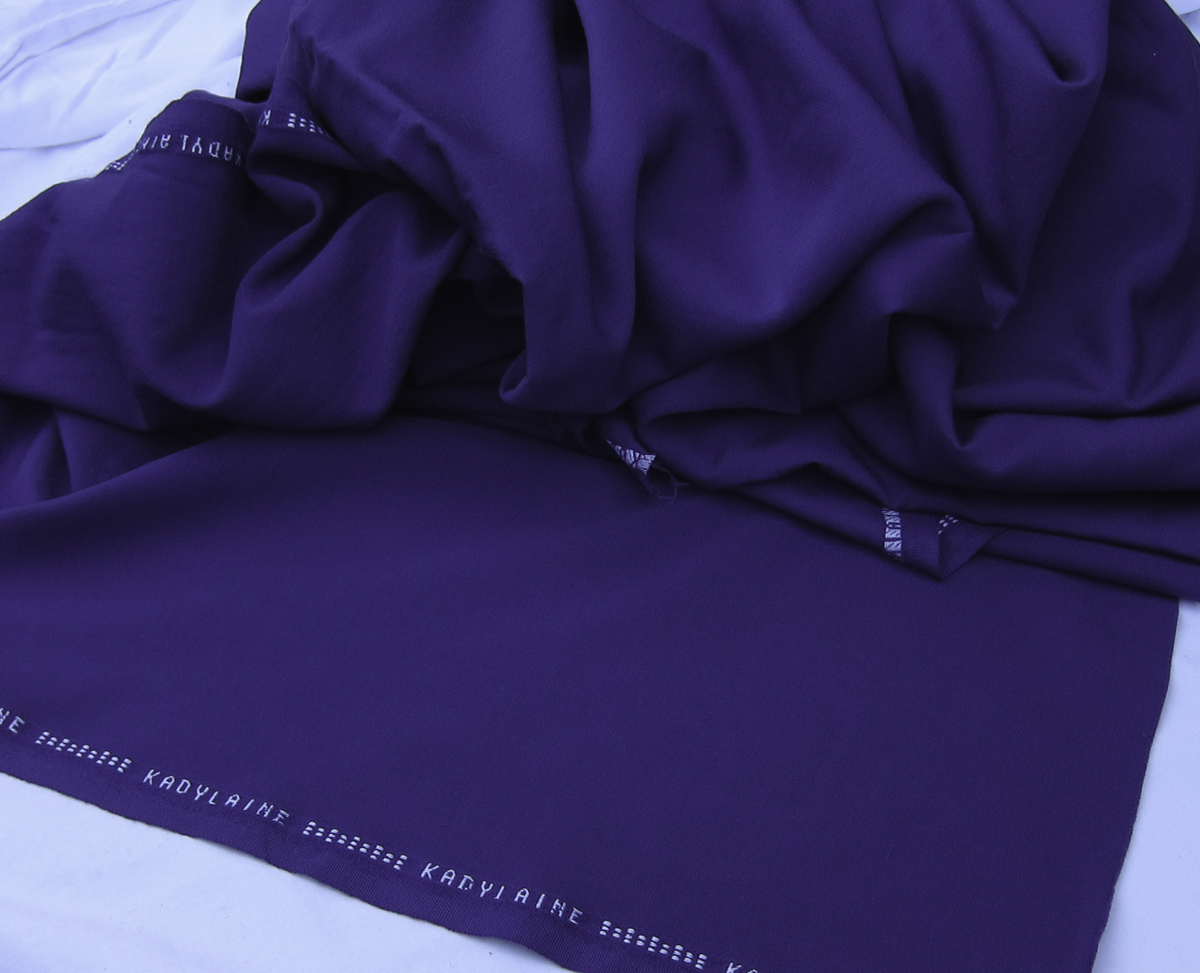
Muslin for gown bodice:
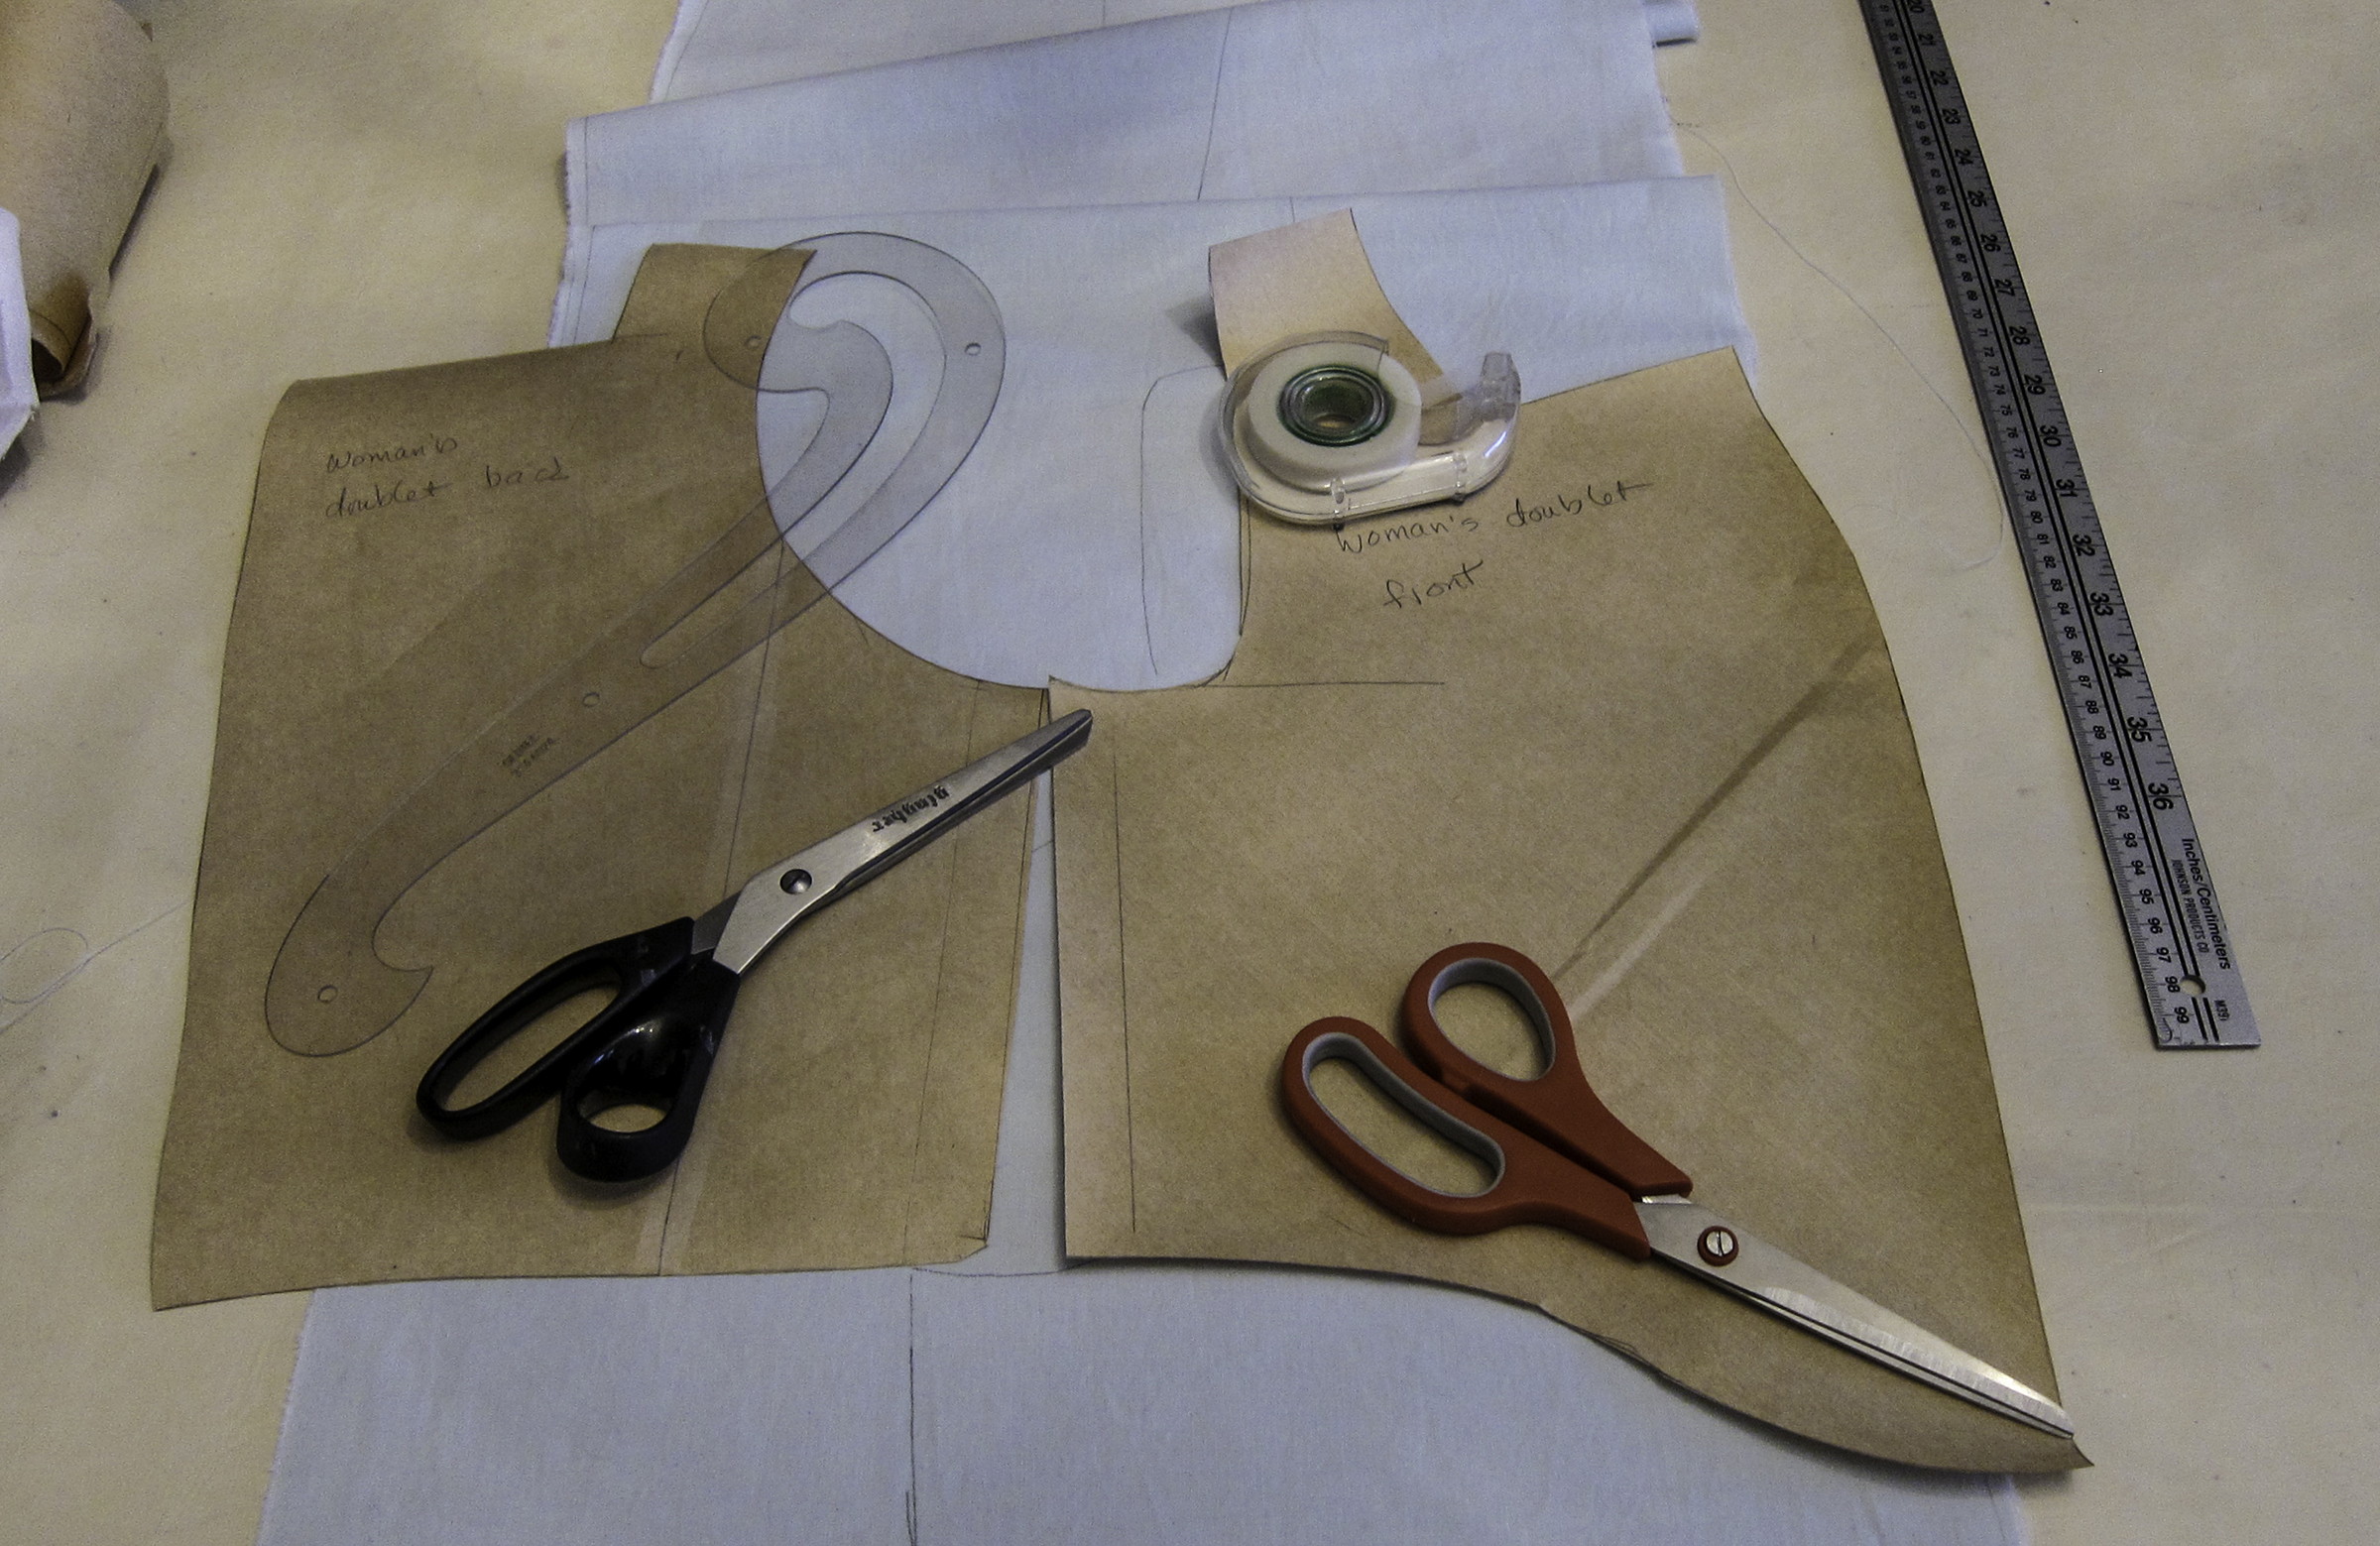
- drafted a basic doublet pattern using the Modern Maker[1] bara technique
2 April 2019
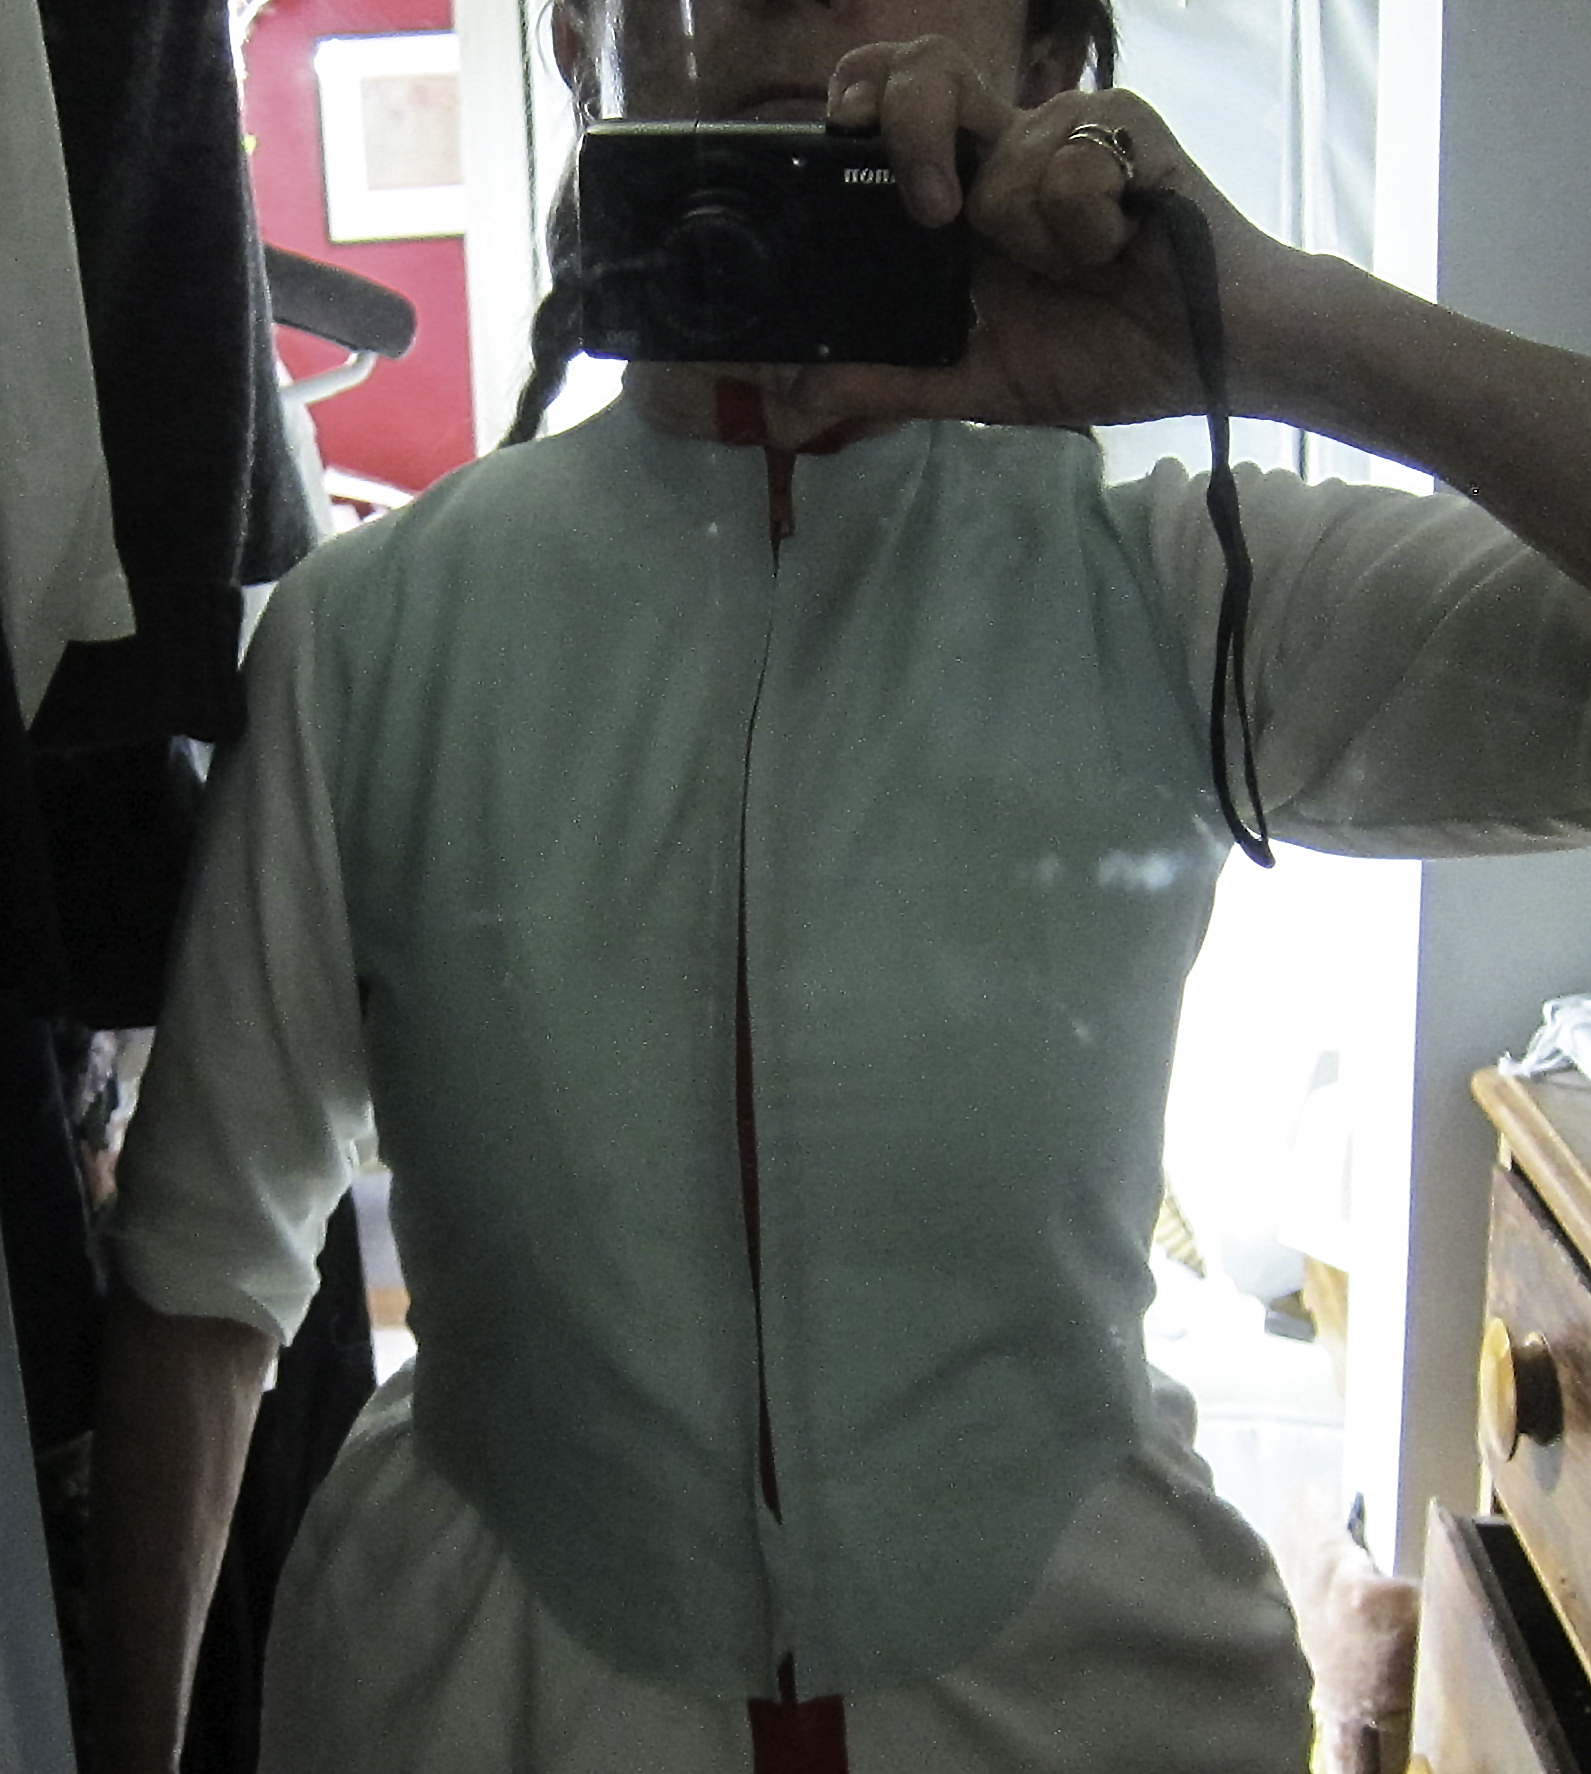
- made a muslin from the Modern Maker pattern draft & found some issues with the fit:
- too tight – needs at least 2cm added to the girth – actual amount tbd, depending on the thickness of the fabrics
- the armhole is too high
- the upper chest has a peculiar outward curve as if designed for a pigeon chest. Not sure where that came from – it’s over the sternum, too high to be intended to accommodate the fashionable 16th century flatten-the-girls-upward look. I’ll need to take out 2 or 3cm.
3 April 2019
- tried the muslin on again & made the adjustments
- drafted a new version of the pattern with the adjustments, a square neckline and side back lacing opening. (Side lacing makes dressing without help possible!)
- cut new muslin
5 April 2019
- sewed & fitted new muslin
10 – 18 April 2019
-
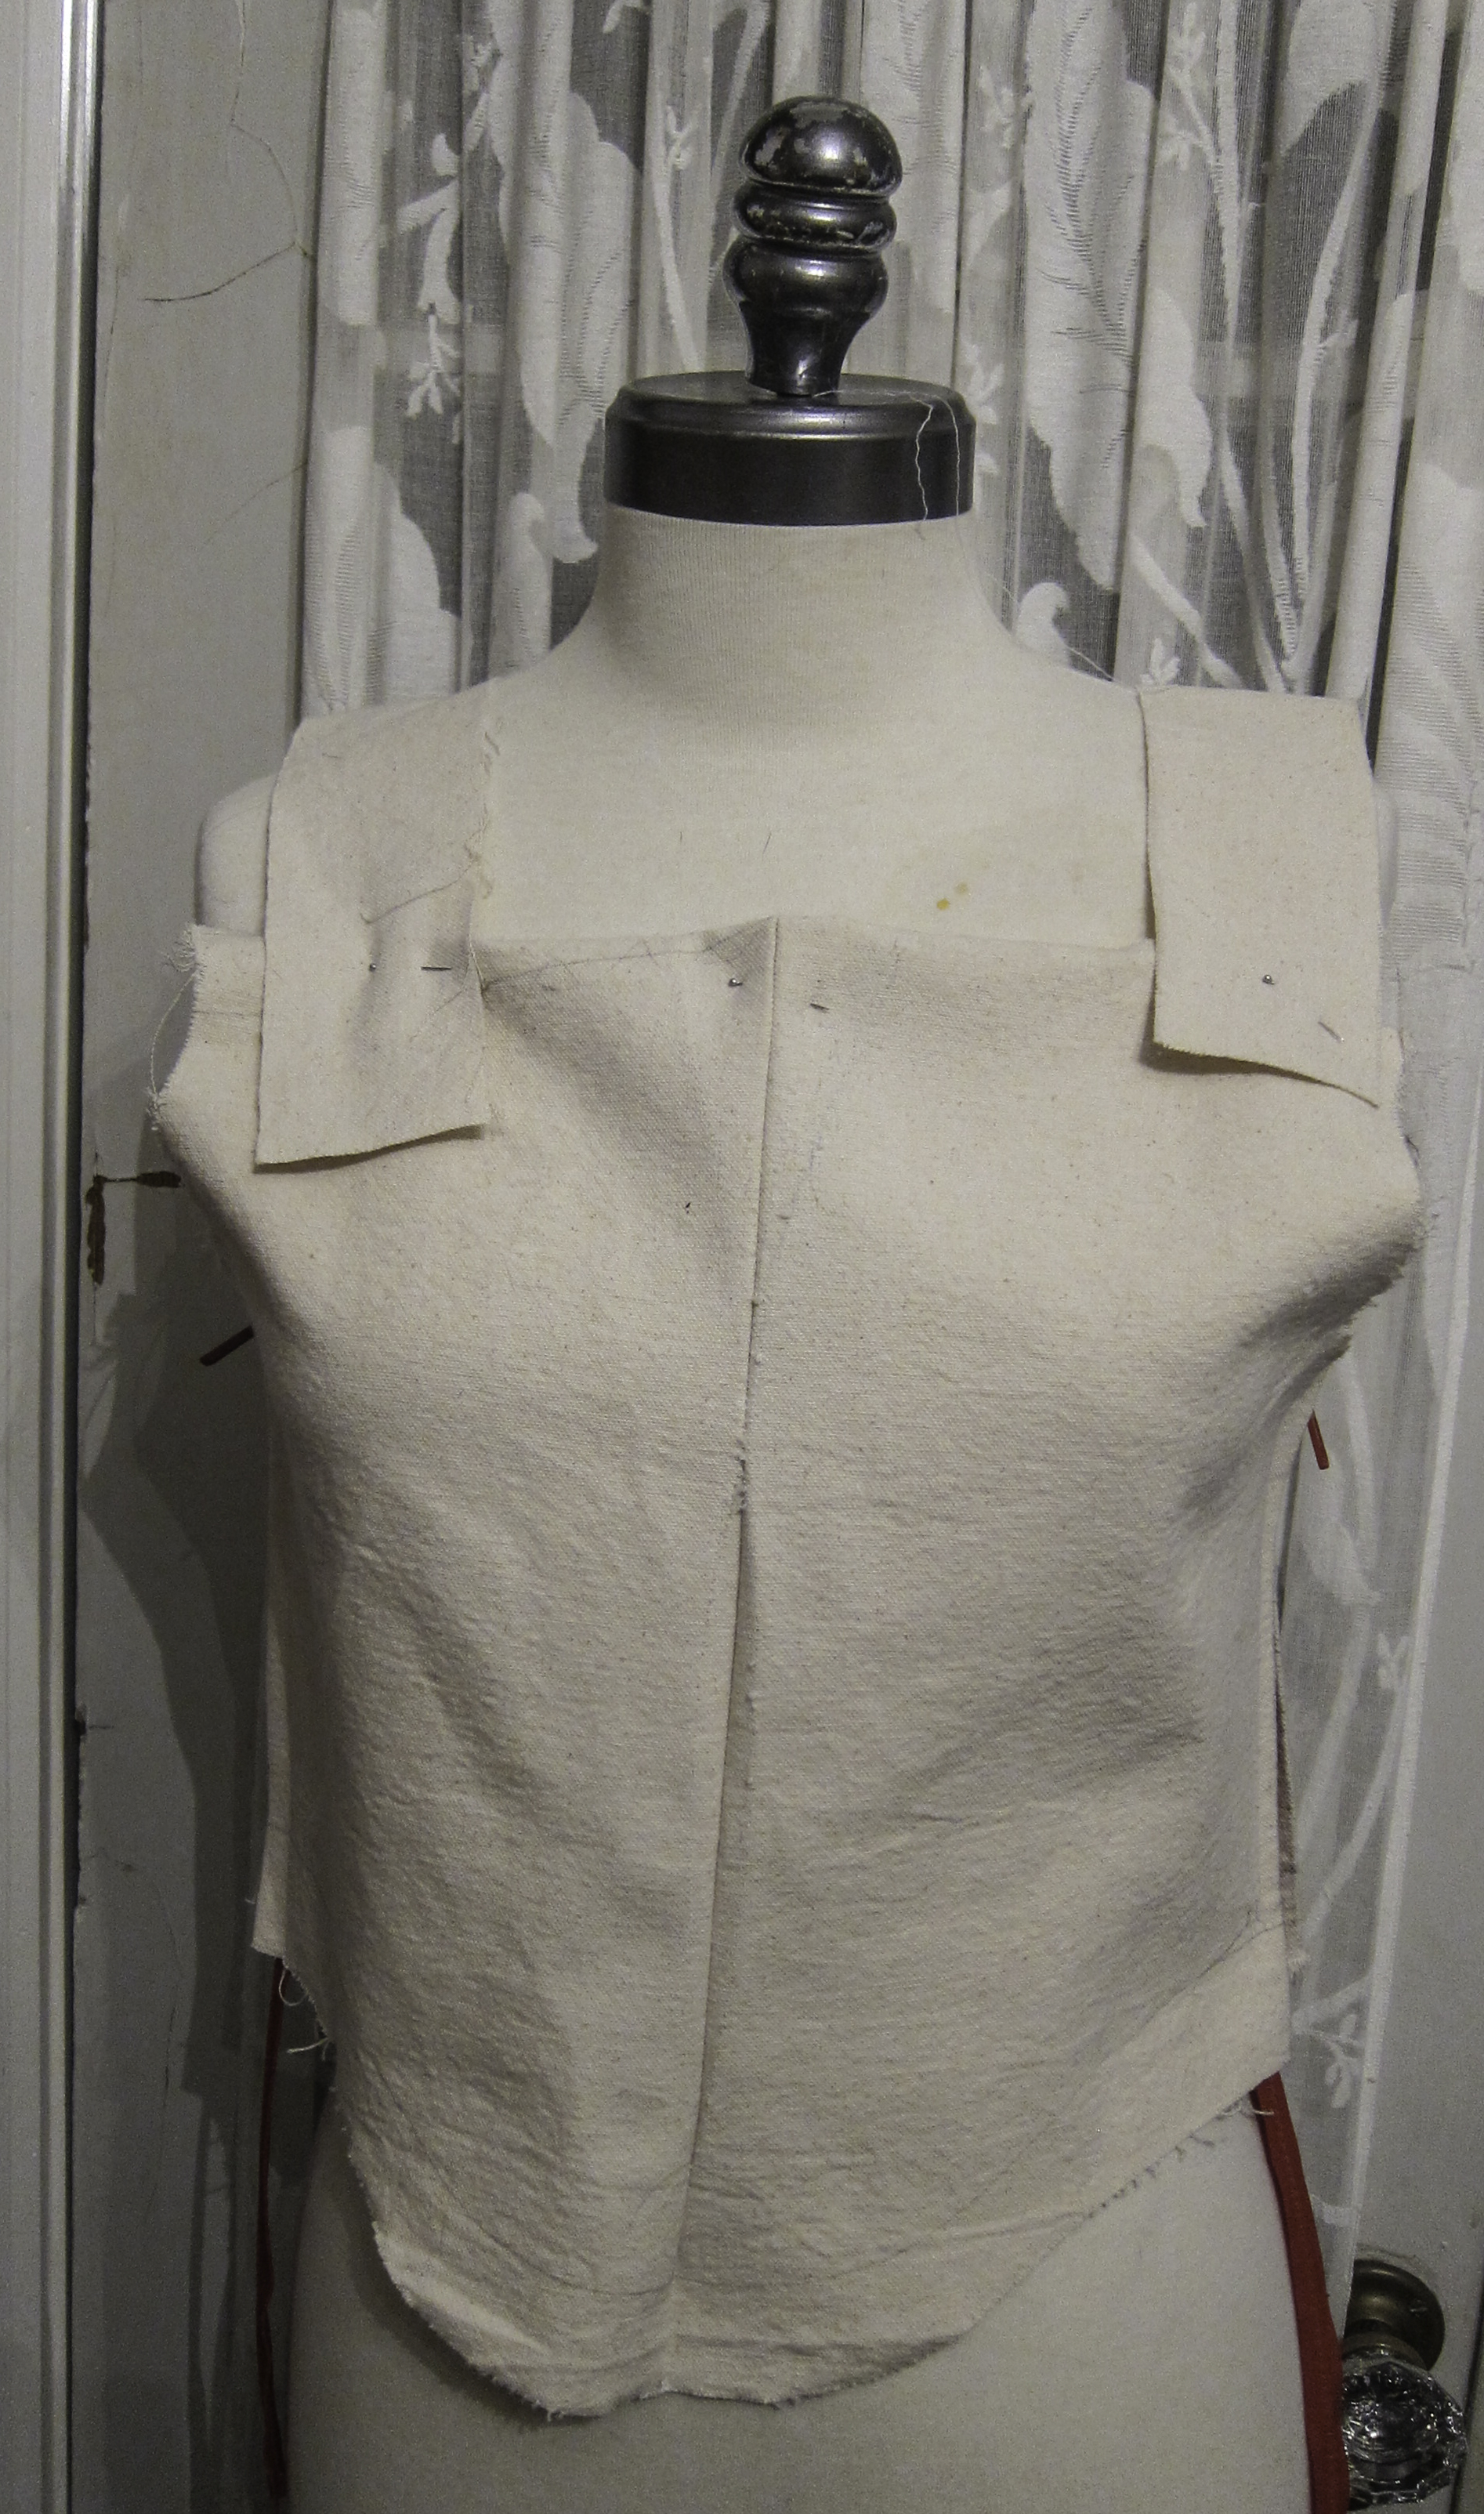
- tweaked the bodice fit
- lowered the armhole
- raised the front neck 2cm; the extant garment is described as having a “scollo molto alto” (a very high neckline). This may account for why there is a centre front seam. Without the shaping this seam makes possible the front would stand out from the upper chest unless I took a deep dart or two at the top & one in each armscye, which solution does not appear to be supported by evidence from surviving garments or pattern books.
- made the straps a separate piece as on the extant garment
- drafted new pattern from adjusted muslin
- cut the canvas for bodice interlining ready for final fitting
19-24 April 2019
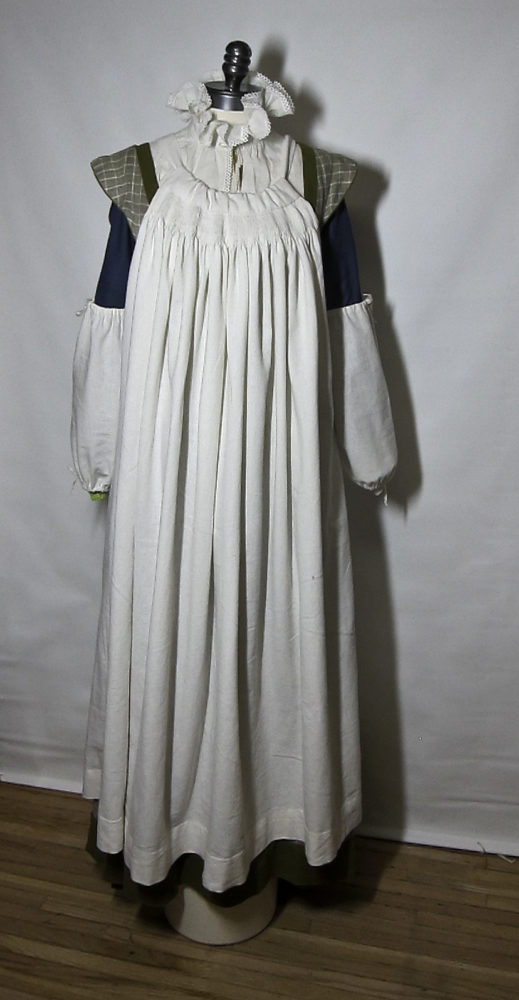
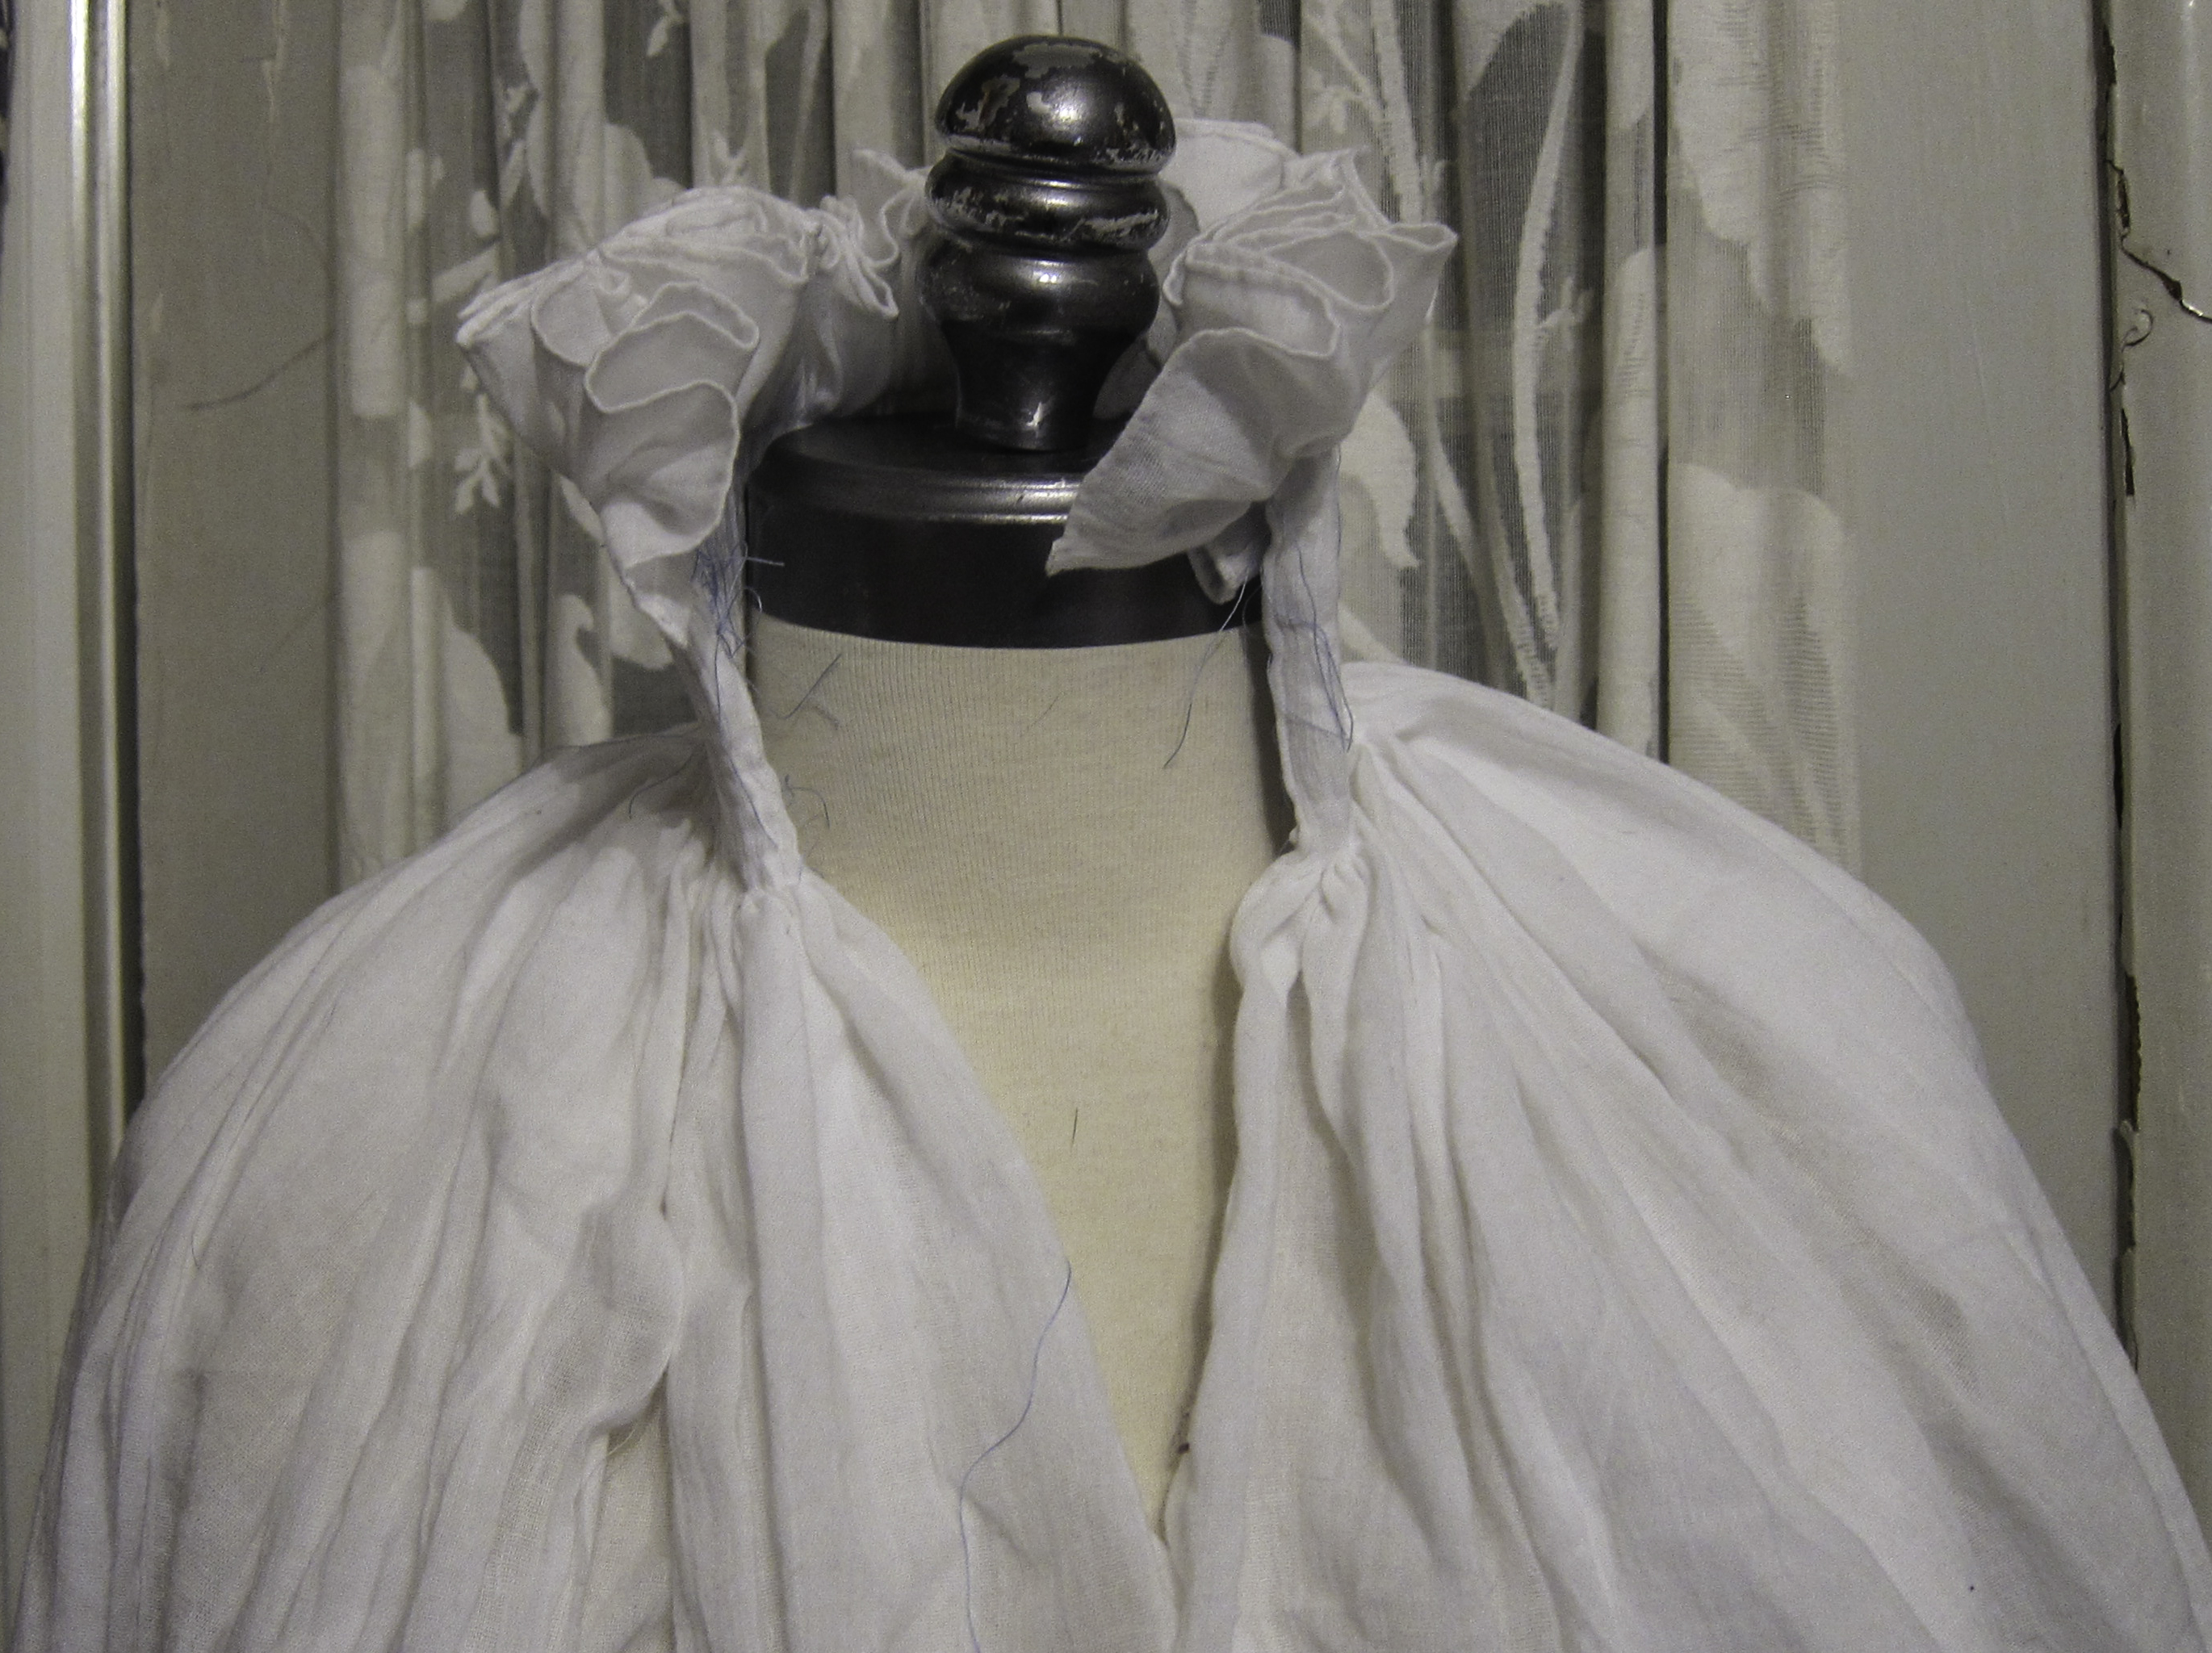
Smocked camicia:
- made a second smocking test swatch
- calculated width of fabric needed to gather to a neck circumference of 33cm (~ 13 inches). It needs to be 304 cm (~ 120 inches) wide
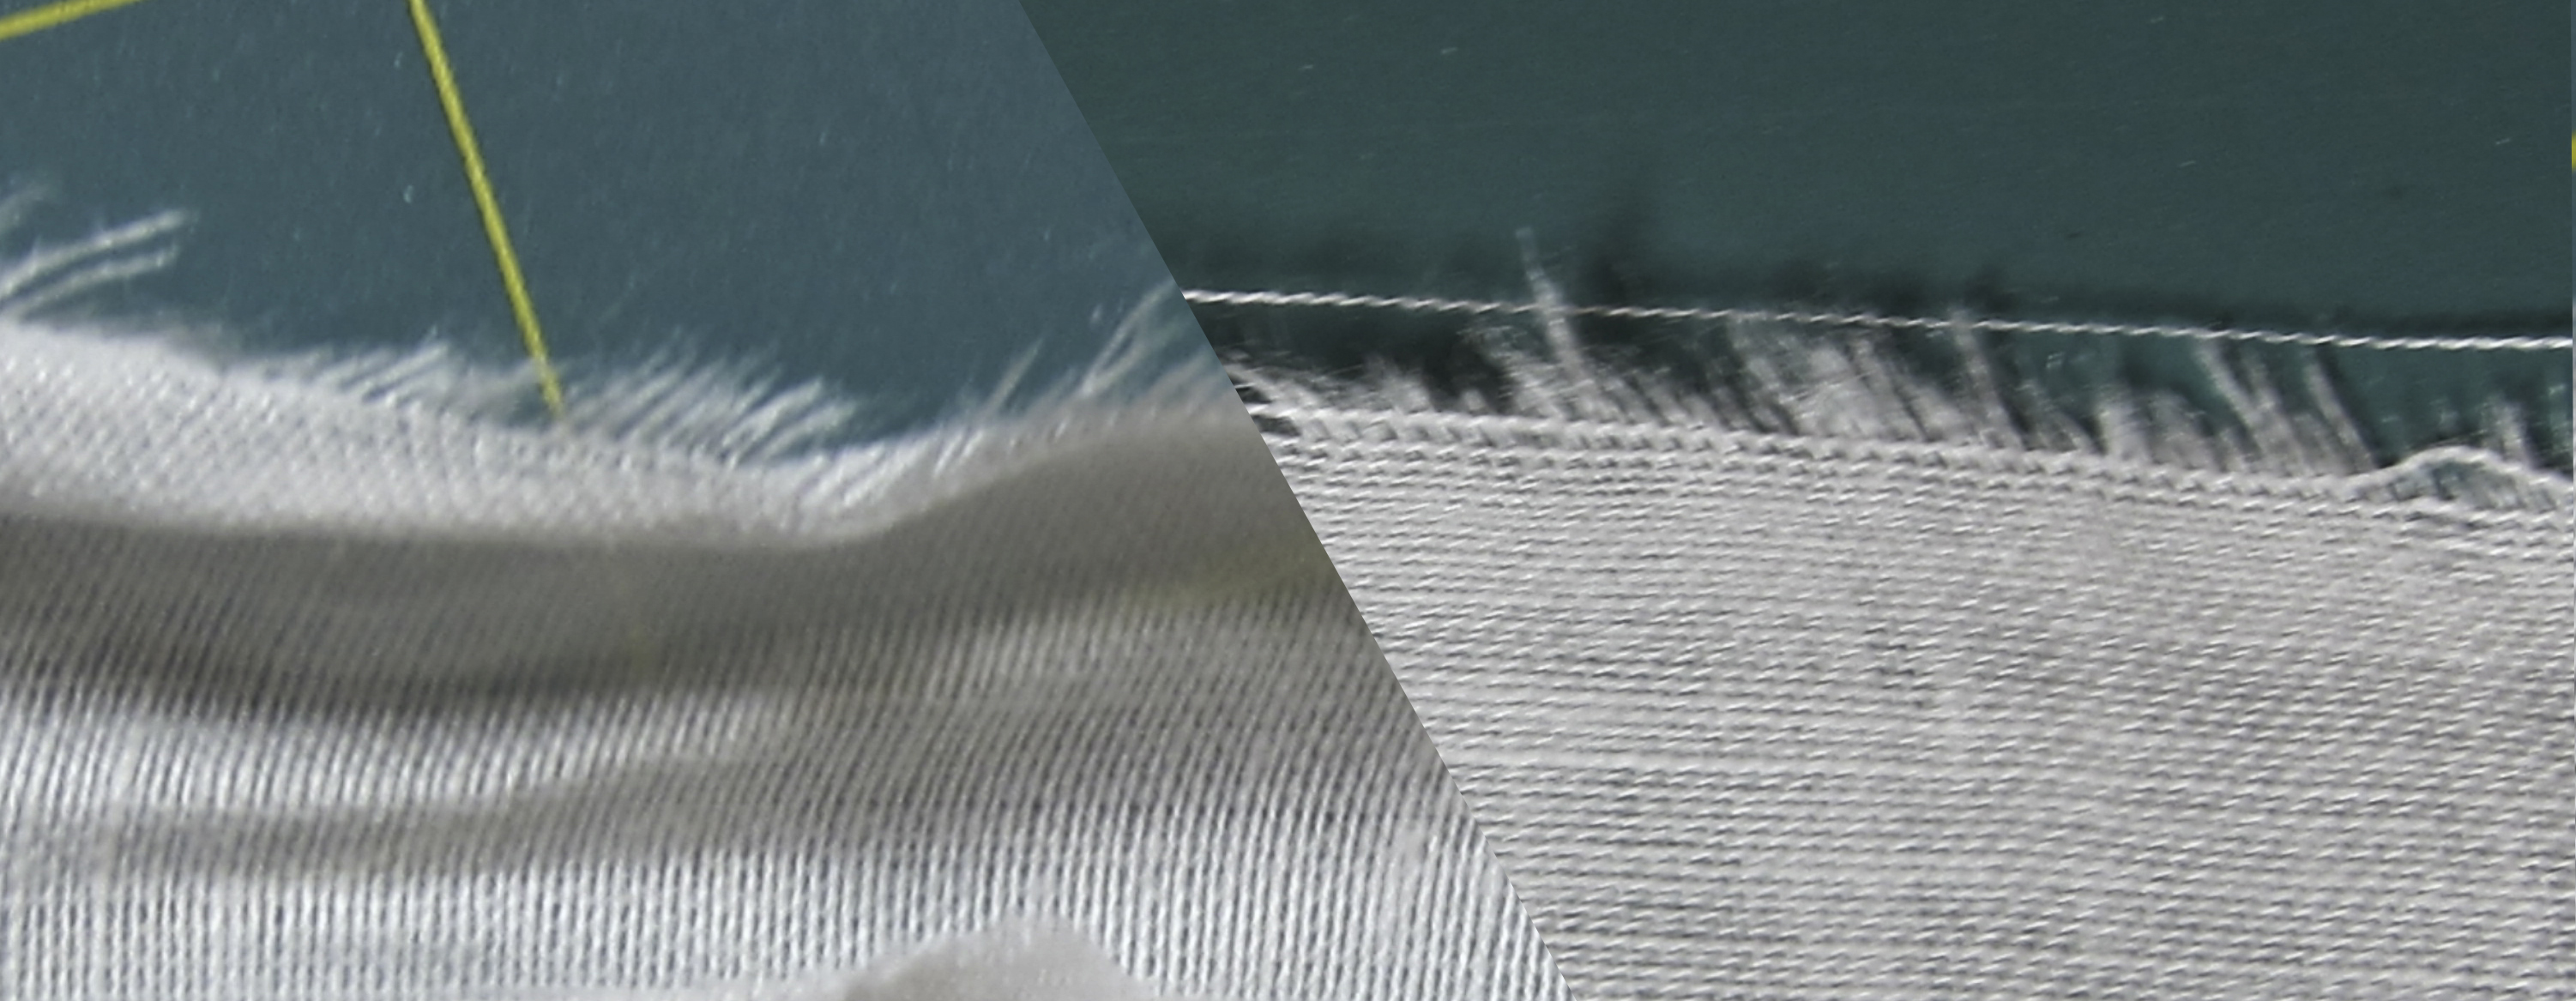
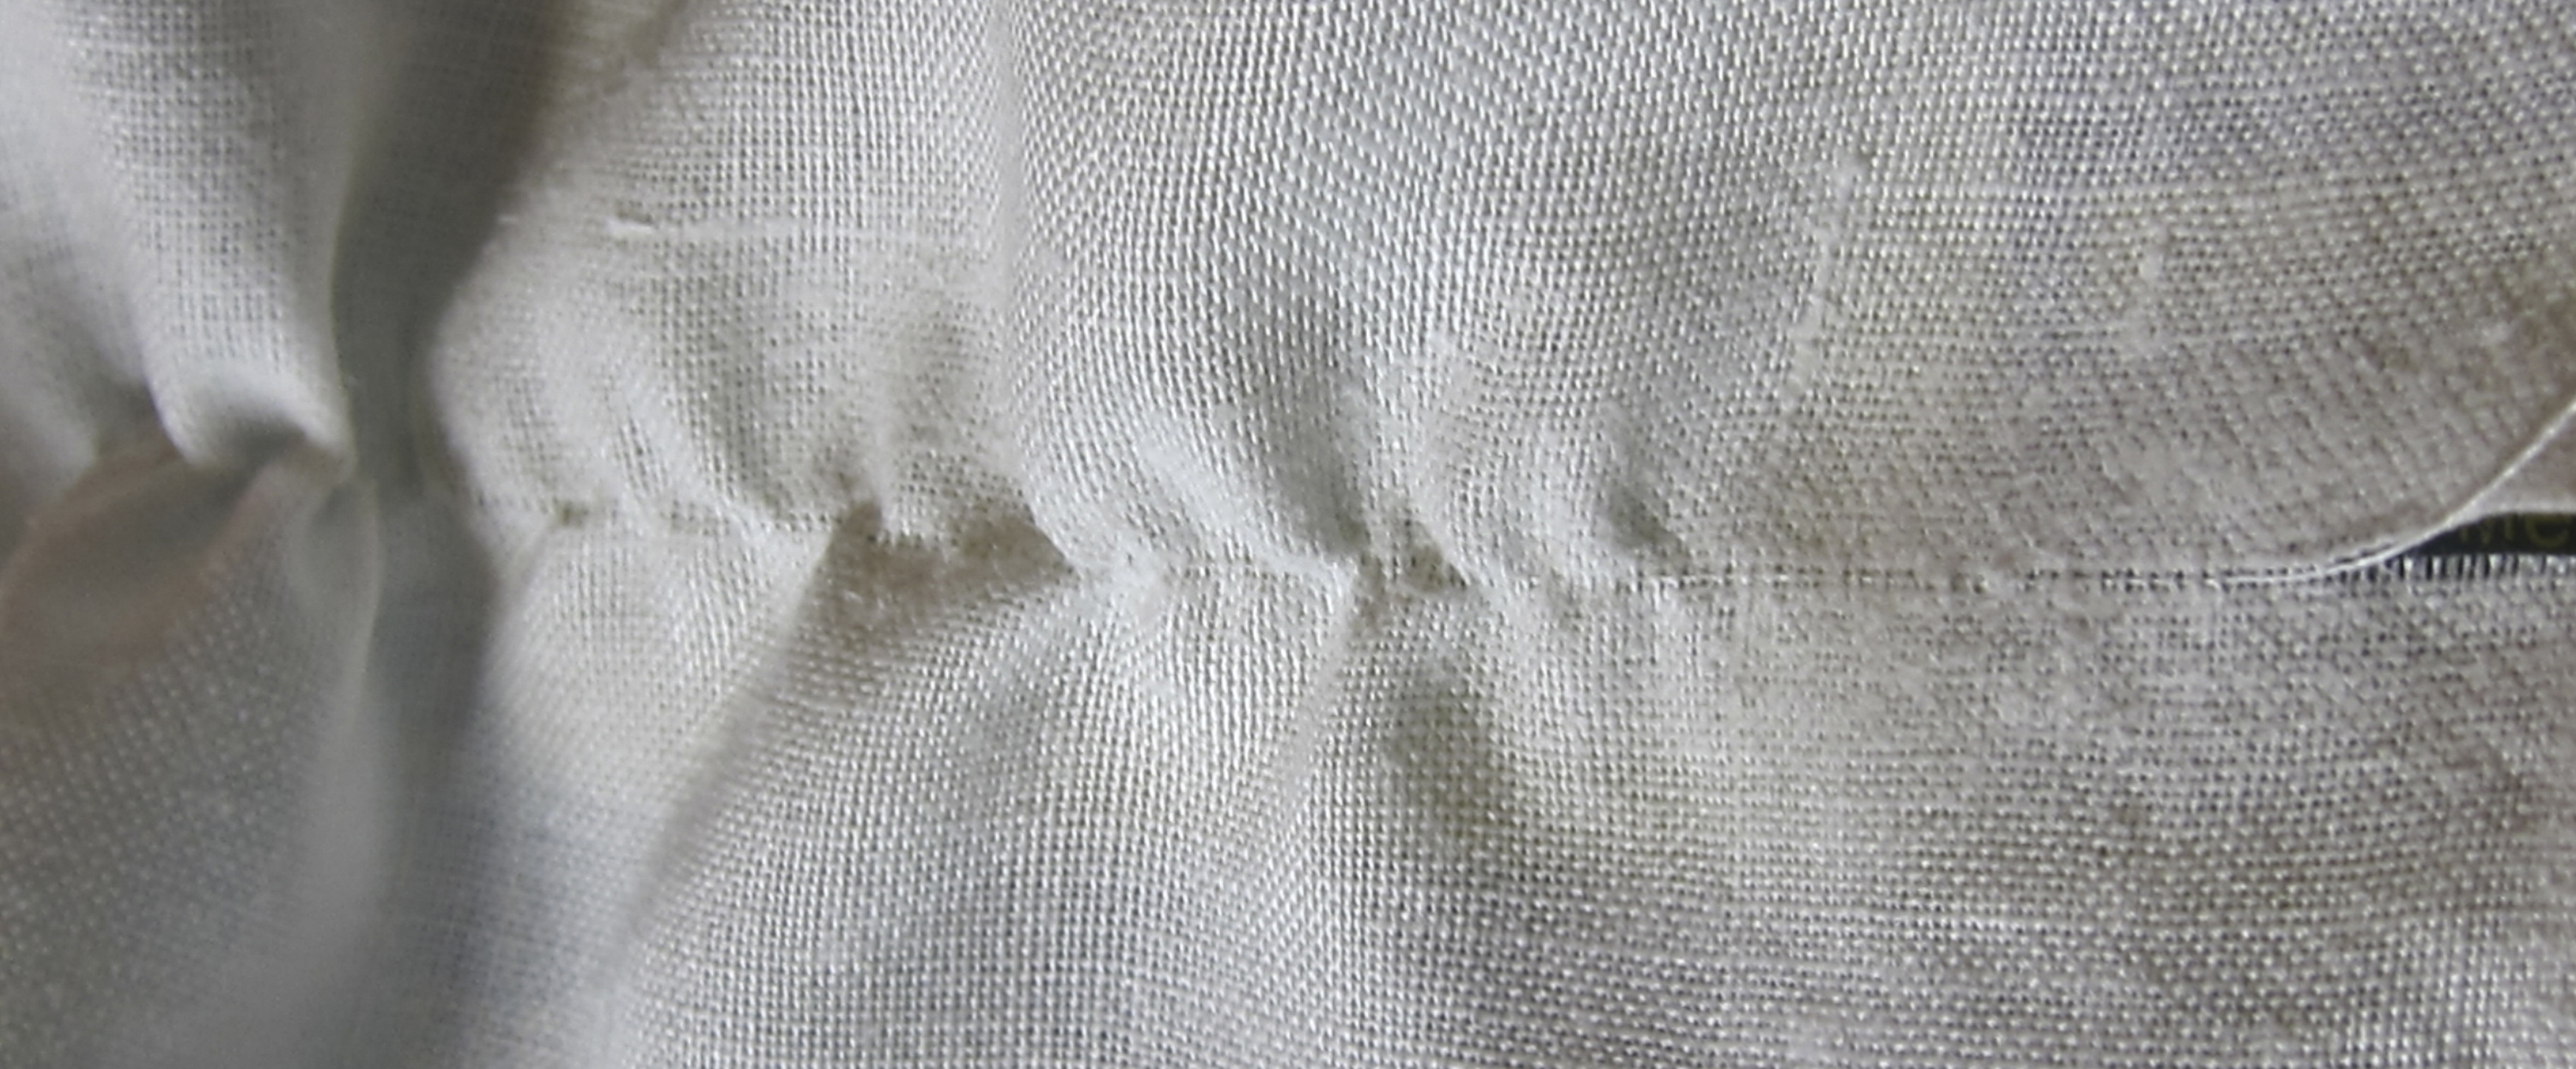
- cut out camicia pieces (front, back, 2 sleeves, 2 square gussets) by pulled-thread method to ensure all pieces are on the straight of grain. Cut a 30cm (~ 12 inches) neckline opening at the centre front.
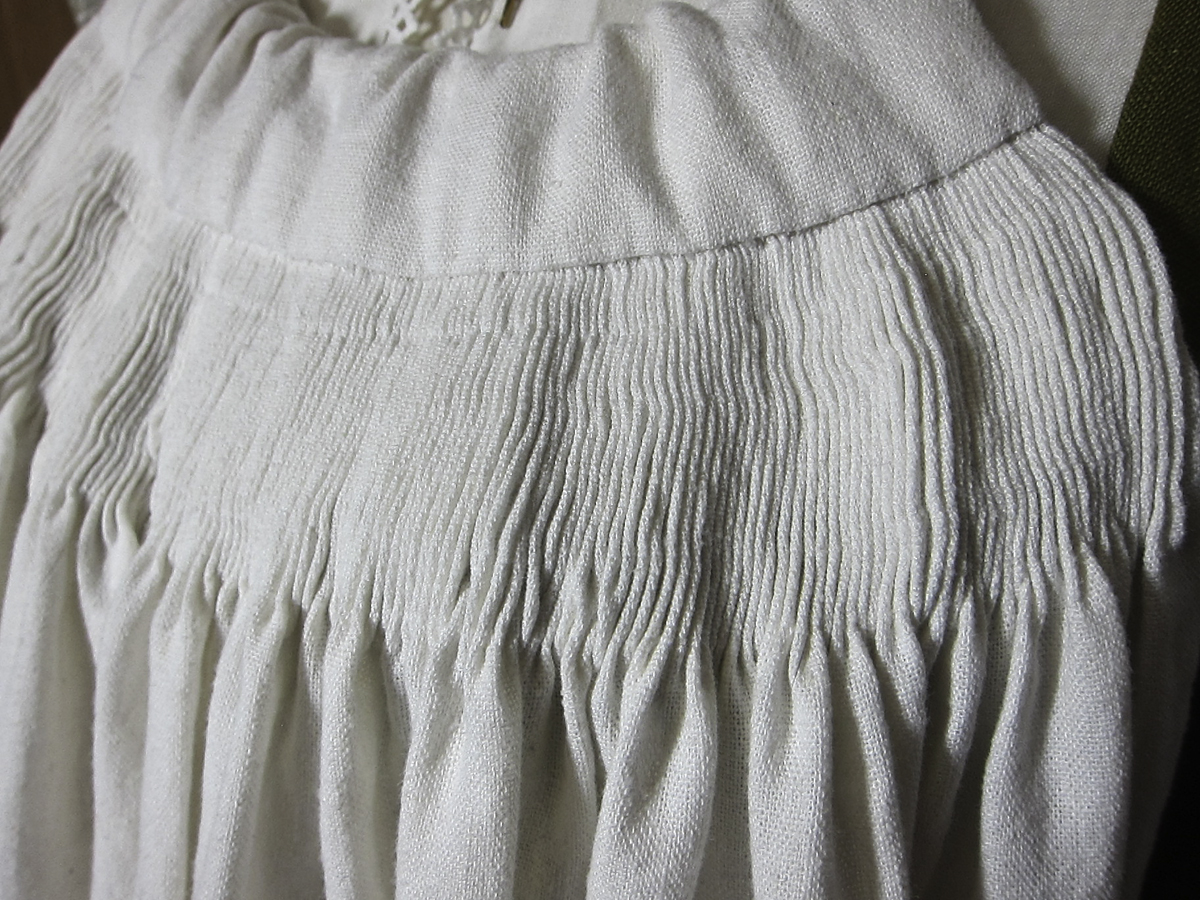
- narrow-hemmed 30cm of the top edges of the front, back & sleeves sewed them together. I’ve left the bulk of the sewing until the collar embroidery/smocking is complete because it’s hard to tell beforehand how deep/shallow the armholes will need to be.
- did a fine rolled hem around the top edge, then narrow-hemmed the neckline opening and the edges of where the cuffs will be
25 – 28 April 2019
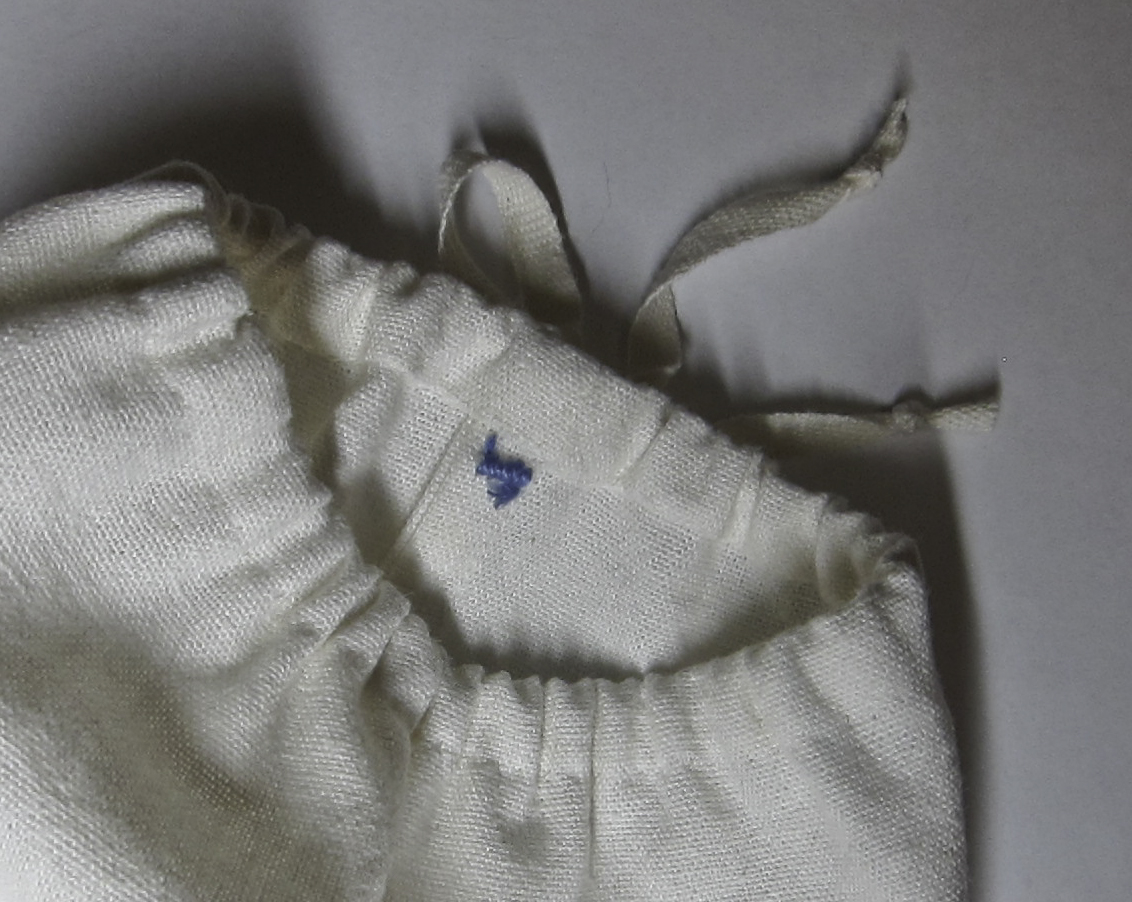
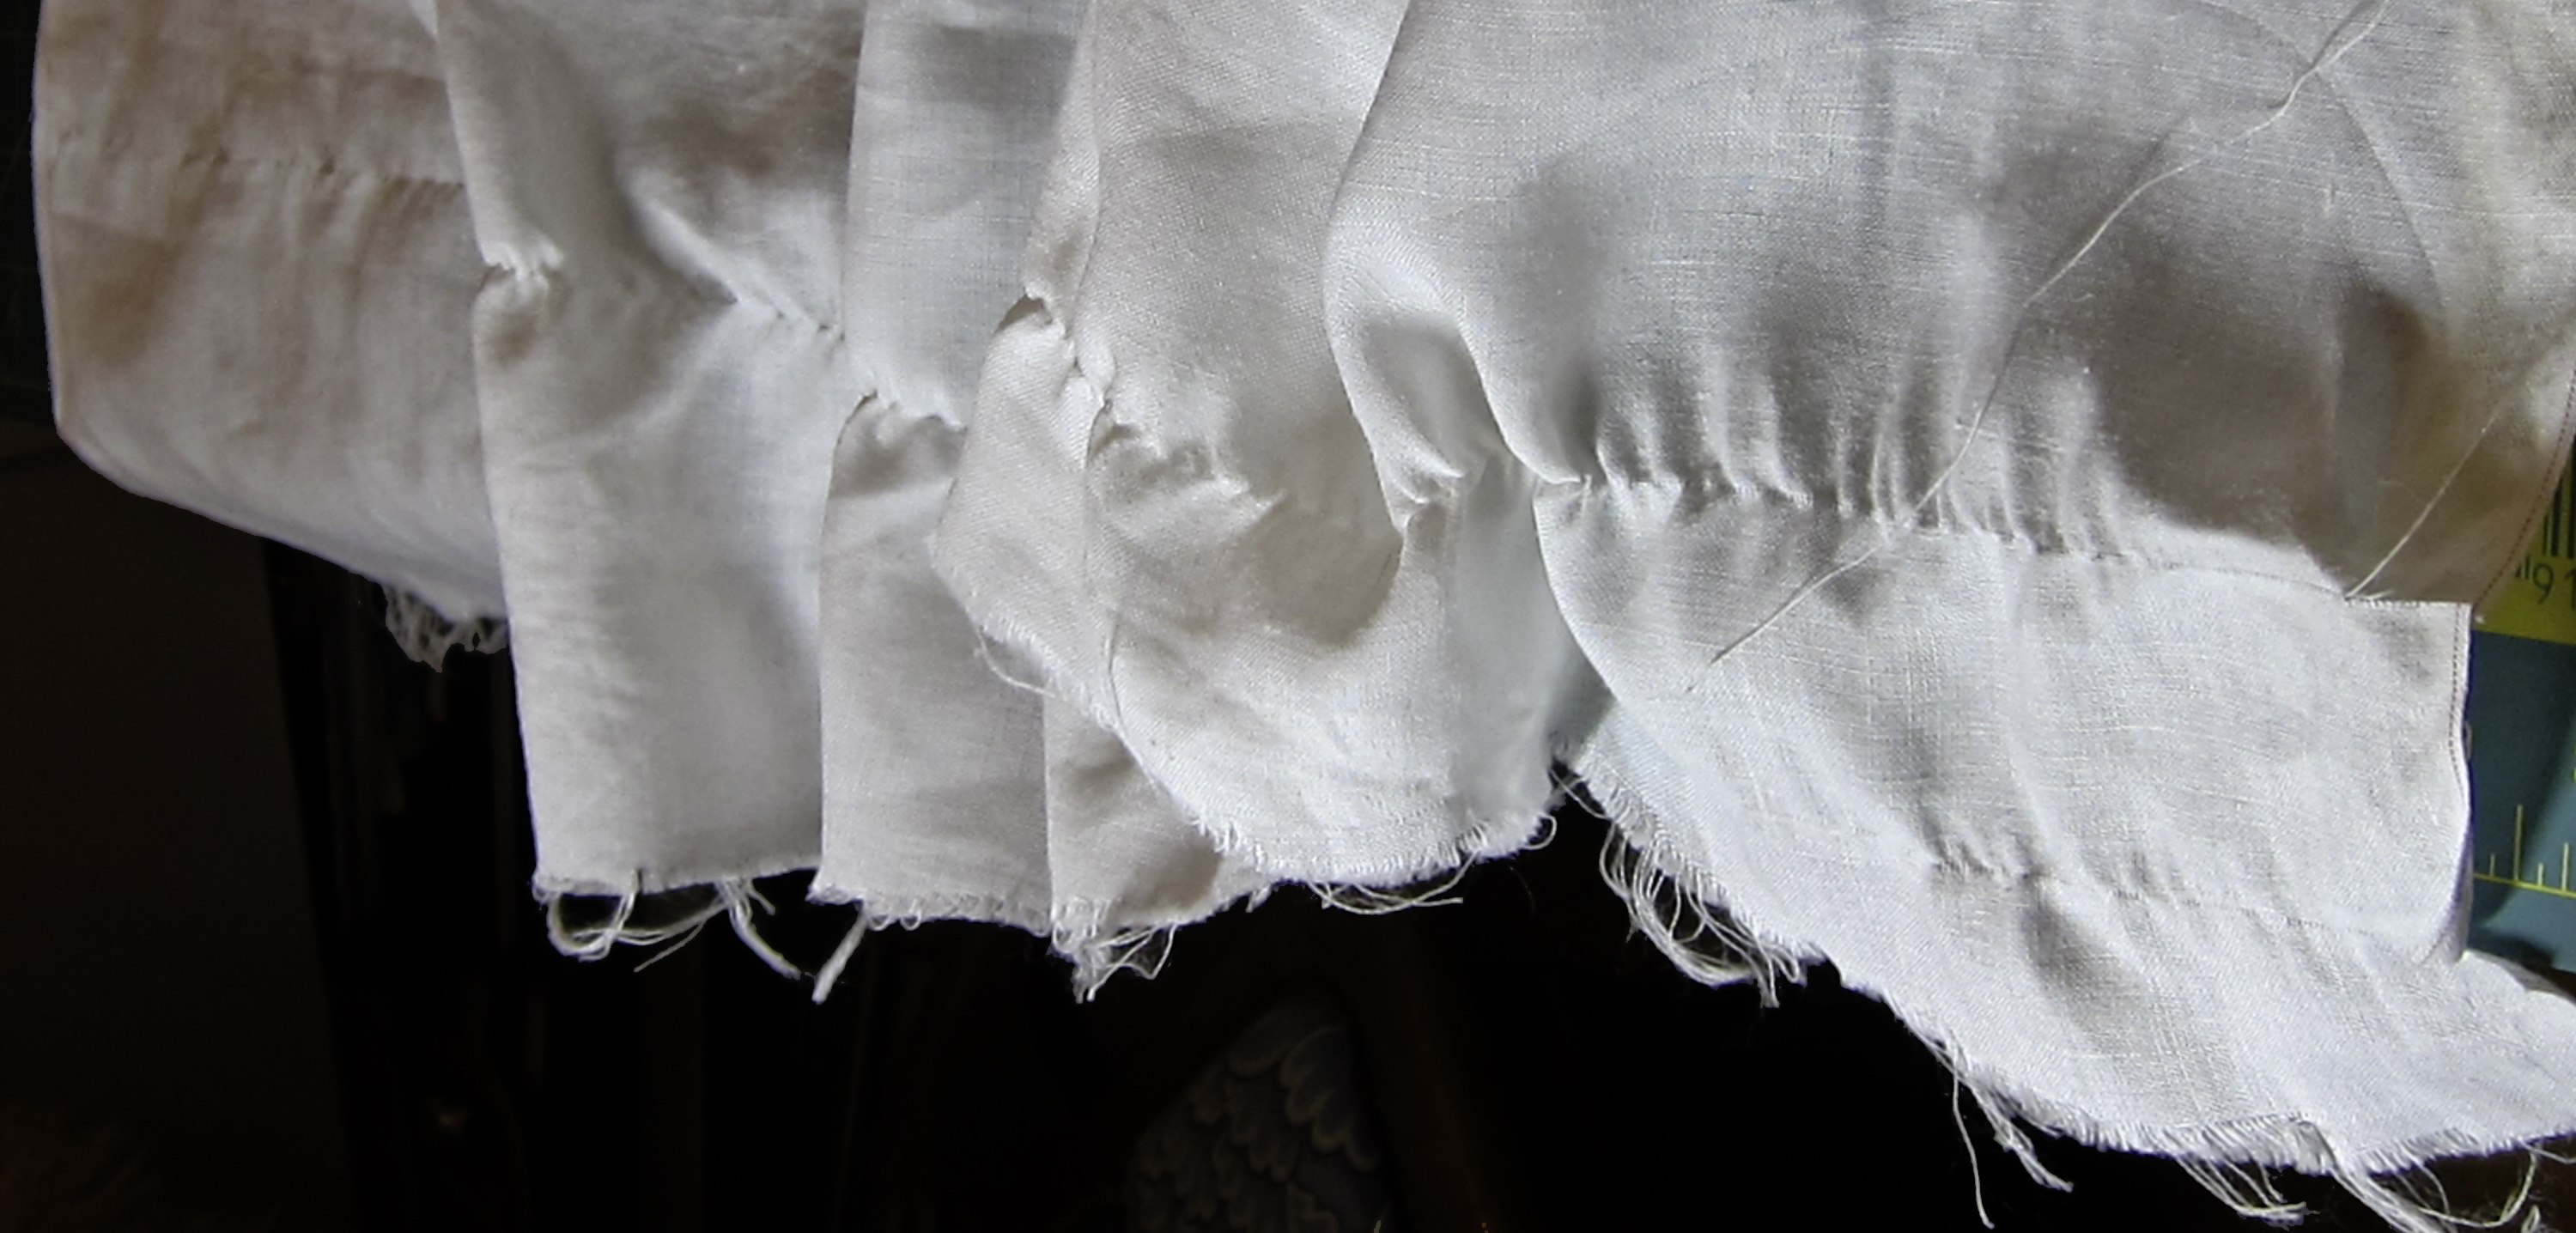
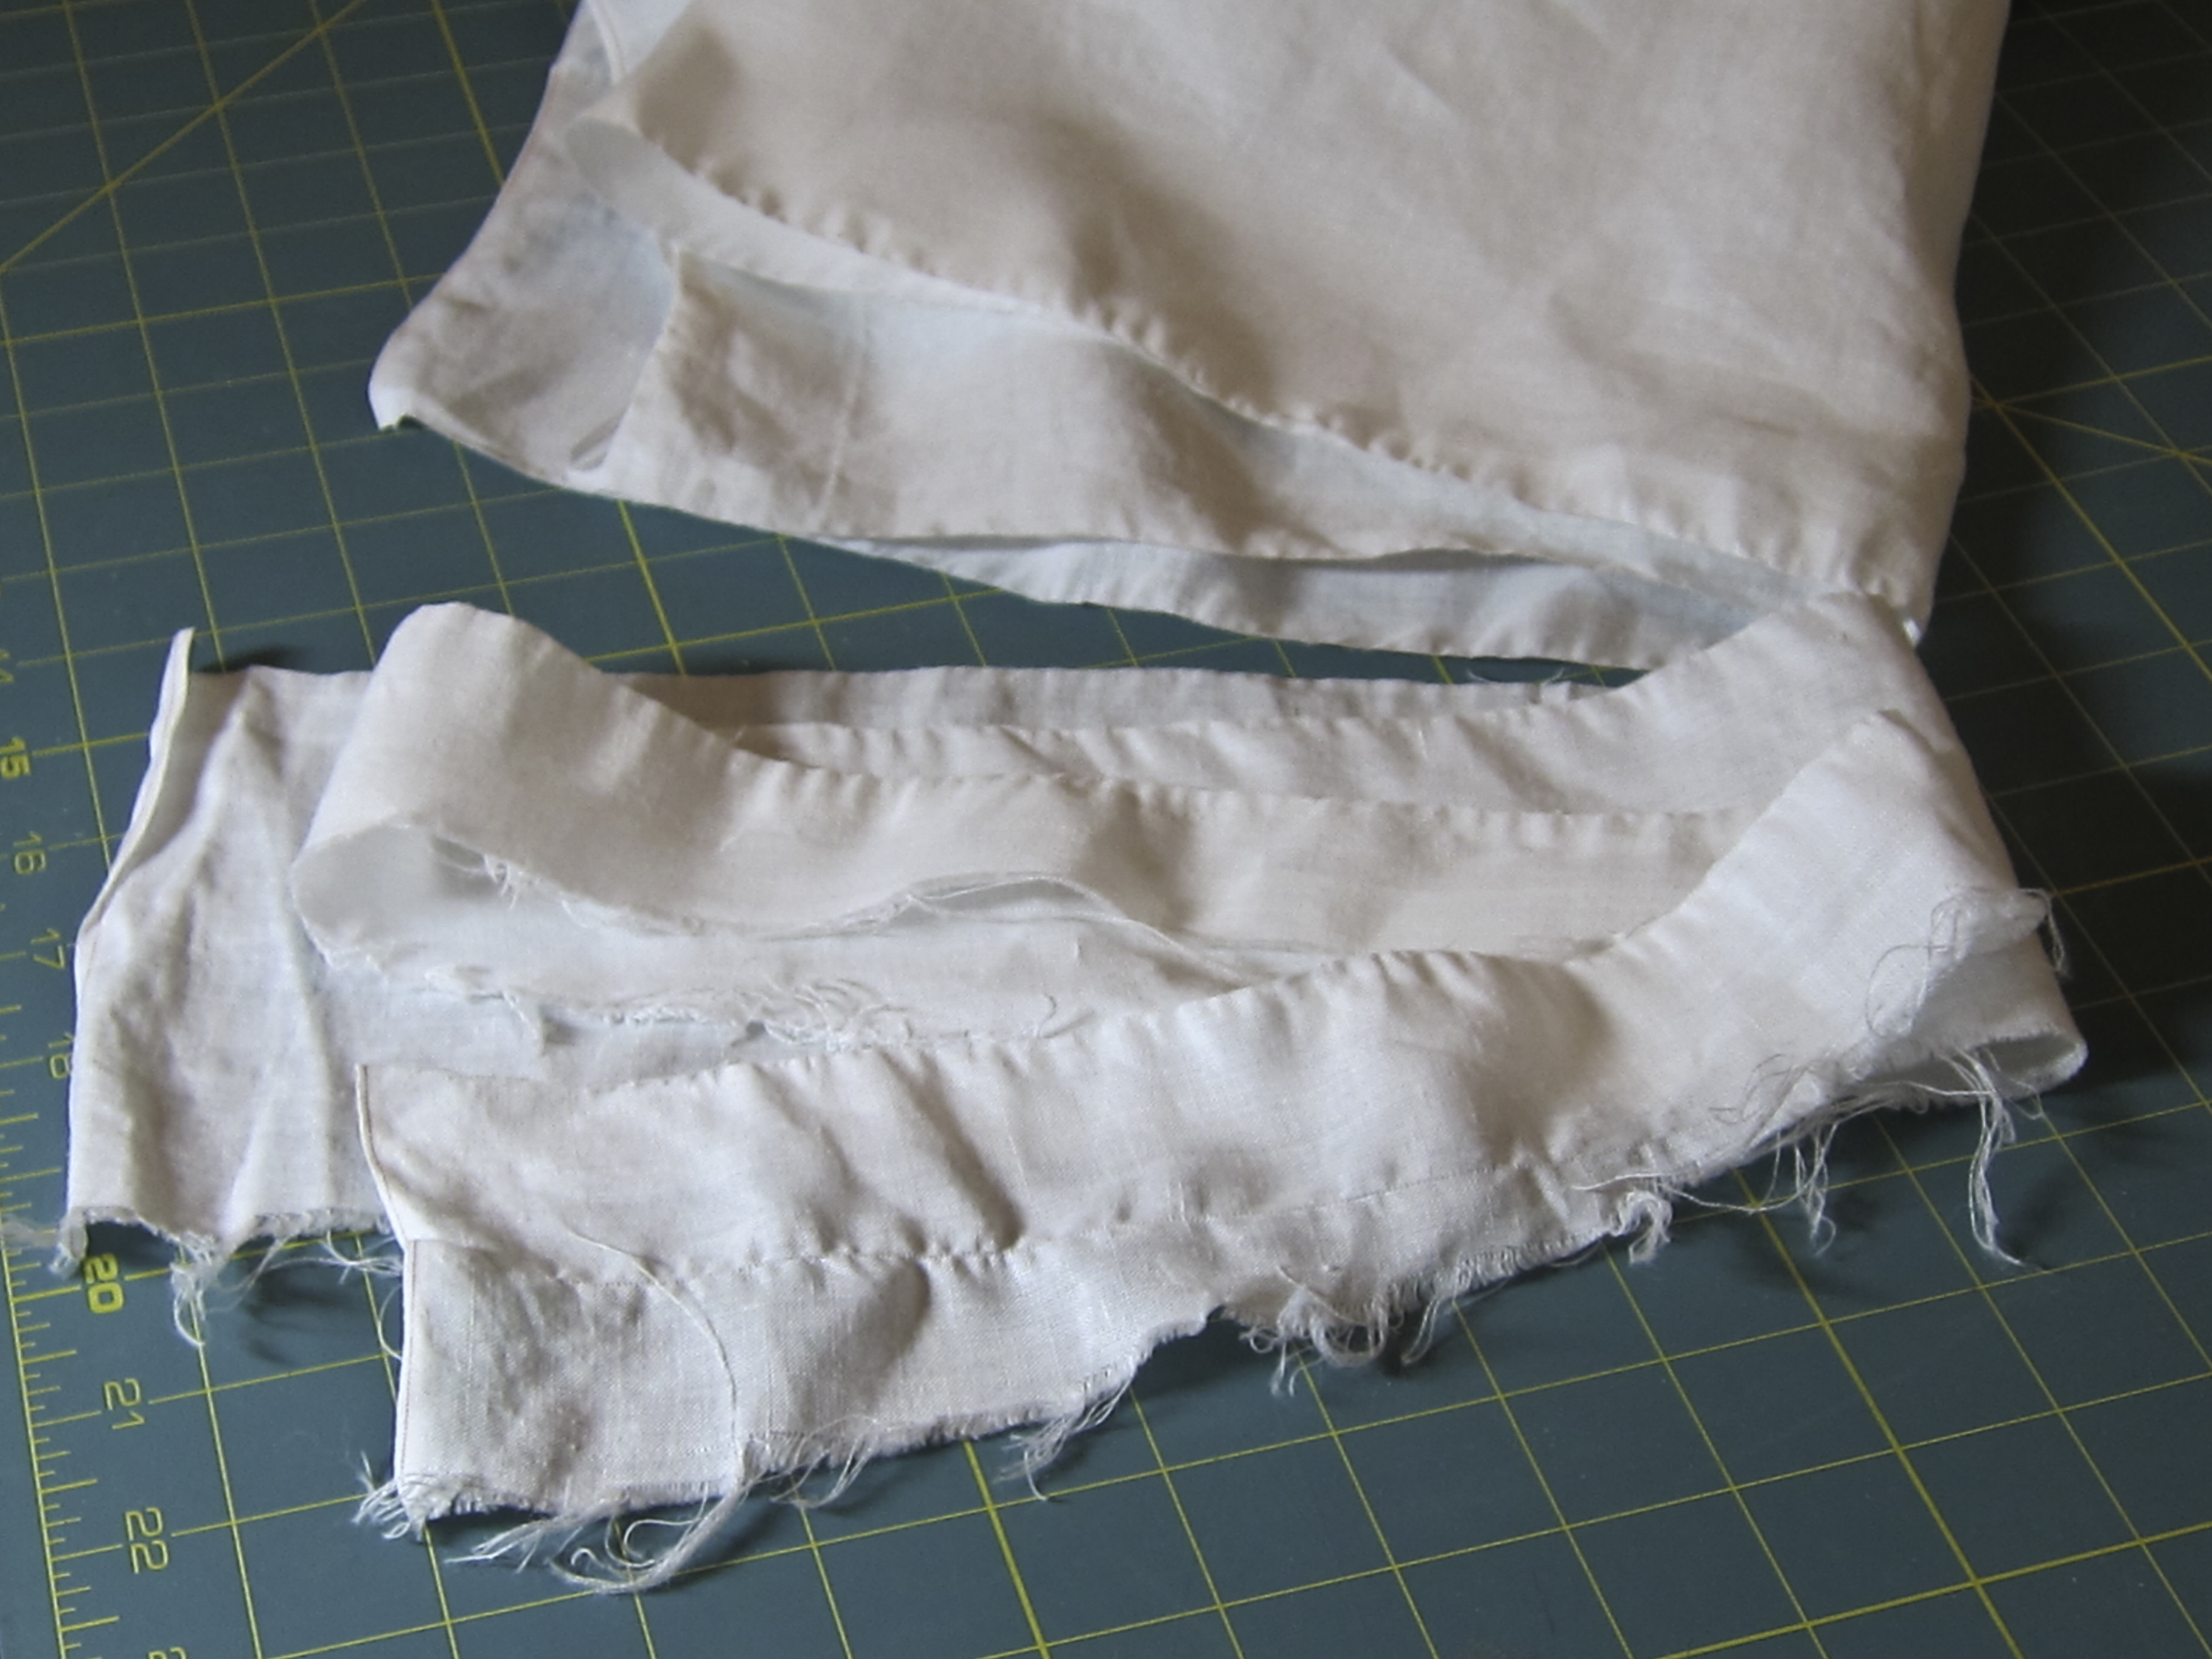
- discovered that, in spite of being thin & fine, the full width of the camicia is too big to fit in my smocking pleater. Unpicked the seams far enough down to handle each panel separately.
- pleated the collar & cuffs of the camicia
- re-stitched the seams & bits of the rolled hem where I’d had to open them for pleating.
30 April 2019
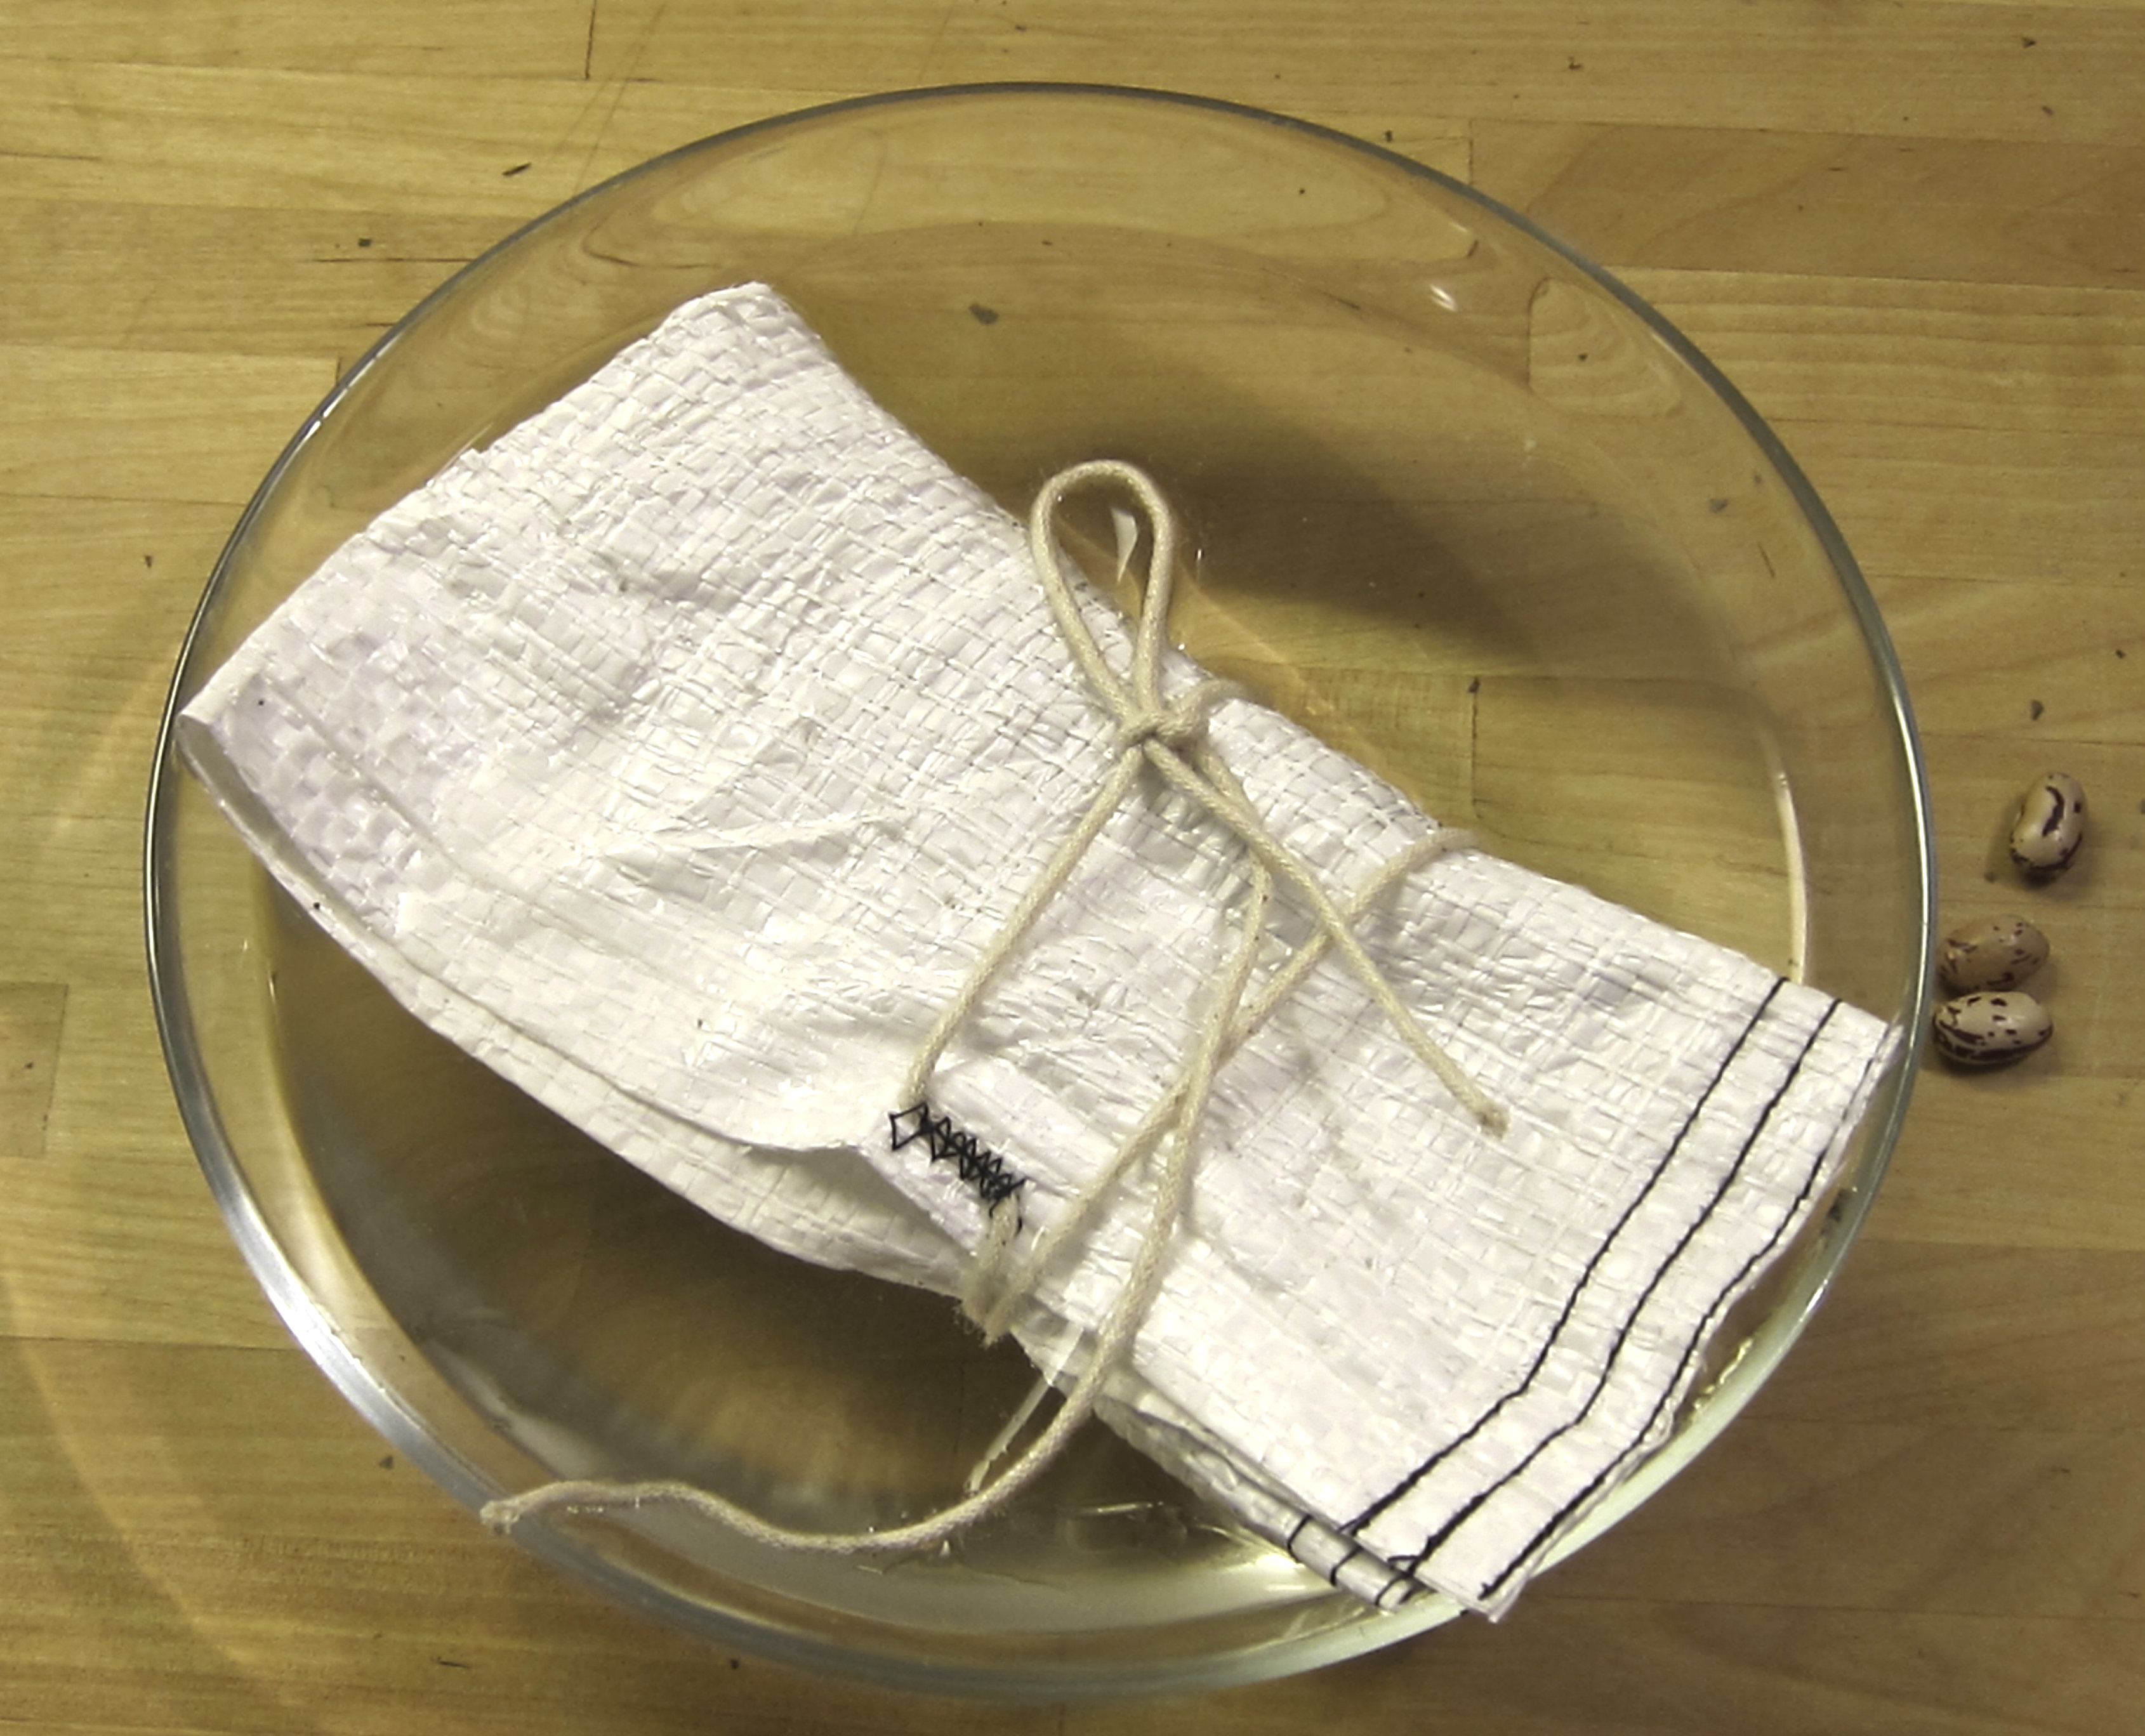
- photographed & packed handwork items
[1] Mathew Gnagy, The Modern Maker Vol. 2: Pattern Manual 1580 – 1640, self-published