Indigo in progress

So, for the next step of the Great Wisteria Exploration, I’m aiming to make a smallish furoshiki (wrapping cloth) with a wisteria weft and a hemp warp, dyed with natural indigo.

And, as a small exploration of indigo in the Japanese mode, I wanted to grow some Polygonum Tinctorium, the plant traditionally used as an indigo source in Japan. (Most of the indigo on the market is derived from Indigofera Tinctoria, an entirely different plant).

The initial challenge was finding seed, and then getting it to sprout – as I grumbled about in my post on June 20th last year.
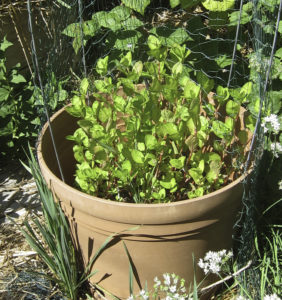
Image of a pot of Japanese indigo growingOnce it had finally sprouted, my tiny crop of PT grew slowly. Unlike its cousin, Japanese knotweed, it made no attempt to take over the garden; in fact, it seemed to be a little unhappy. I don’t know whether this was because of the weather, or the quality of the light or the soil – or just because it preferred to grow in crowds & was lonely for company.
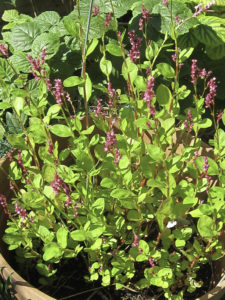
 

However, it did grow, and late in the fall, when I had pretty much given up on having seed to save for next year, it flowered.
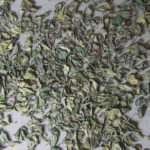
I held off harvesting until the first serious frost warning. Then I cut the plants at ground level, snipped off the (hopefully ripe) flower heads and winnowed them for seed, then stripped the leaves off the stems and put them to dry.

To process the leaves, I’m using Dorothy Miller’s fermentation technique, as described in her Indigo from seed to dye. It’s going to be a challenge, as my “crop” is tiny – just enough to plump out a snack-size Ziploc bag.
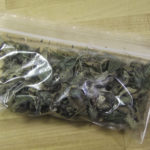
One of the nice things about her method is that, once the leaves are dry,  the next step can wait if Life intervenes!

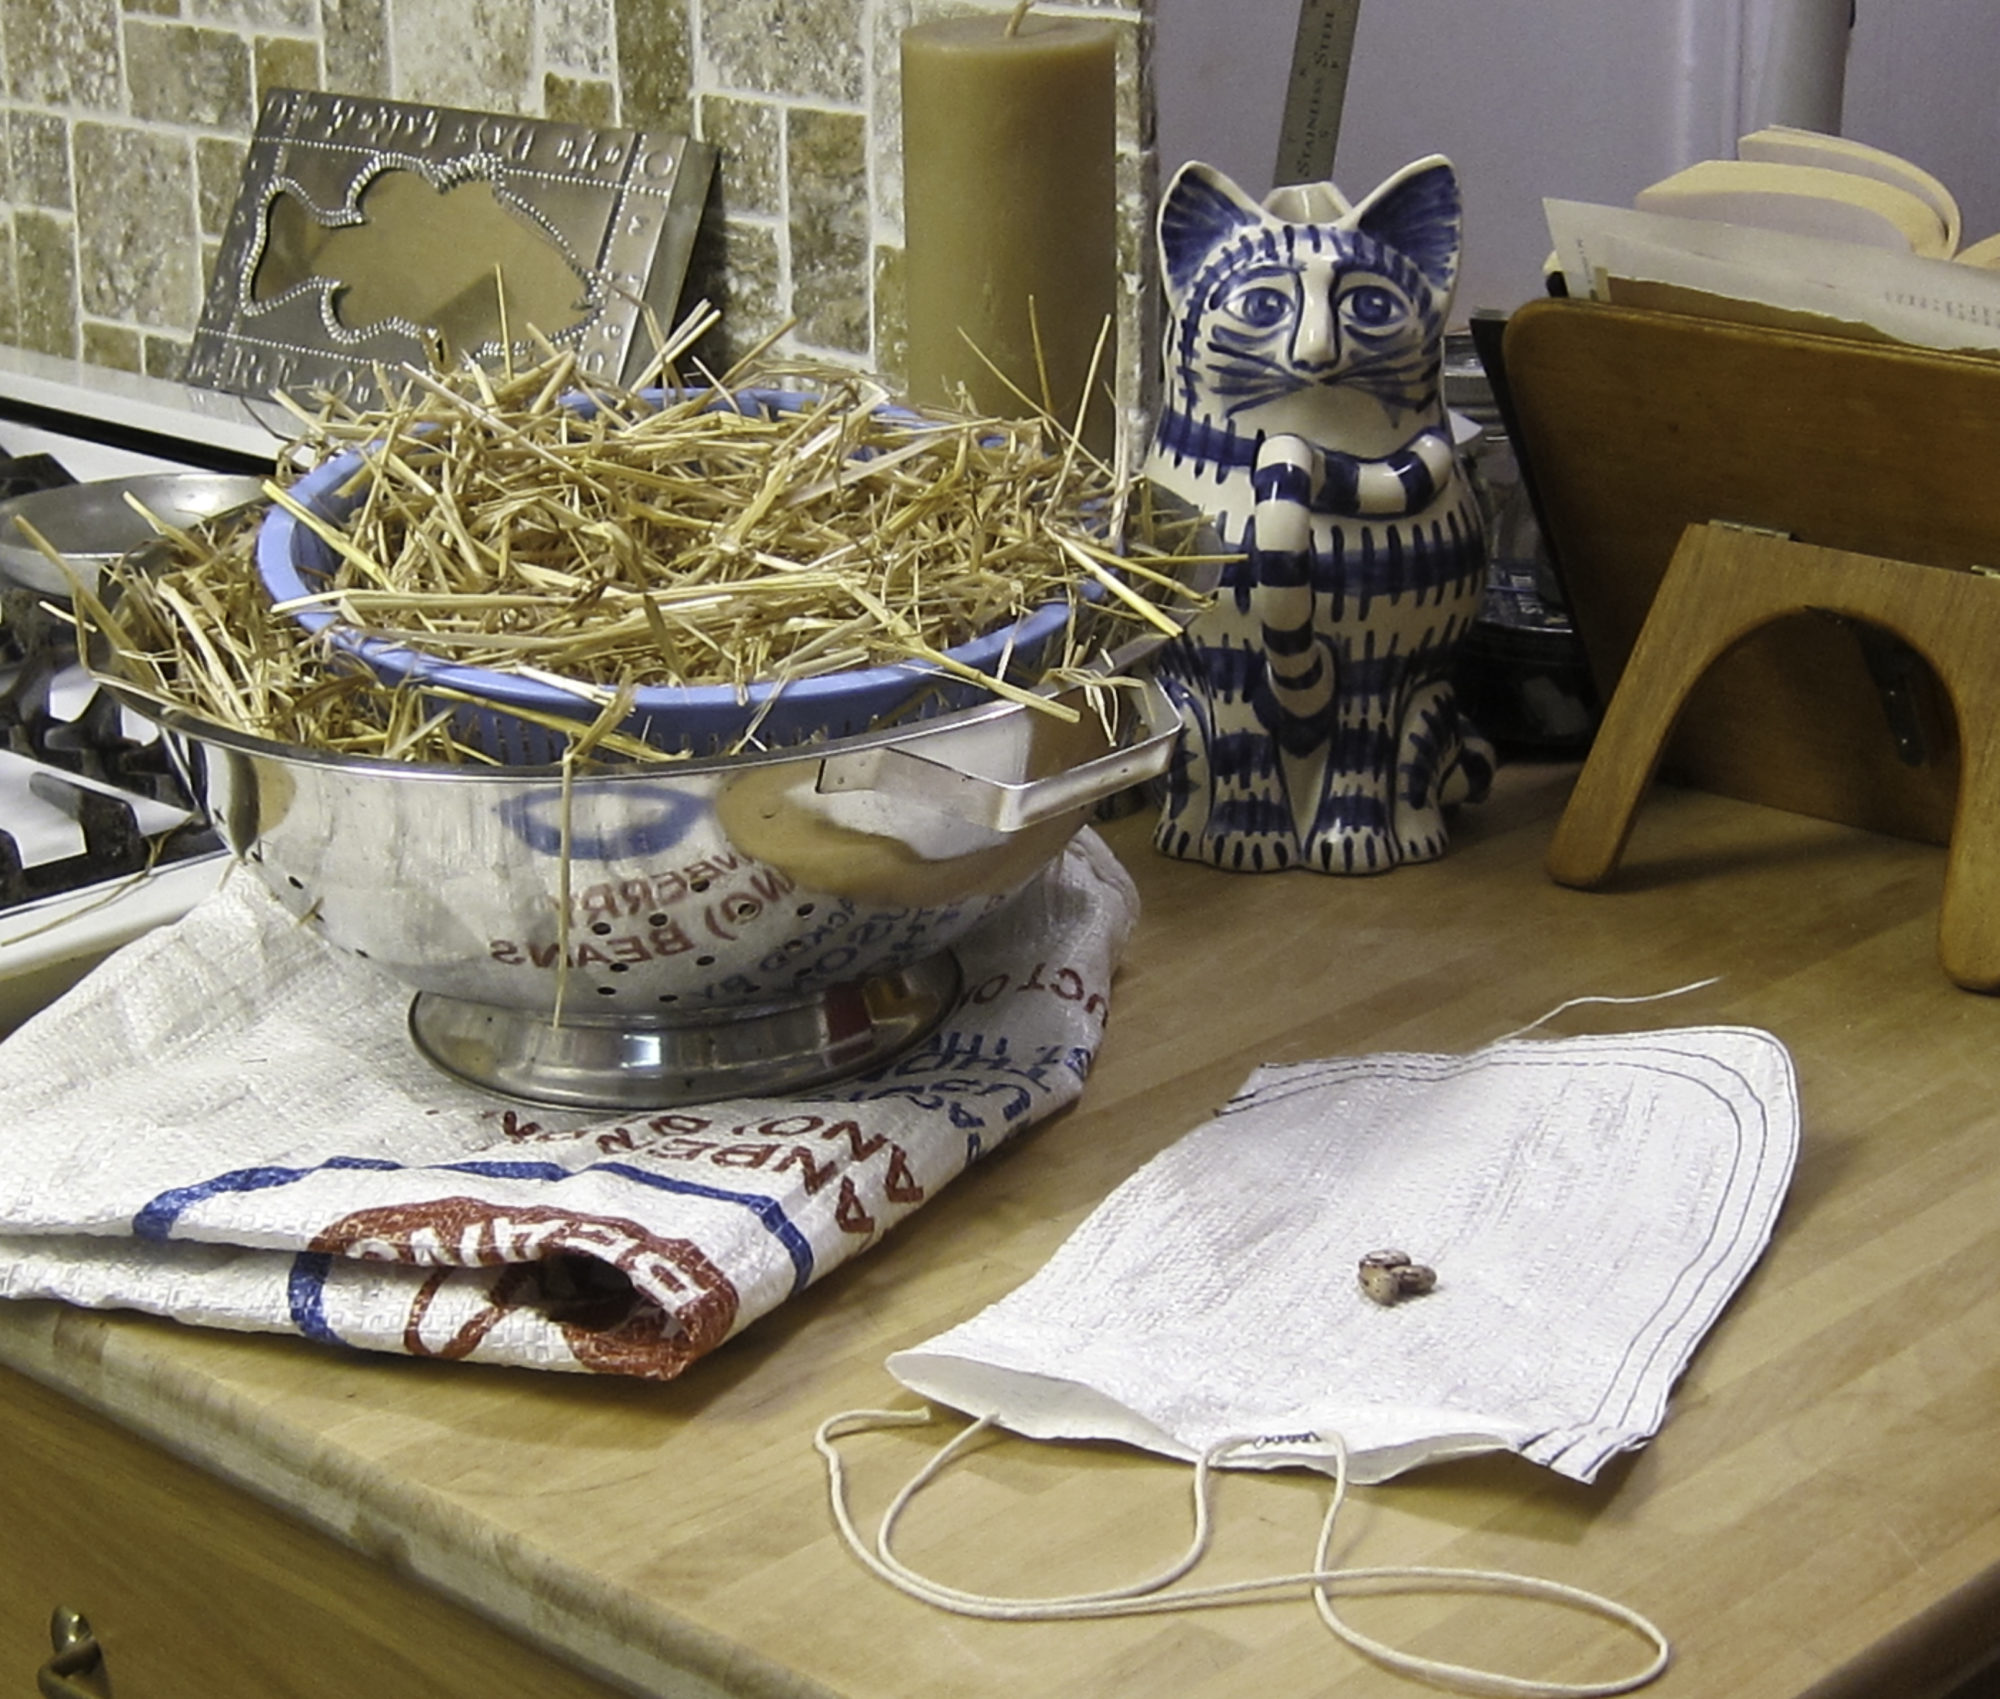
Which it did, for a while. When I finally got back to it last week, I promptly ran into a couple of challenges; two of the materials took a bit of finding – some hay and a plastic “burlap” bag (the woven kind that rice, beans, nuts etc. are often shipped in).

Luckily, a community garden near my brother’s had a few handfuls of hay to spare, and one of the local merchants, who sells nuts, beans and grains in bulk, kindly saved one for me.

It was from cranberry beans, and there were three left in the bottom. You can see them above on top of the small bag I made for the indigo.

Now that I’ve assembled the materials, cut & sewn a tiny “burlap” bag, and made the obligatory mess in the kitchen, here goes.

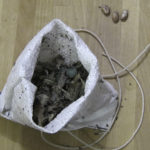
  • put the dried leaves into the miniature plastic “burlap” bag


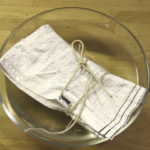
  • wet it thoroughly


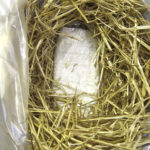
  • nest the bag in a bed of hay


  • cover it with plastic and weigh it down with a stone, or a brick, or a log. Since even a brick is too big for this little indigo, I used a bag of pebbles from the local dollar store
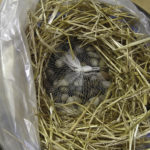
  • put it someplace warm, with good air circulation
  • stir at 5 days & 10 days
  • if it isn’t done at 100 days, stir & keep checking periodically

I have no idea how long this small a mass of indigo will take to ferment. Actually, I’ll be very happy if it turns out to be big enough to achieve critical mass for fermentation!

In any case, it won’t be enough to dye the furoshiki – though there may be enough to dye one of the samples from my initial wisteria experiments!

Next: spinning more wisteria fibre


By | January 28th, 2017|dyes, indigo, Japan, wisteria|Comments Off on Indigo in progress

Wisteria textile – round 3


As I suspected, this lot of wisteria is woodier than the lot I harvested in May last year. Even after cooking it for most of a day, I still wasn’t able to split the fibres consistently, so I left it to soak in the ash/water mixture for most of a week.

It got a bit funky, so I rinsed it out & continued to soak it in clean water. Yesterday I was finally able to start separating the fibres. Not much to say. It’s a long, picky process:

  • pull a length out of the pot
  • untangle it
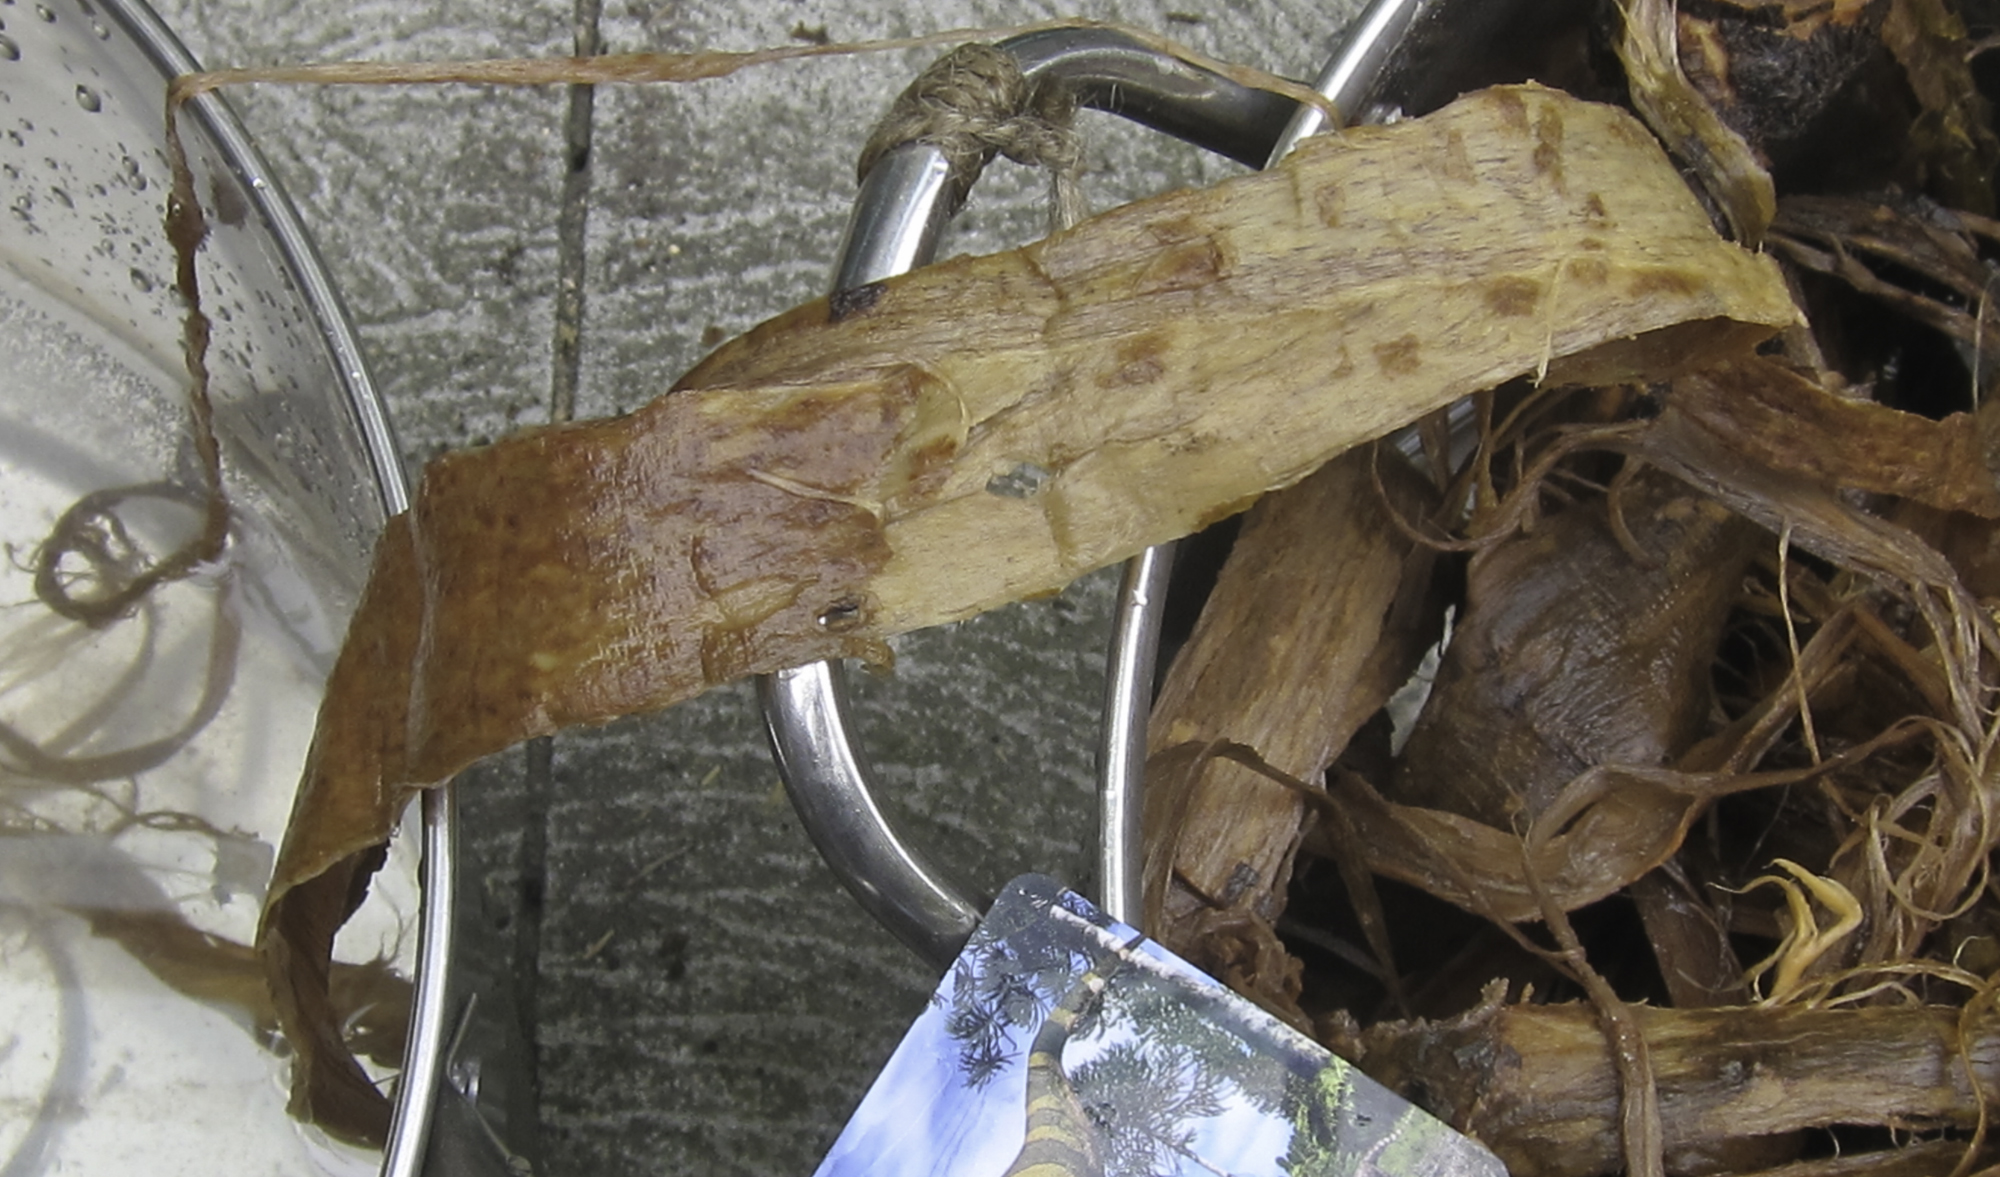
  • if it’s got bark on it, scrape the bark off (it’s not mandatory to scrape with an expired ROM membership card, but more fun than using a chipped kitchen knife)
  • pick out a fibre end
  • pull
  • if the strip is too wide to spin into usable fibre, split it & pull again
  • rinse
  • repeat

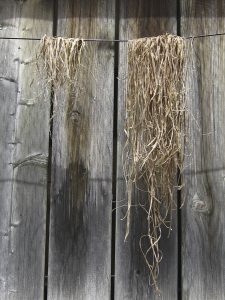
longAndShortIMG_3942The results are four categories of fibre: short, long, “needsAnotherBoilIMG_3945wasteIMG_3946needs another boil”, and waste – plus chunks that are obviously too woody to make fibre of any kind. Once I finish processing this lot, I’ll put the strips that are fibrous, but won’t separate, in to boil with wood ash for a few more hours & see whether they’re usable.

For some reason I had a lot less waste than last year; maybe July fibre is stronger than May fibre, and less brittle than the October harvest. Or, with practice, I’ve gotten better at processing it. Or both.

This lot of wisteria is darker than the previous batches –  I don’t know whether it’s because I harvested it during the middle of growing season, or because I left it in the ash bath longer, or that this summer is much drier than last summer. Once it’s woven, I’m planning to piece-dye it with indigo, and I’m curious about how the darker fibre affects the colour. I’ve got enough from my initial experiment to weave a sample for dyeing, and I’ll be interested to see how the two batches compare when dyed in the same bath!


Save

Save

By | July 25th, 2016|dyes, fibers, indigo, wisteria|Comments Off on Wisteria textile – round 3

Wisteria textile – round 2

The house-eating wisteria had a very bad day yesterday; my daughter and I attacked it.

Not just to harvest a few vines for making fibre, but to cut it back seriously. It was starting to infiltrate the roof, and, frankly, I’m very tired of its “house with a bad hair day” effect.

Plus the fact that it was so fat and happy that it didn’t bother to bloom this year!

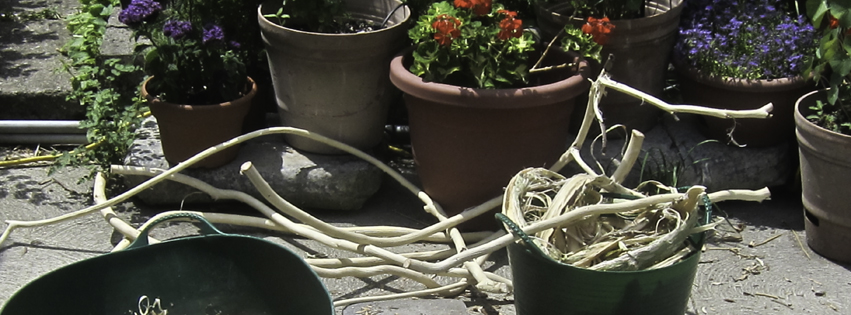
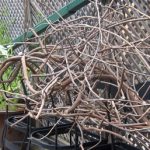
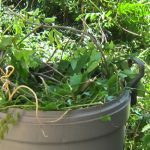
woody wisteria vinesSo we gave it a severe pruning, separated the leaves & stems wisteria leaves & stemsfrom the woody vines, and today I started processing the vines for fiber.

This is my second wisteria project; the first was an experiment to see whether I could make any wisteria textile at all, which I posted on facebook

This time I’m aiming to produce enough wisteria fibre to weave a furoshiki with a hemp warp and a wisteria weft.

The processing is very low-tech – but hard work. It goes like this:

  • pound the stems with a sledge hammer
  • pull the cambium & bark off the heartwood
  • peel and/or slice the bark off the cambium
  • mix the cambium with water & wood ash & put on to boil

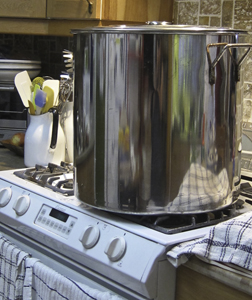
Which is as far as I’ve gotten today. The Very Big Pot is on the stove, full of long strips of wisteria and dirty water.Very Big Pot boiling wisteria

I don’t know how long this lot will take to process. The ideal time to harvest the wisteria is May, but tackling it is a two-person job, and between busy-ness and uncooperative weather, we didn’t get to it until yesterday.

With the extra growing time, some of the stringy, fibrous layer is getting woody, and I suspect I’ll have to pick it out and give it and extra-long boil to loosen it up enough to separate the fibres.

With this huge pot on the stove for the next few days, cooking food is going to be interesting!


Save

Save

Save

Save

Save

Save

Save

Save

By | July 10th, 2016|fibers, wisteria|Comments Off on Wisteria textile – round 2

Japanese indigo finally sprouts!

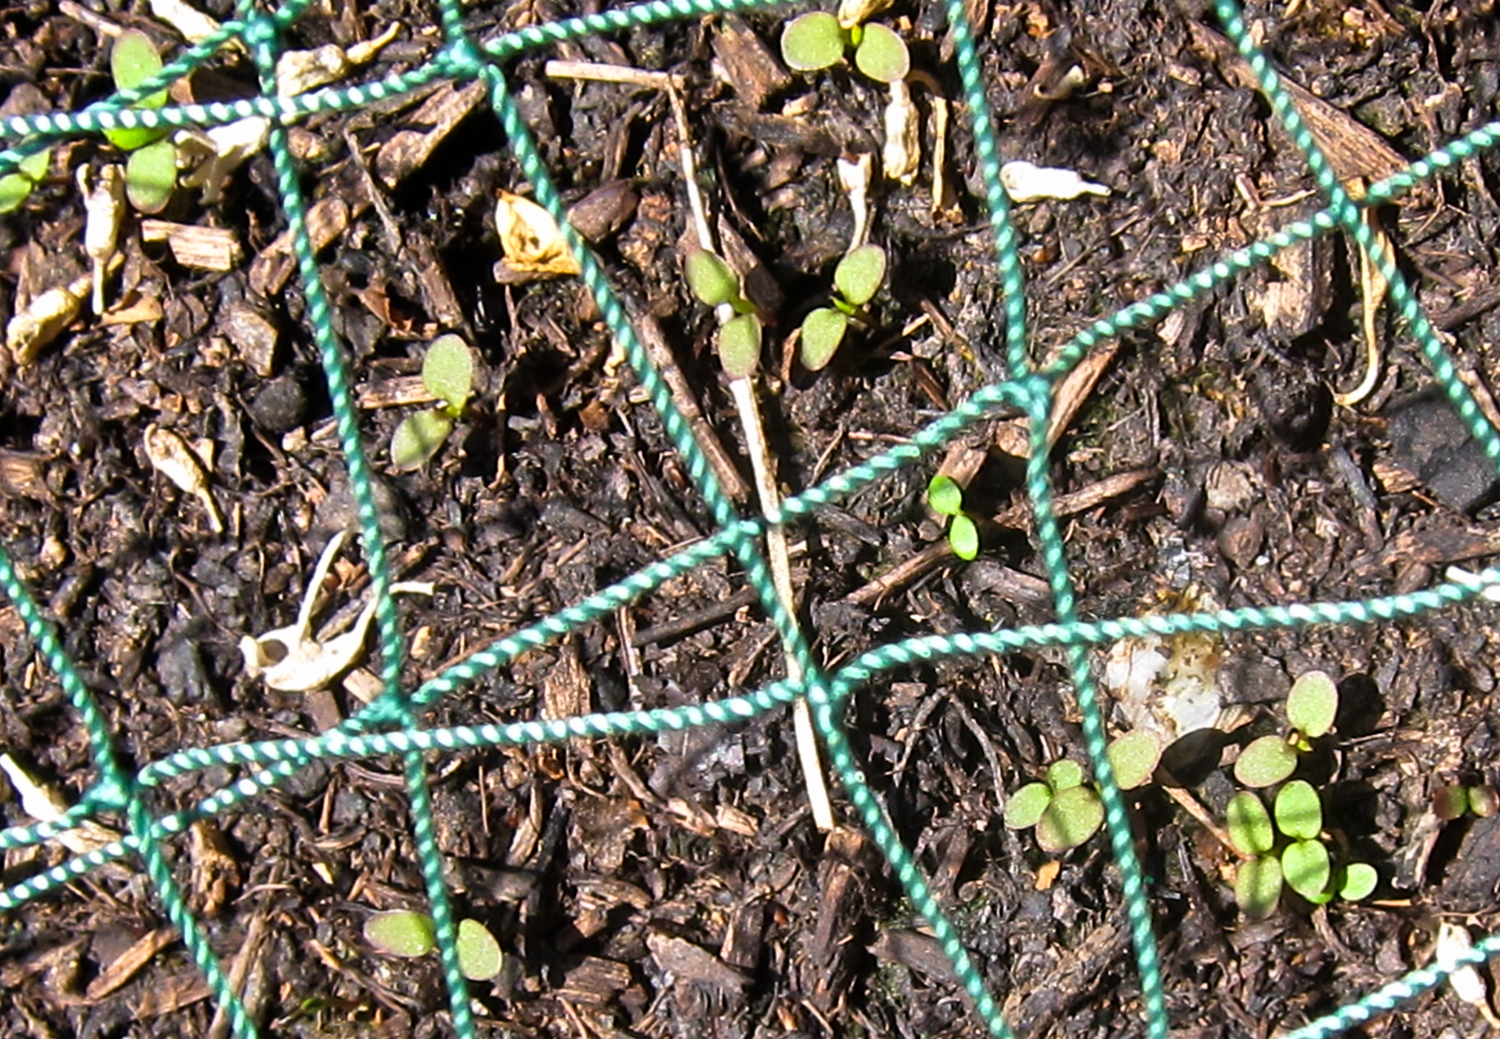
After many weeks, and on the third attempt, my Japanese indigo has finally sprouted!

Now that I’ve managed to make a textile sample out of the wisteria vine that’s trying to eat my house, I’m on to a more ambitious project: a wisteria-fibre & hemp furoshiki (wrapping cloth), block-resist dyed with indigo.

Since I’ve got a limited amount of wisteria to work with, I’m planning to use commercial hemp thread as the warp.

And, to explore Japanese dyeing techniques, I’m working on growing Japanese indigo – Polygonum tinctorium.

It’s a cousin of Japanese Knotweed – which I’ve been battling for years – and I was dubious about letting it into my garden, but it looks like I needn’t have worried; it’s amazingly slow to germinate! Or at least, amazingly slow to germinate here in Toronto.

To start with, the seed is hard to find. My usual sources – Richter’s and Humber Nurseries – don’t have it, and most of the few suppliers on the web were out of stock by the time I tried to order it last winter. I finally found some on Etsy.

My first attempt to start the seeds was a dismal failure; nothing happened. It needs to be “evenly moist”, and after three weeks or so of nothing happening, I got less careful with the watering.

The second attempt was scuttled by squirrels. They decided the nice, well-tilled raised bed I used was the perfect place to dig.

Finally, I filled a big, self-watering pot with fresh organic soil mix, sprinkled the rest of the seeds on top (they need light to germinate), tied bird netting over the top, and kept a careful eye on the moisture level.

Nothing kept happening. For at least three weeks. Maybe four – I’ve lost track. Finally yesterday, long after I had pretty much give up hope, a bunch of tiny sprouts popped up.

Yay!

Now I have a big flower pot studded with pairs of  baby leaves. Maybe now it’ll pick up speed and behave more like a knotweed – I’m not sure whether to cheer or worry!

By | June 20th, 2016|dyes, fibers, hemp, indigo, wisteria|Comments Off on Japanese indigo finally sprouts!