
Indigo in progress
So, for the next step of the Great Wisteria Exploration, I’m aiming to make a smallish furoshiki (wrapping cloth) with a wisteria weft and a hemp warp, dyed with natural indigo.
And, as a small exploration of indigo in the Japanese mode, I wanted to grow some Polygonum Tinctorium, the plant traditionally used as an indigo source in Japan. (Most of the indigo on the market is derived from Indigofera Tinctoria, an entirely different plant).
The initial challenge was finding seed, and then getting it to sprout – as I grumbled about in my post on June 20th last year.
 Once it had finally sprouted, my tiny crop of PT grew slowly. Unlike its cousin, Japanese knotweed, it made no attempt to take over the garden; in fact, it seemed to be a little unhappy. I don’t know whether this was because of the weather, or the quality of the light or the soil – or just because it preferred to grow in crowds & was lonely for company.
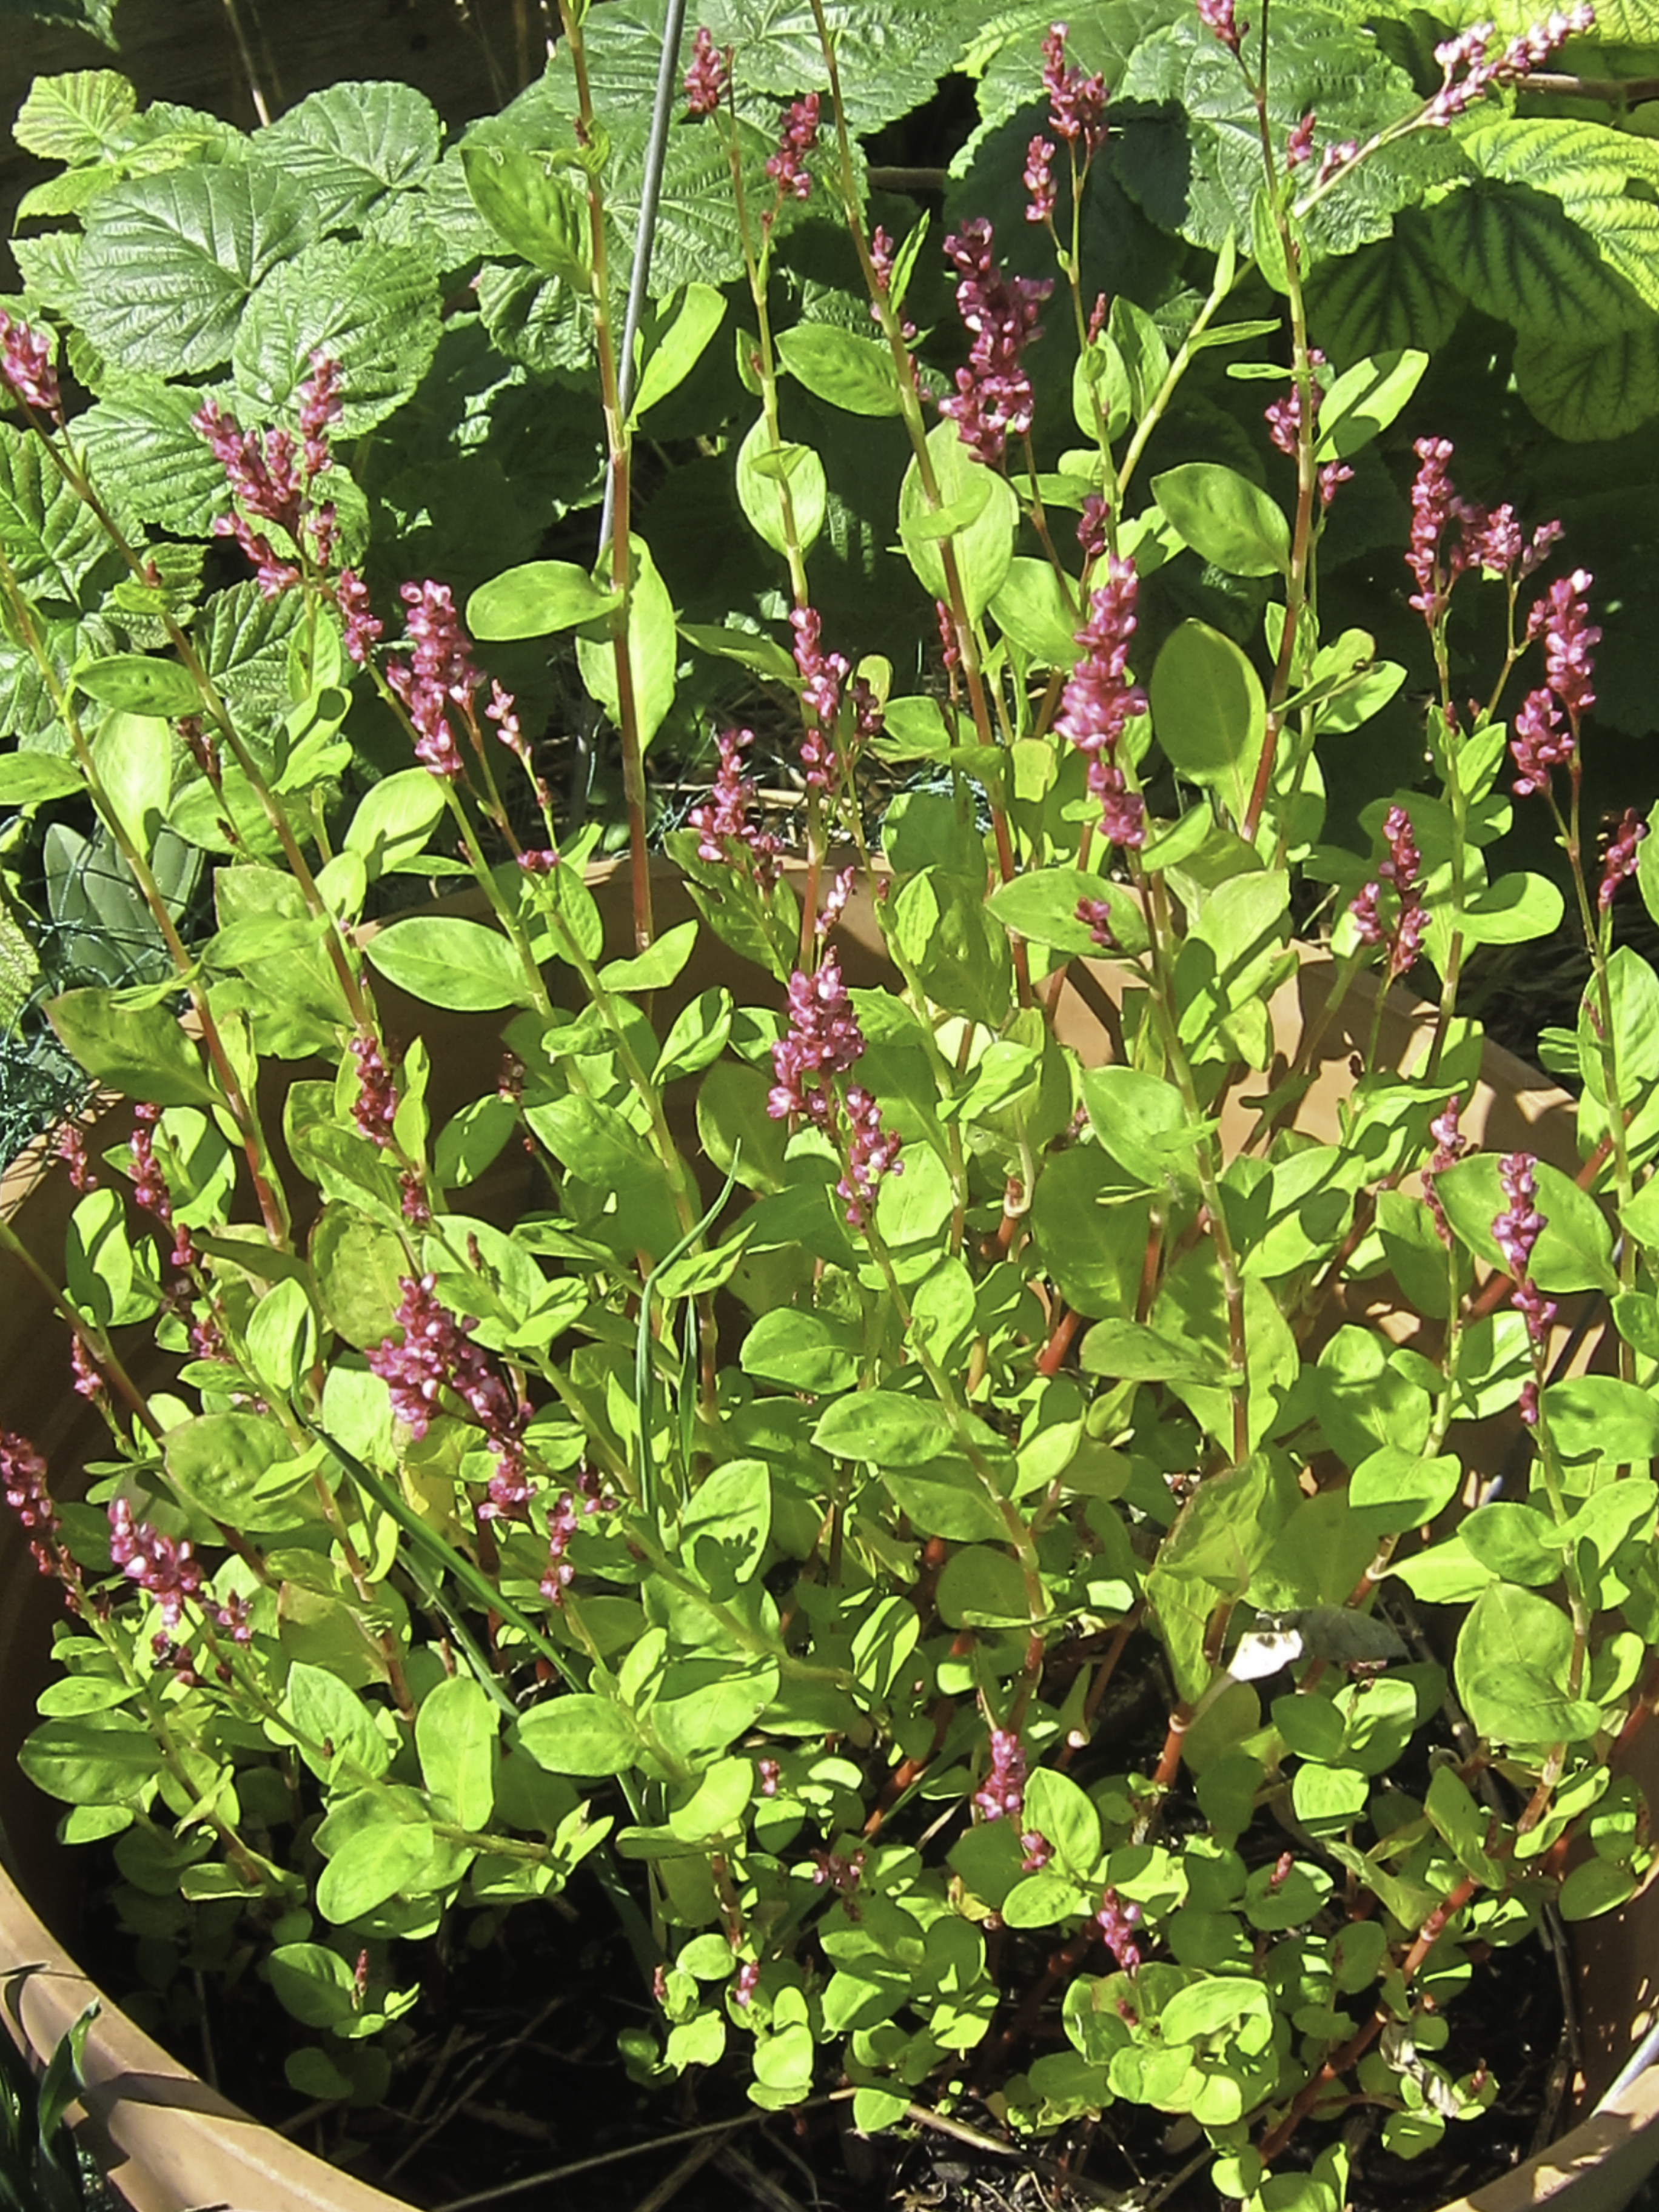 However, it did grow, and late in the fall, when I had pretty much given up on having seed to save for next year, it flowered.
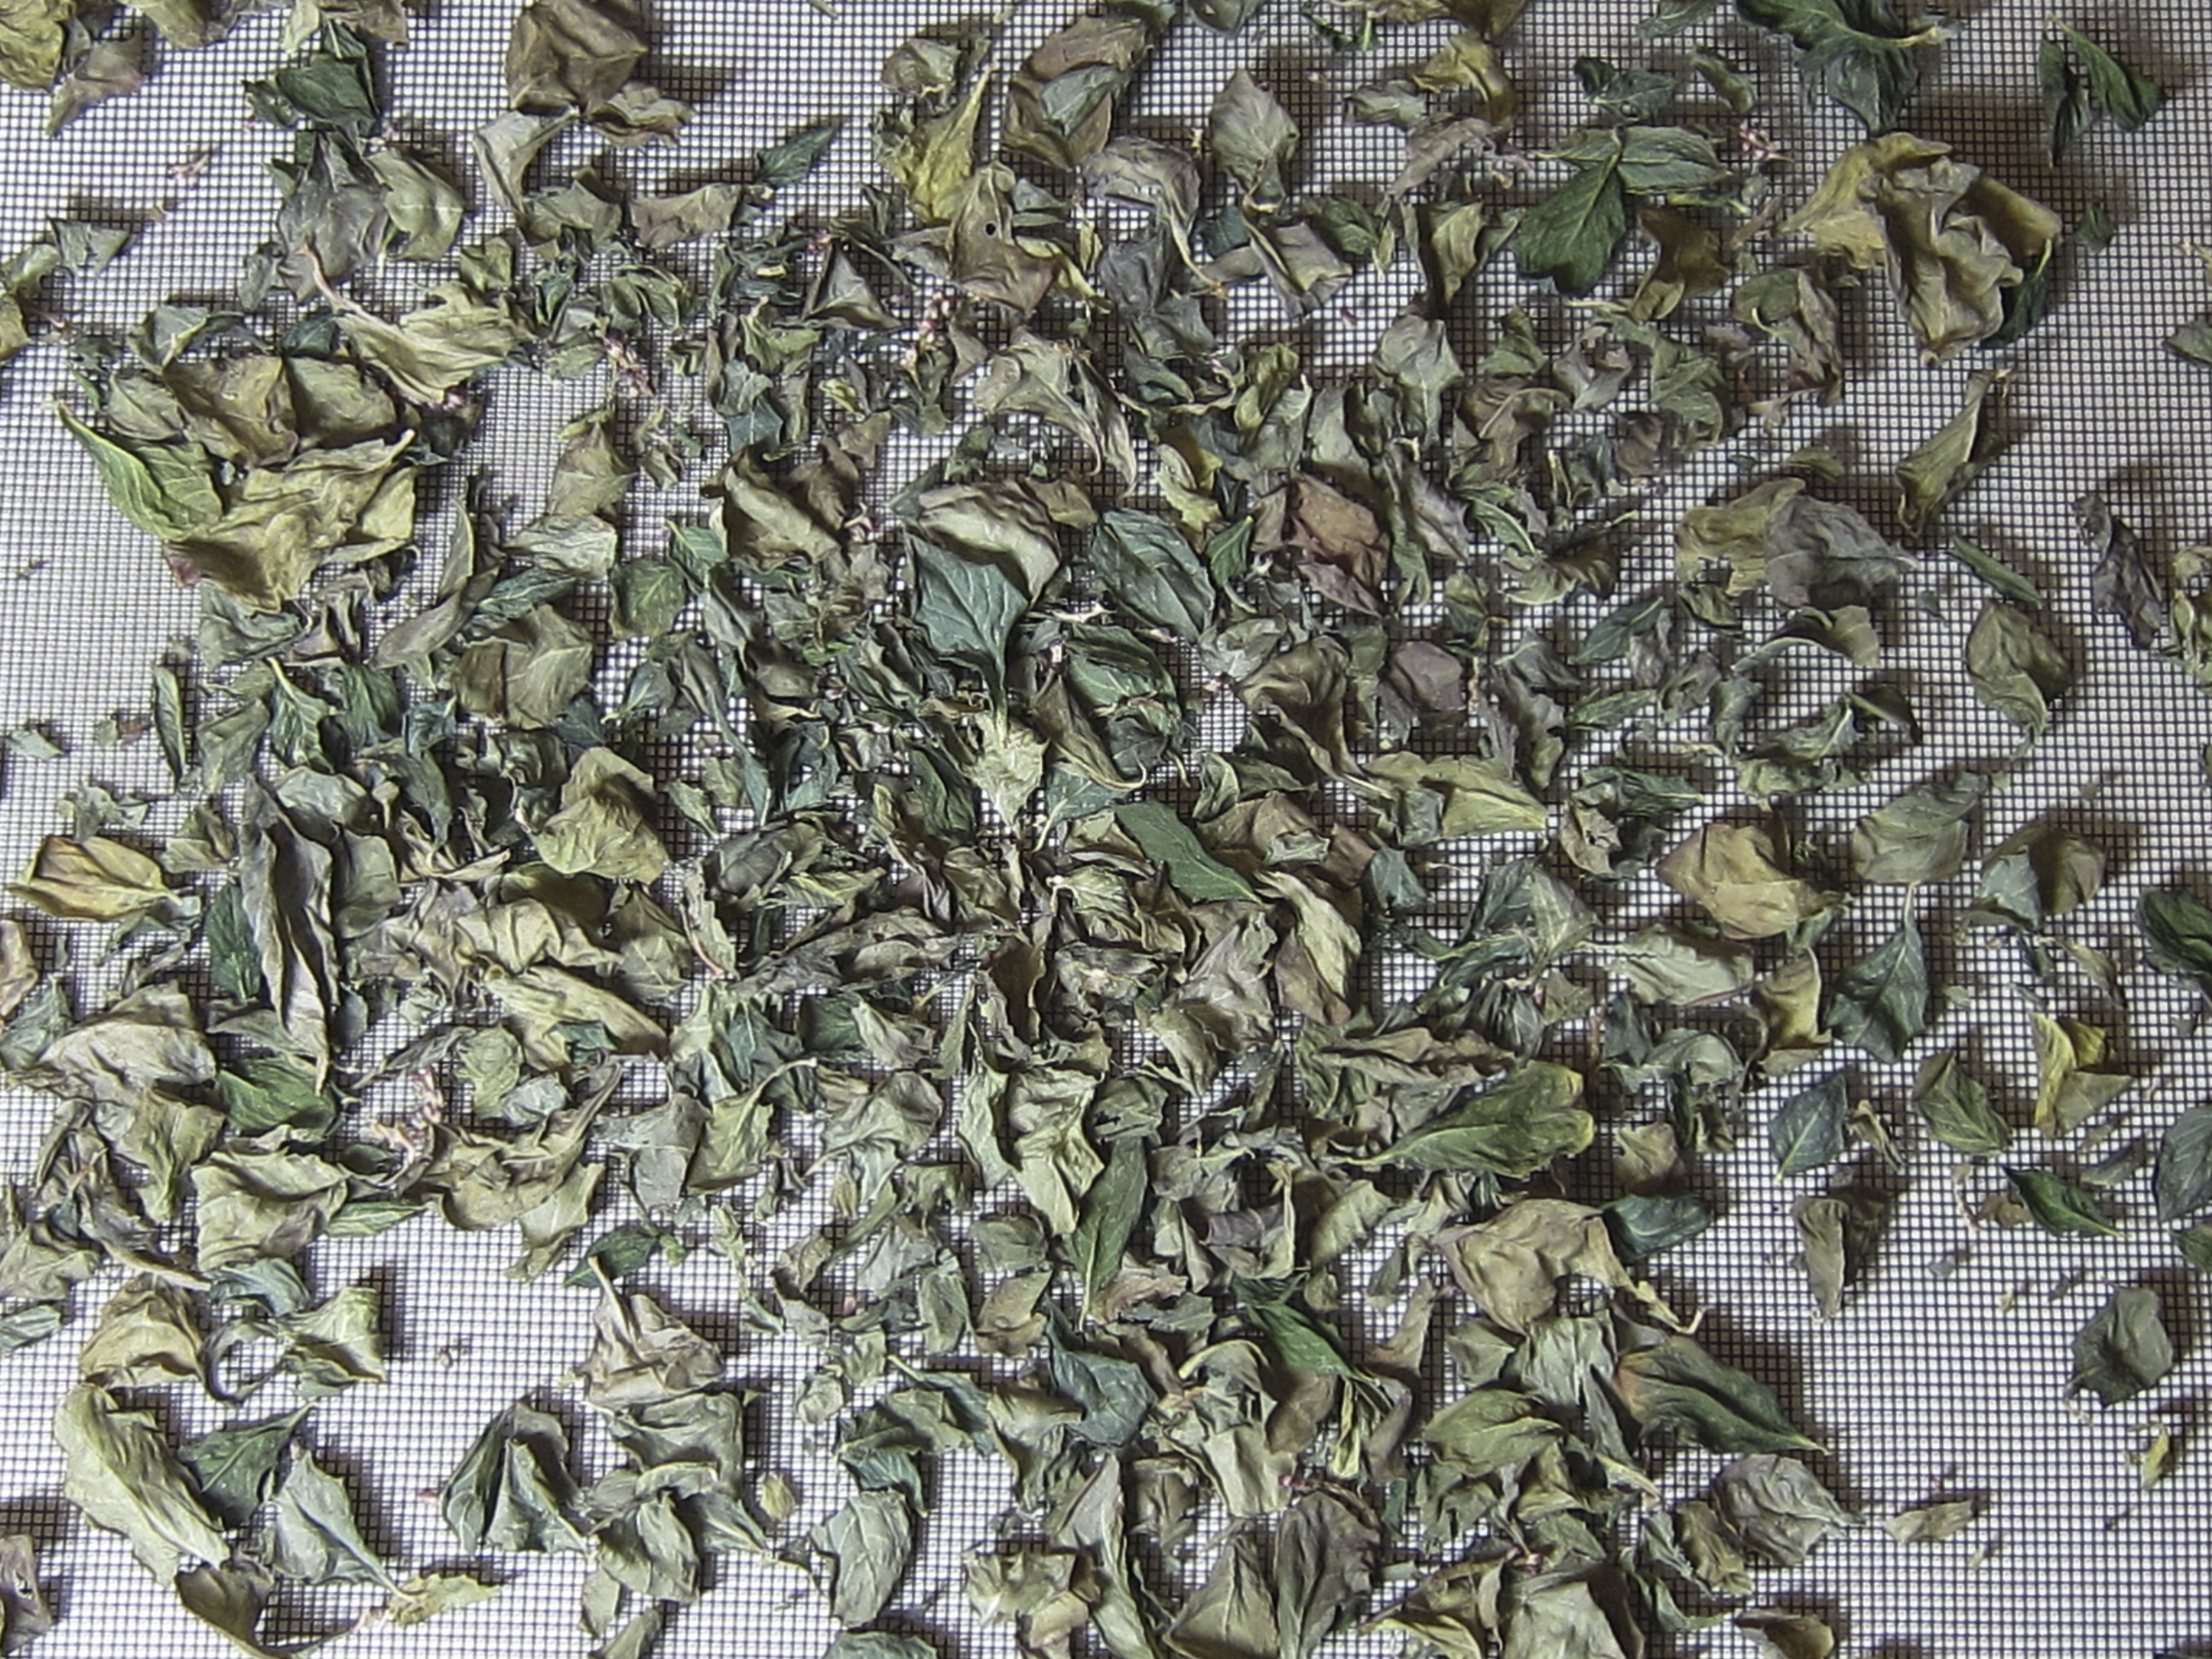 I held off harvesting until the first serious frost warning. Then I cut the plants at ground level, snipped off the (hopefully ripe) flower heads and winnowed them for seed, then stripped the leaves off the stems and put them to dry.
To process the leaves, I’m using Dorothy Miller’s fermentation technique, as described in her Indigo from seed to dye. It’s going to be a challenge, as  my “crop” is tiny – just enough to plump out a snack-size Ziploc bag.
One of the nice things about her method is that, once the leaves are dry, the next step can wait if Life intervenes!
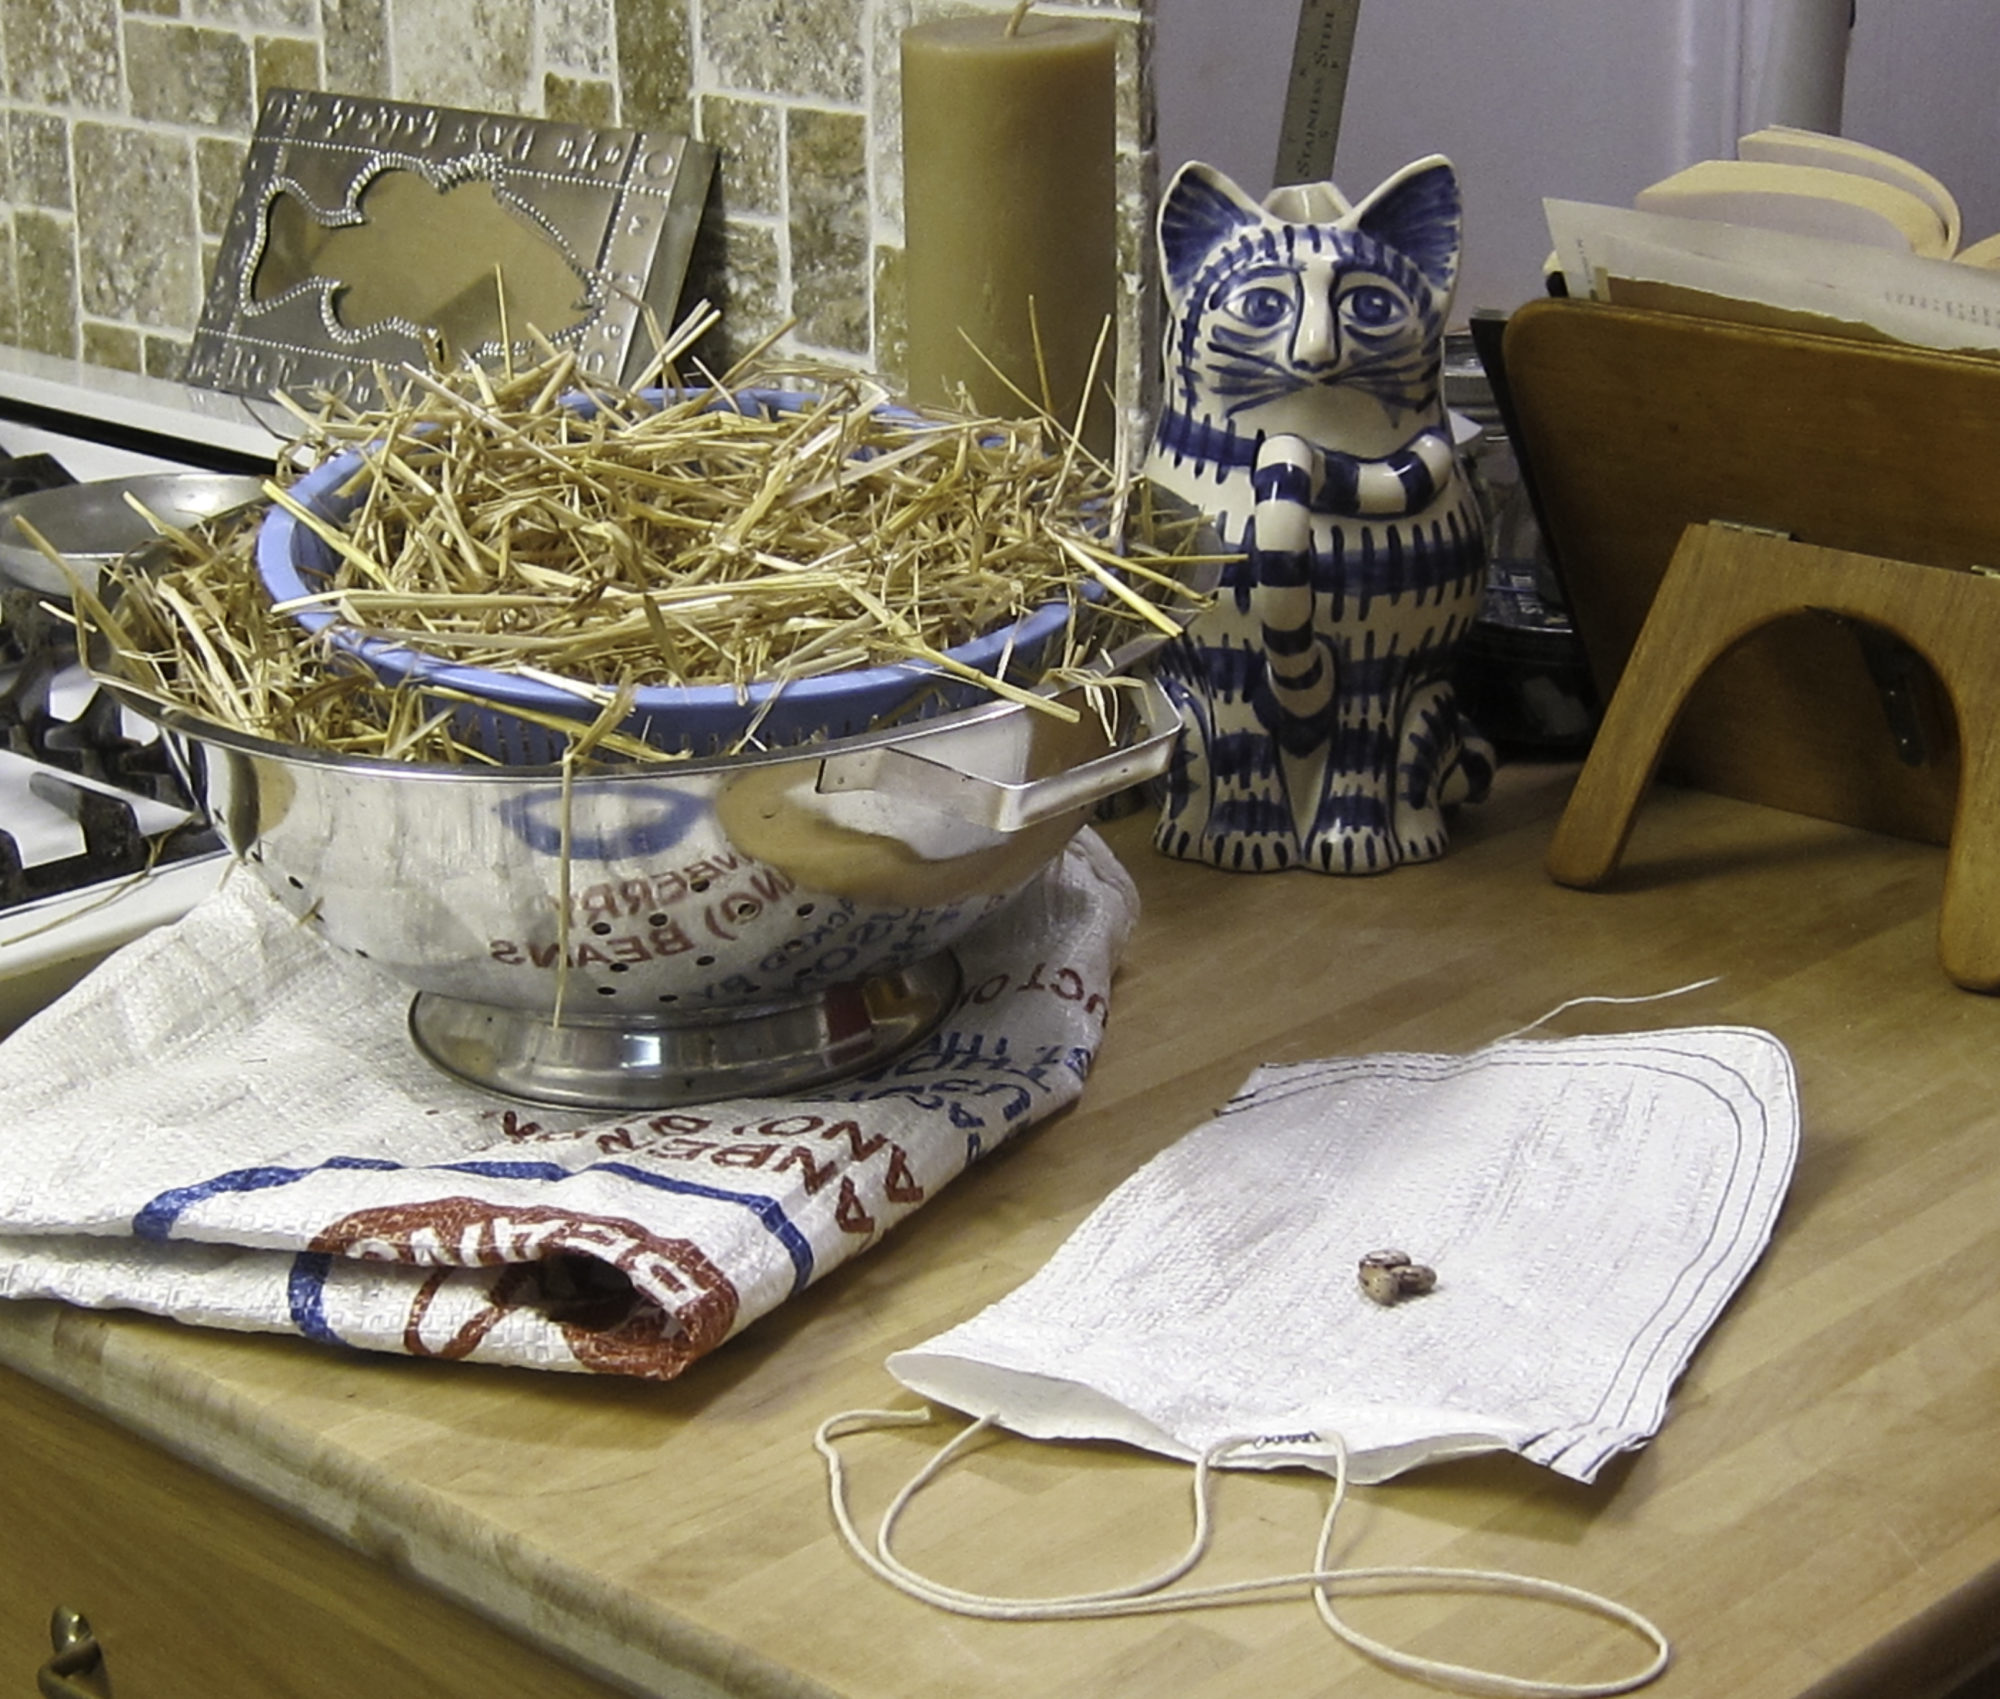
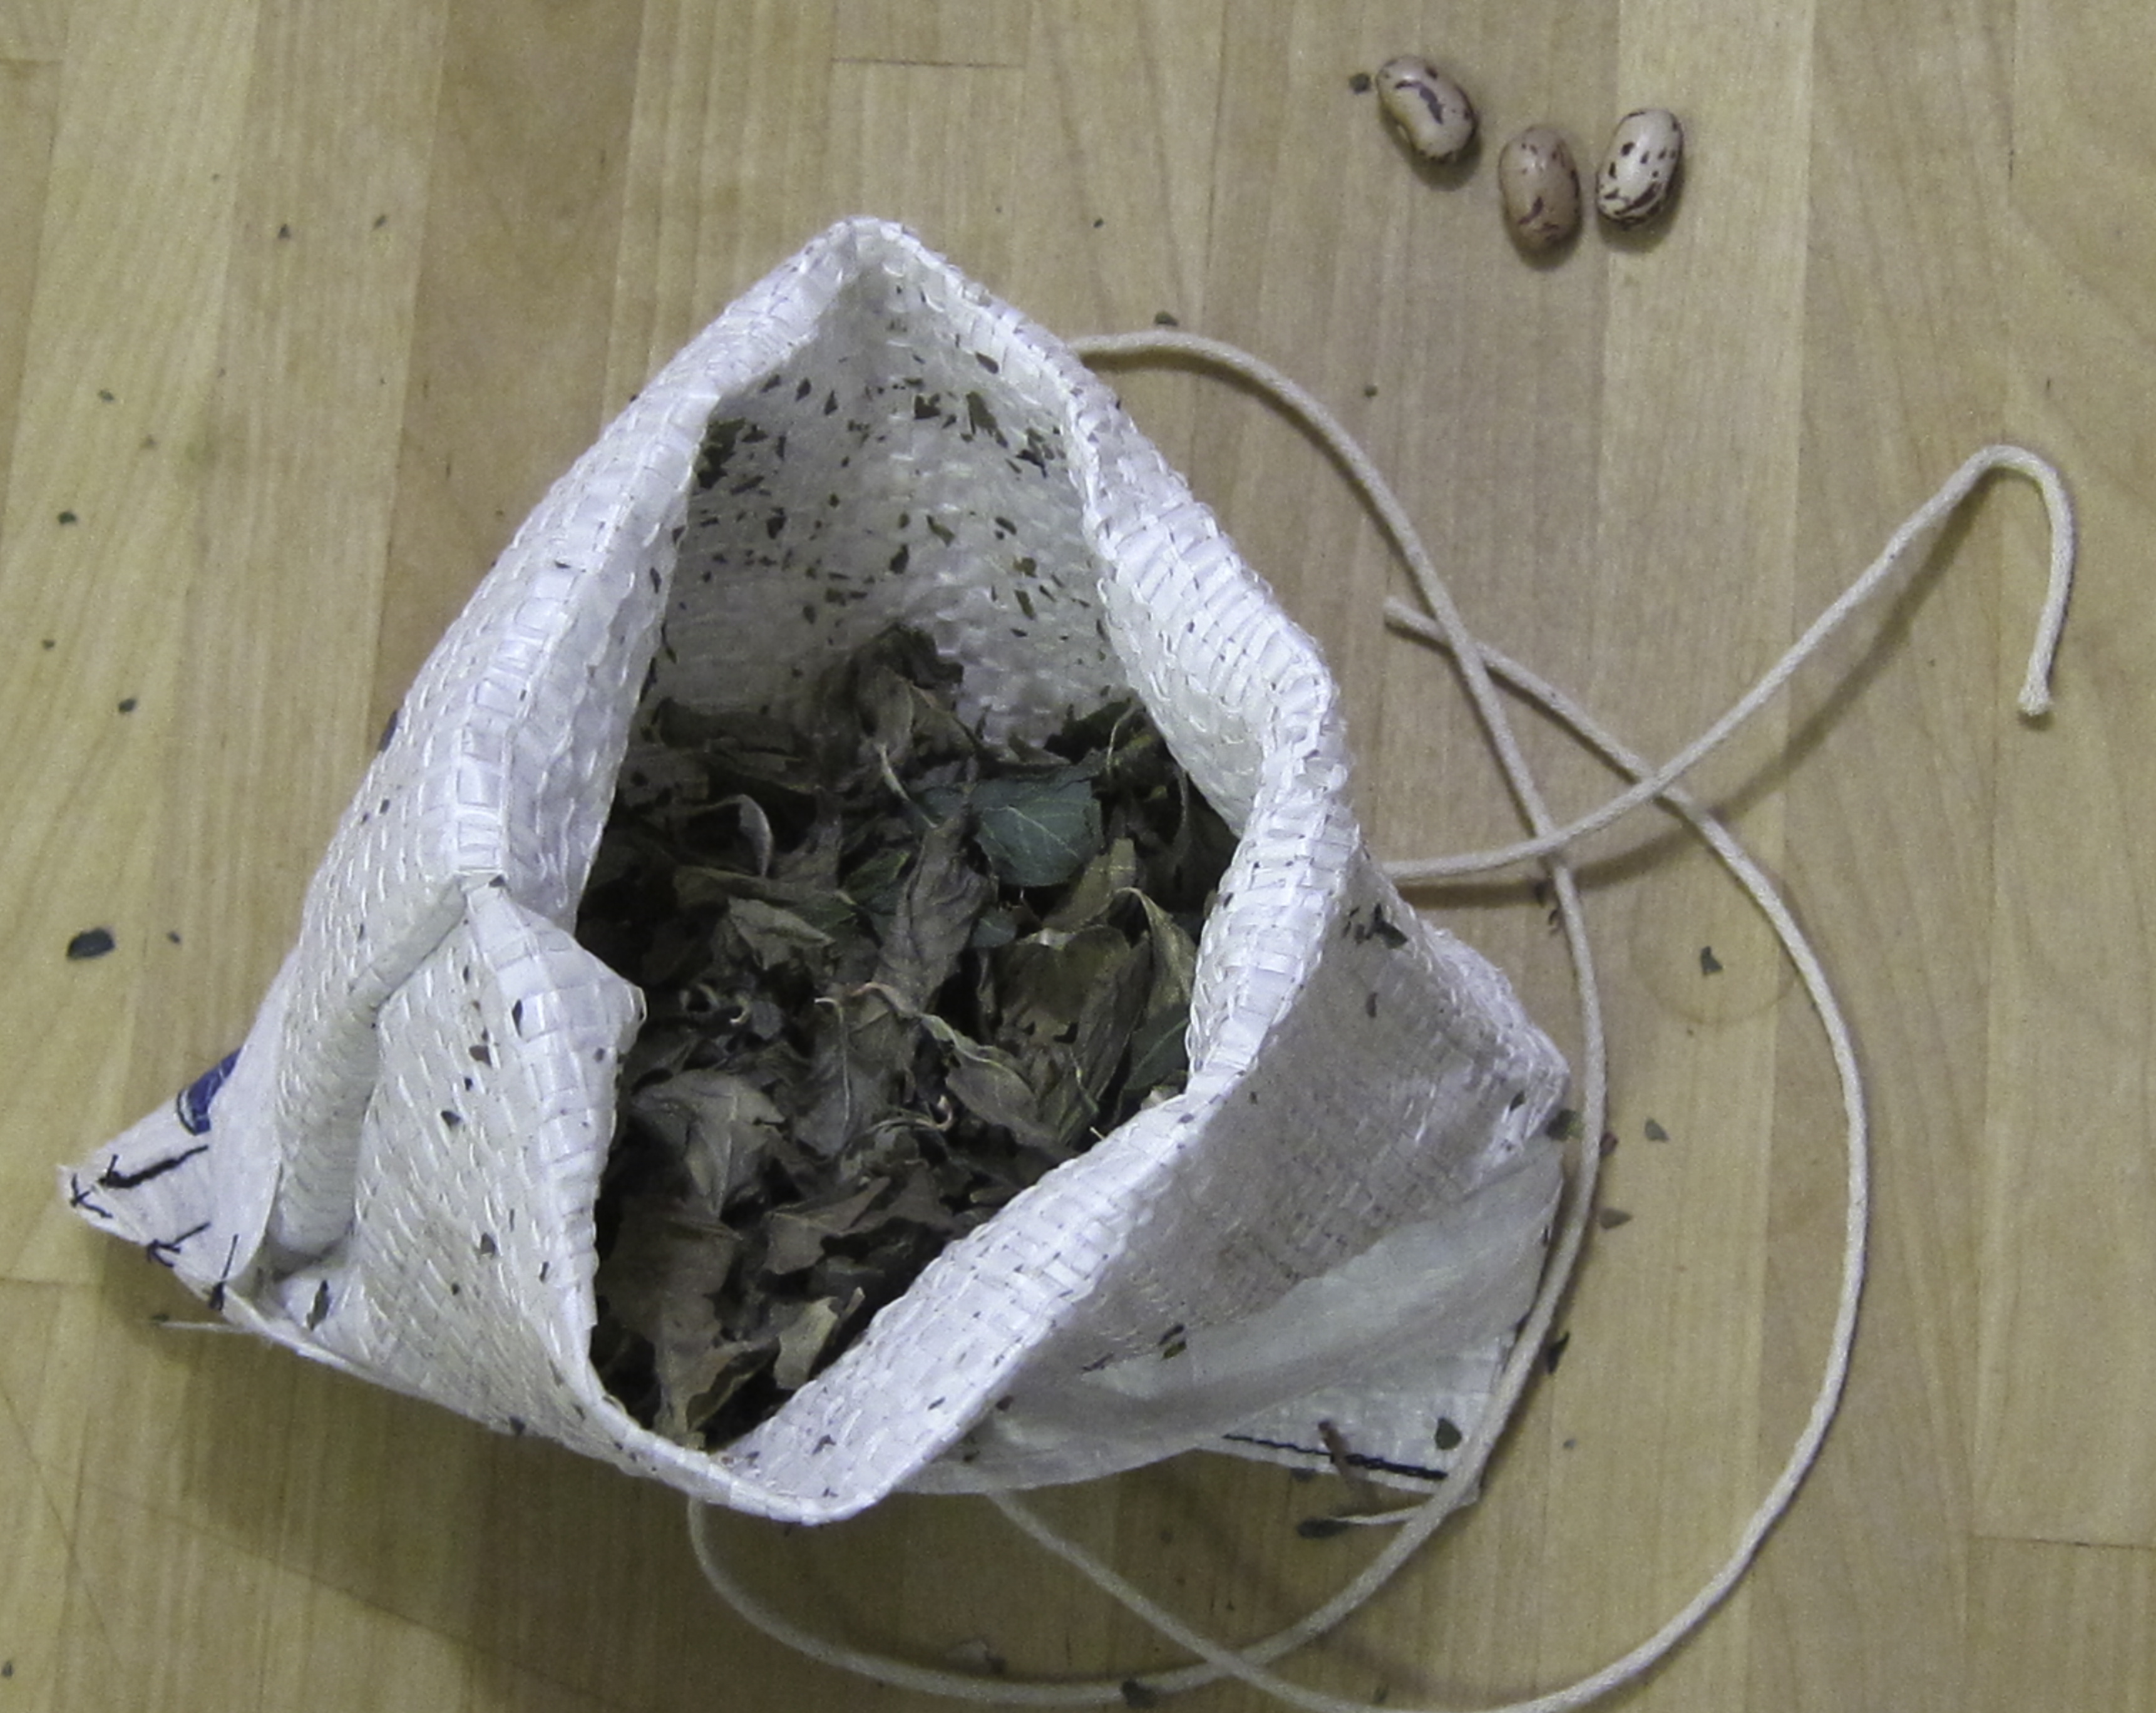
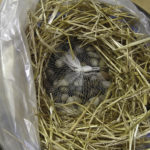
Which it did, for a while. When I finally got back to it last week, I promptly ran into a couple of challenges; two of the materials took a bit of finding – some hay and a plastic “burlap” bag (the woven kind that rice, beans, nuts etc. are often shipped in).
Luckily, a community garden near my brother’s had a few handfuls of hay to spare, and one of the local merchants, who sells nuts, beans and grains in bulk, kindly saved one for me.
It was from cranberry beans, and there were three left in the bottom. You can see them above on top of the small bag I made for the indigo.
Now that I’ve assembled the materials, cut & sewn a tiny “burlap” bag, and made the obligatory mess in the kitchen, here goes.
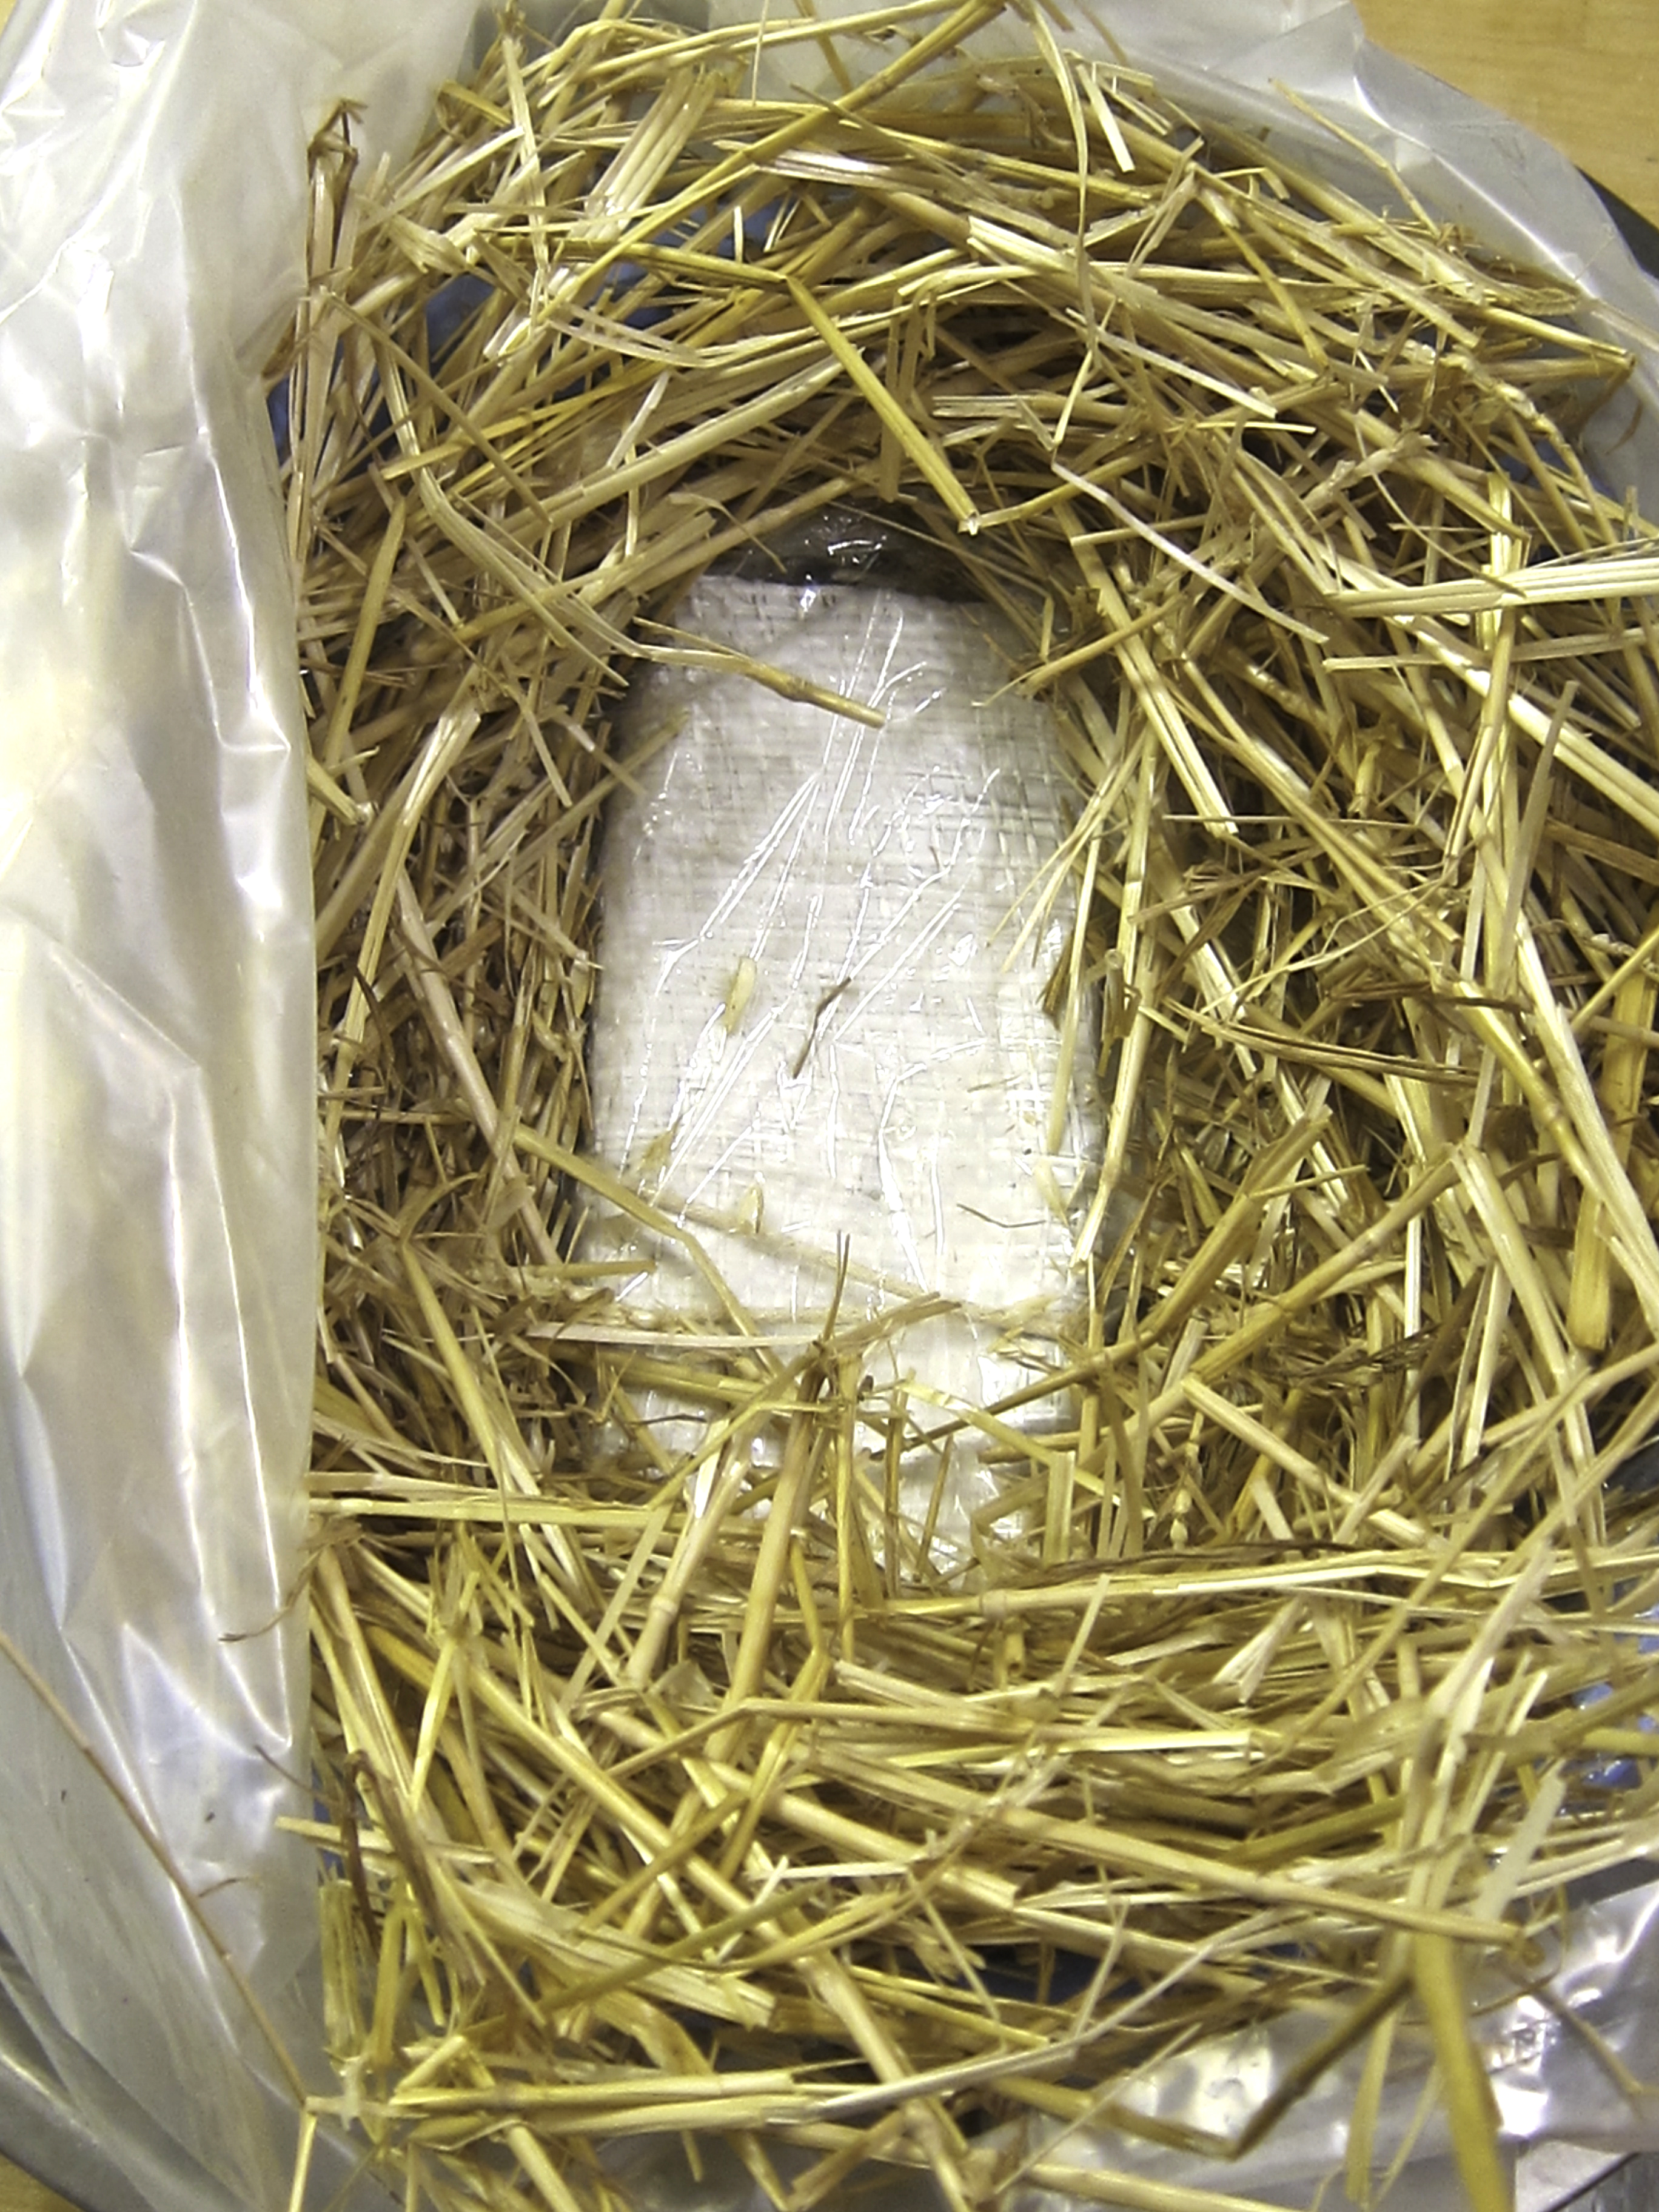
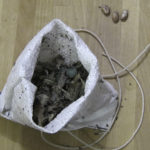 put the dried leaves into the miniature plastic “burlap” bag
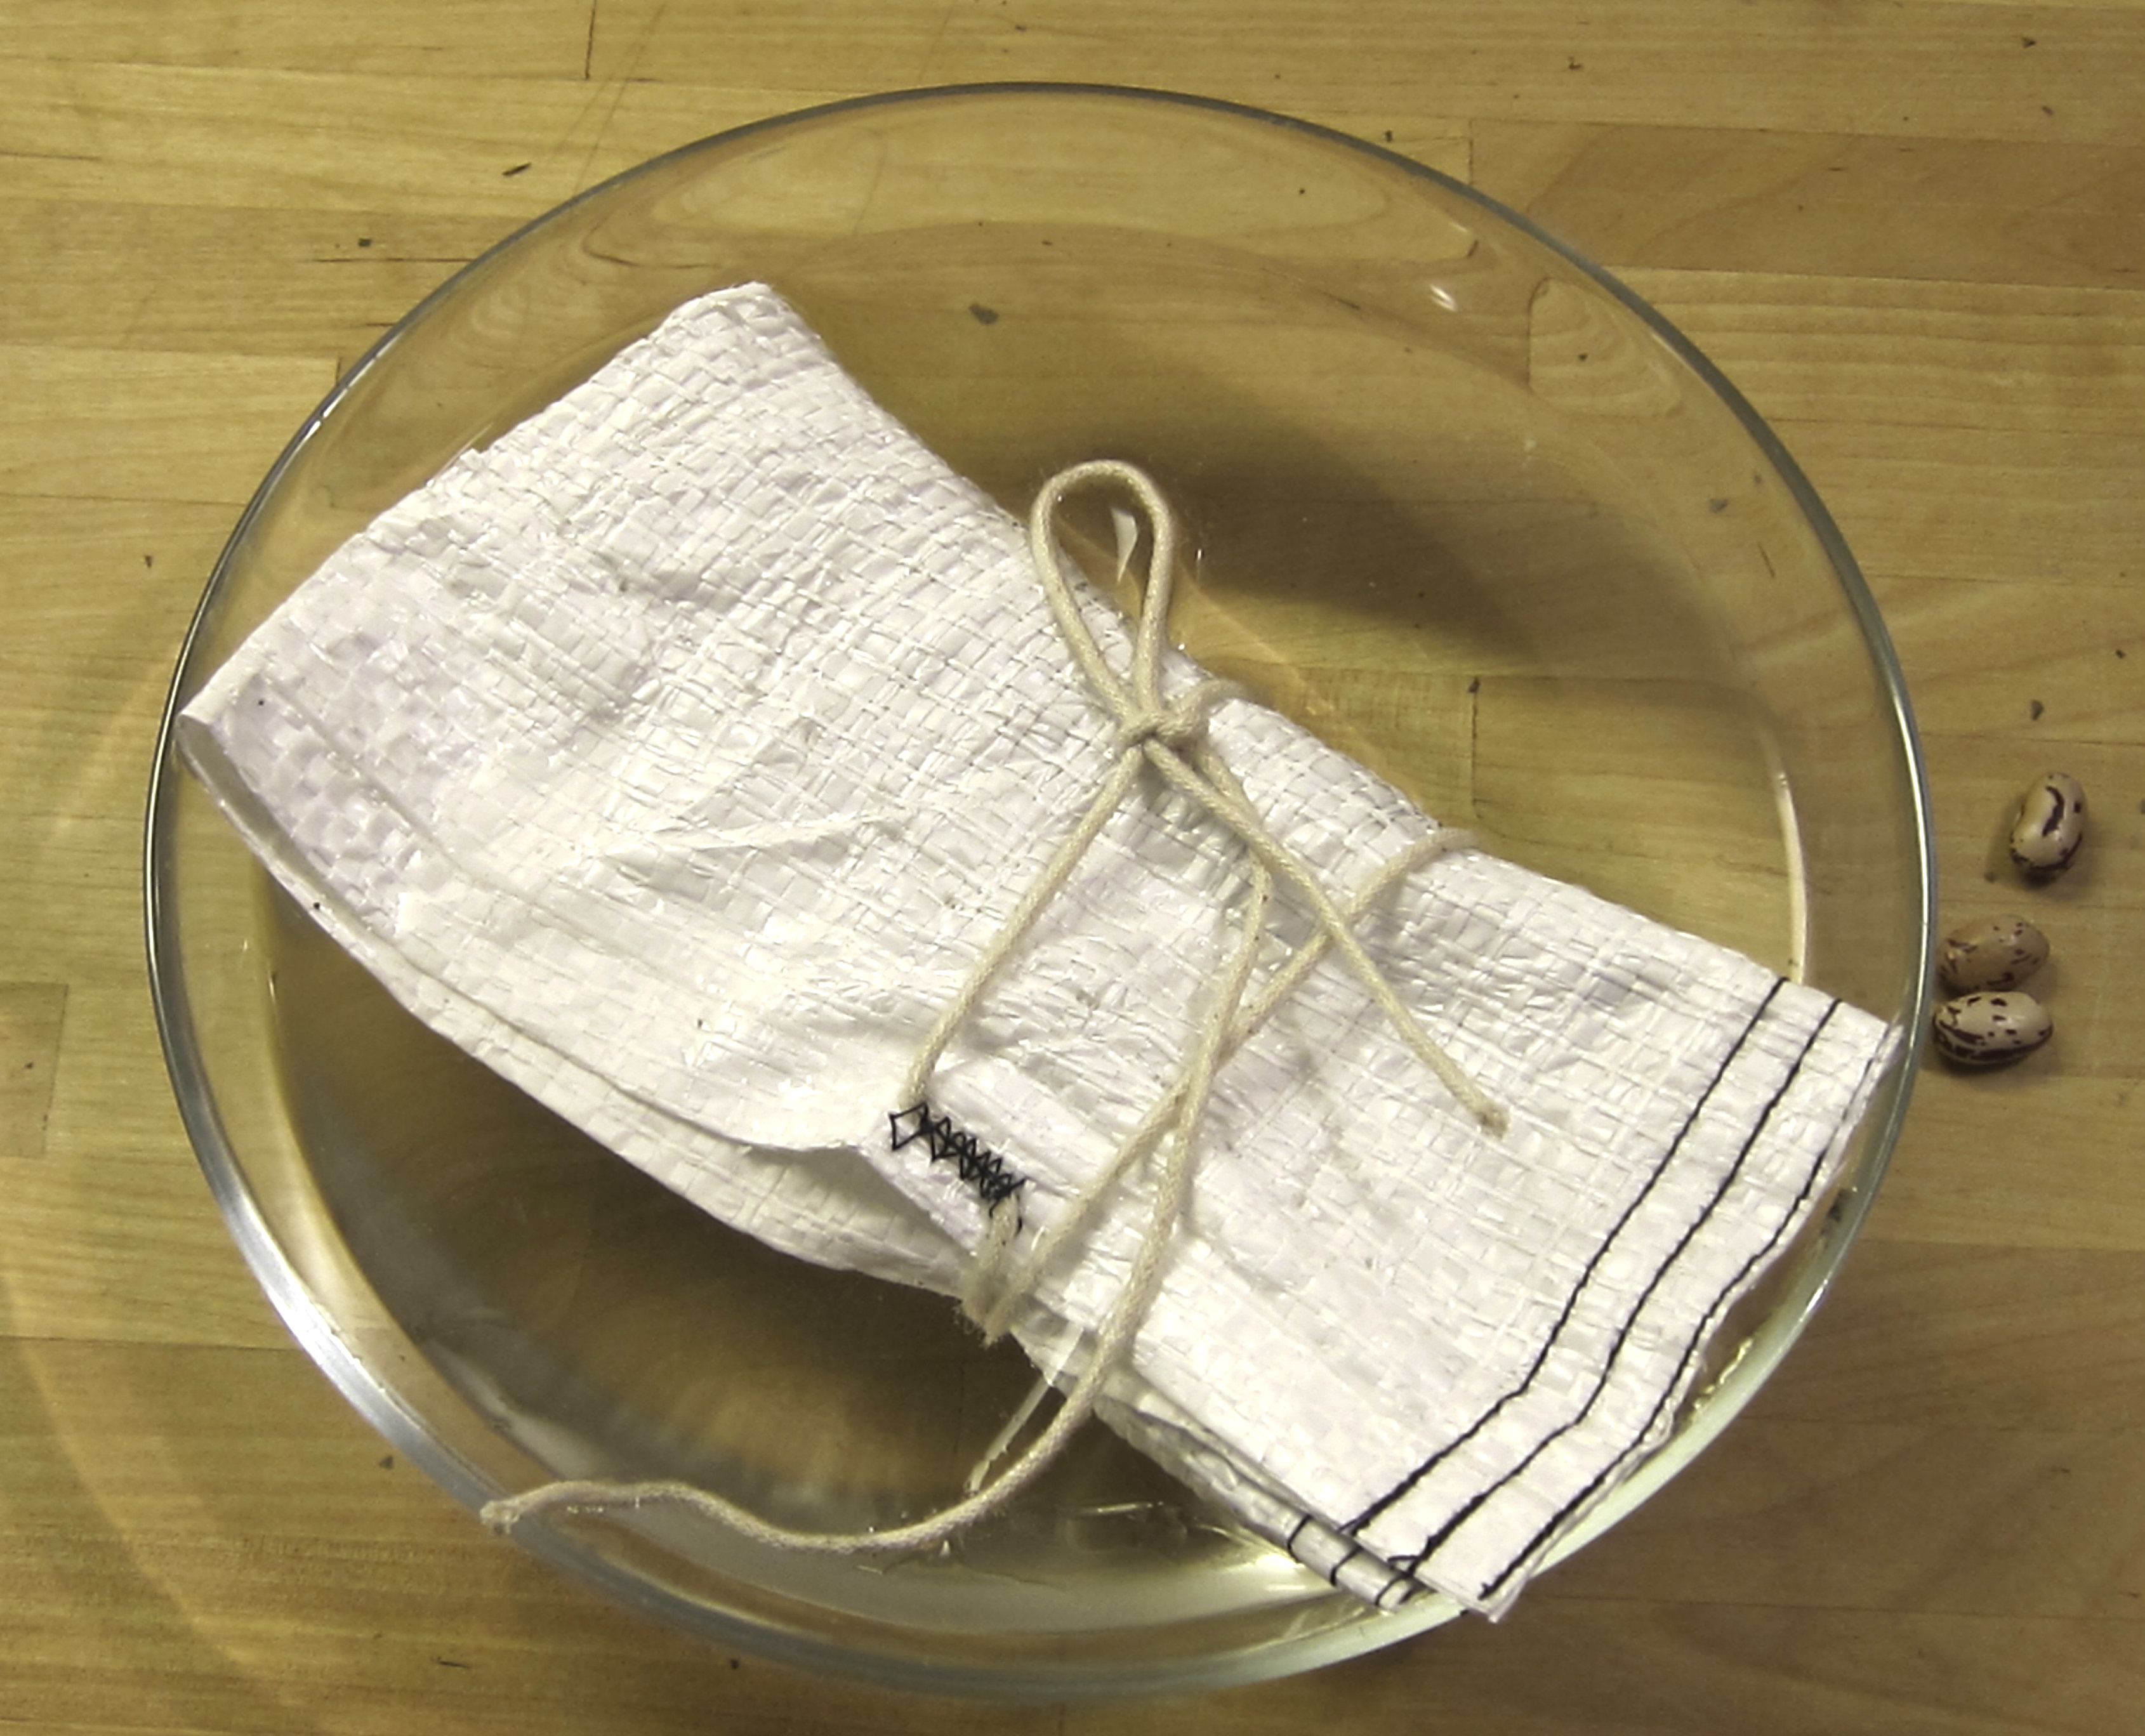
 wet it thoroughly
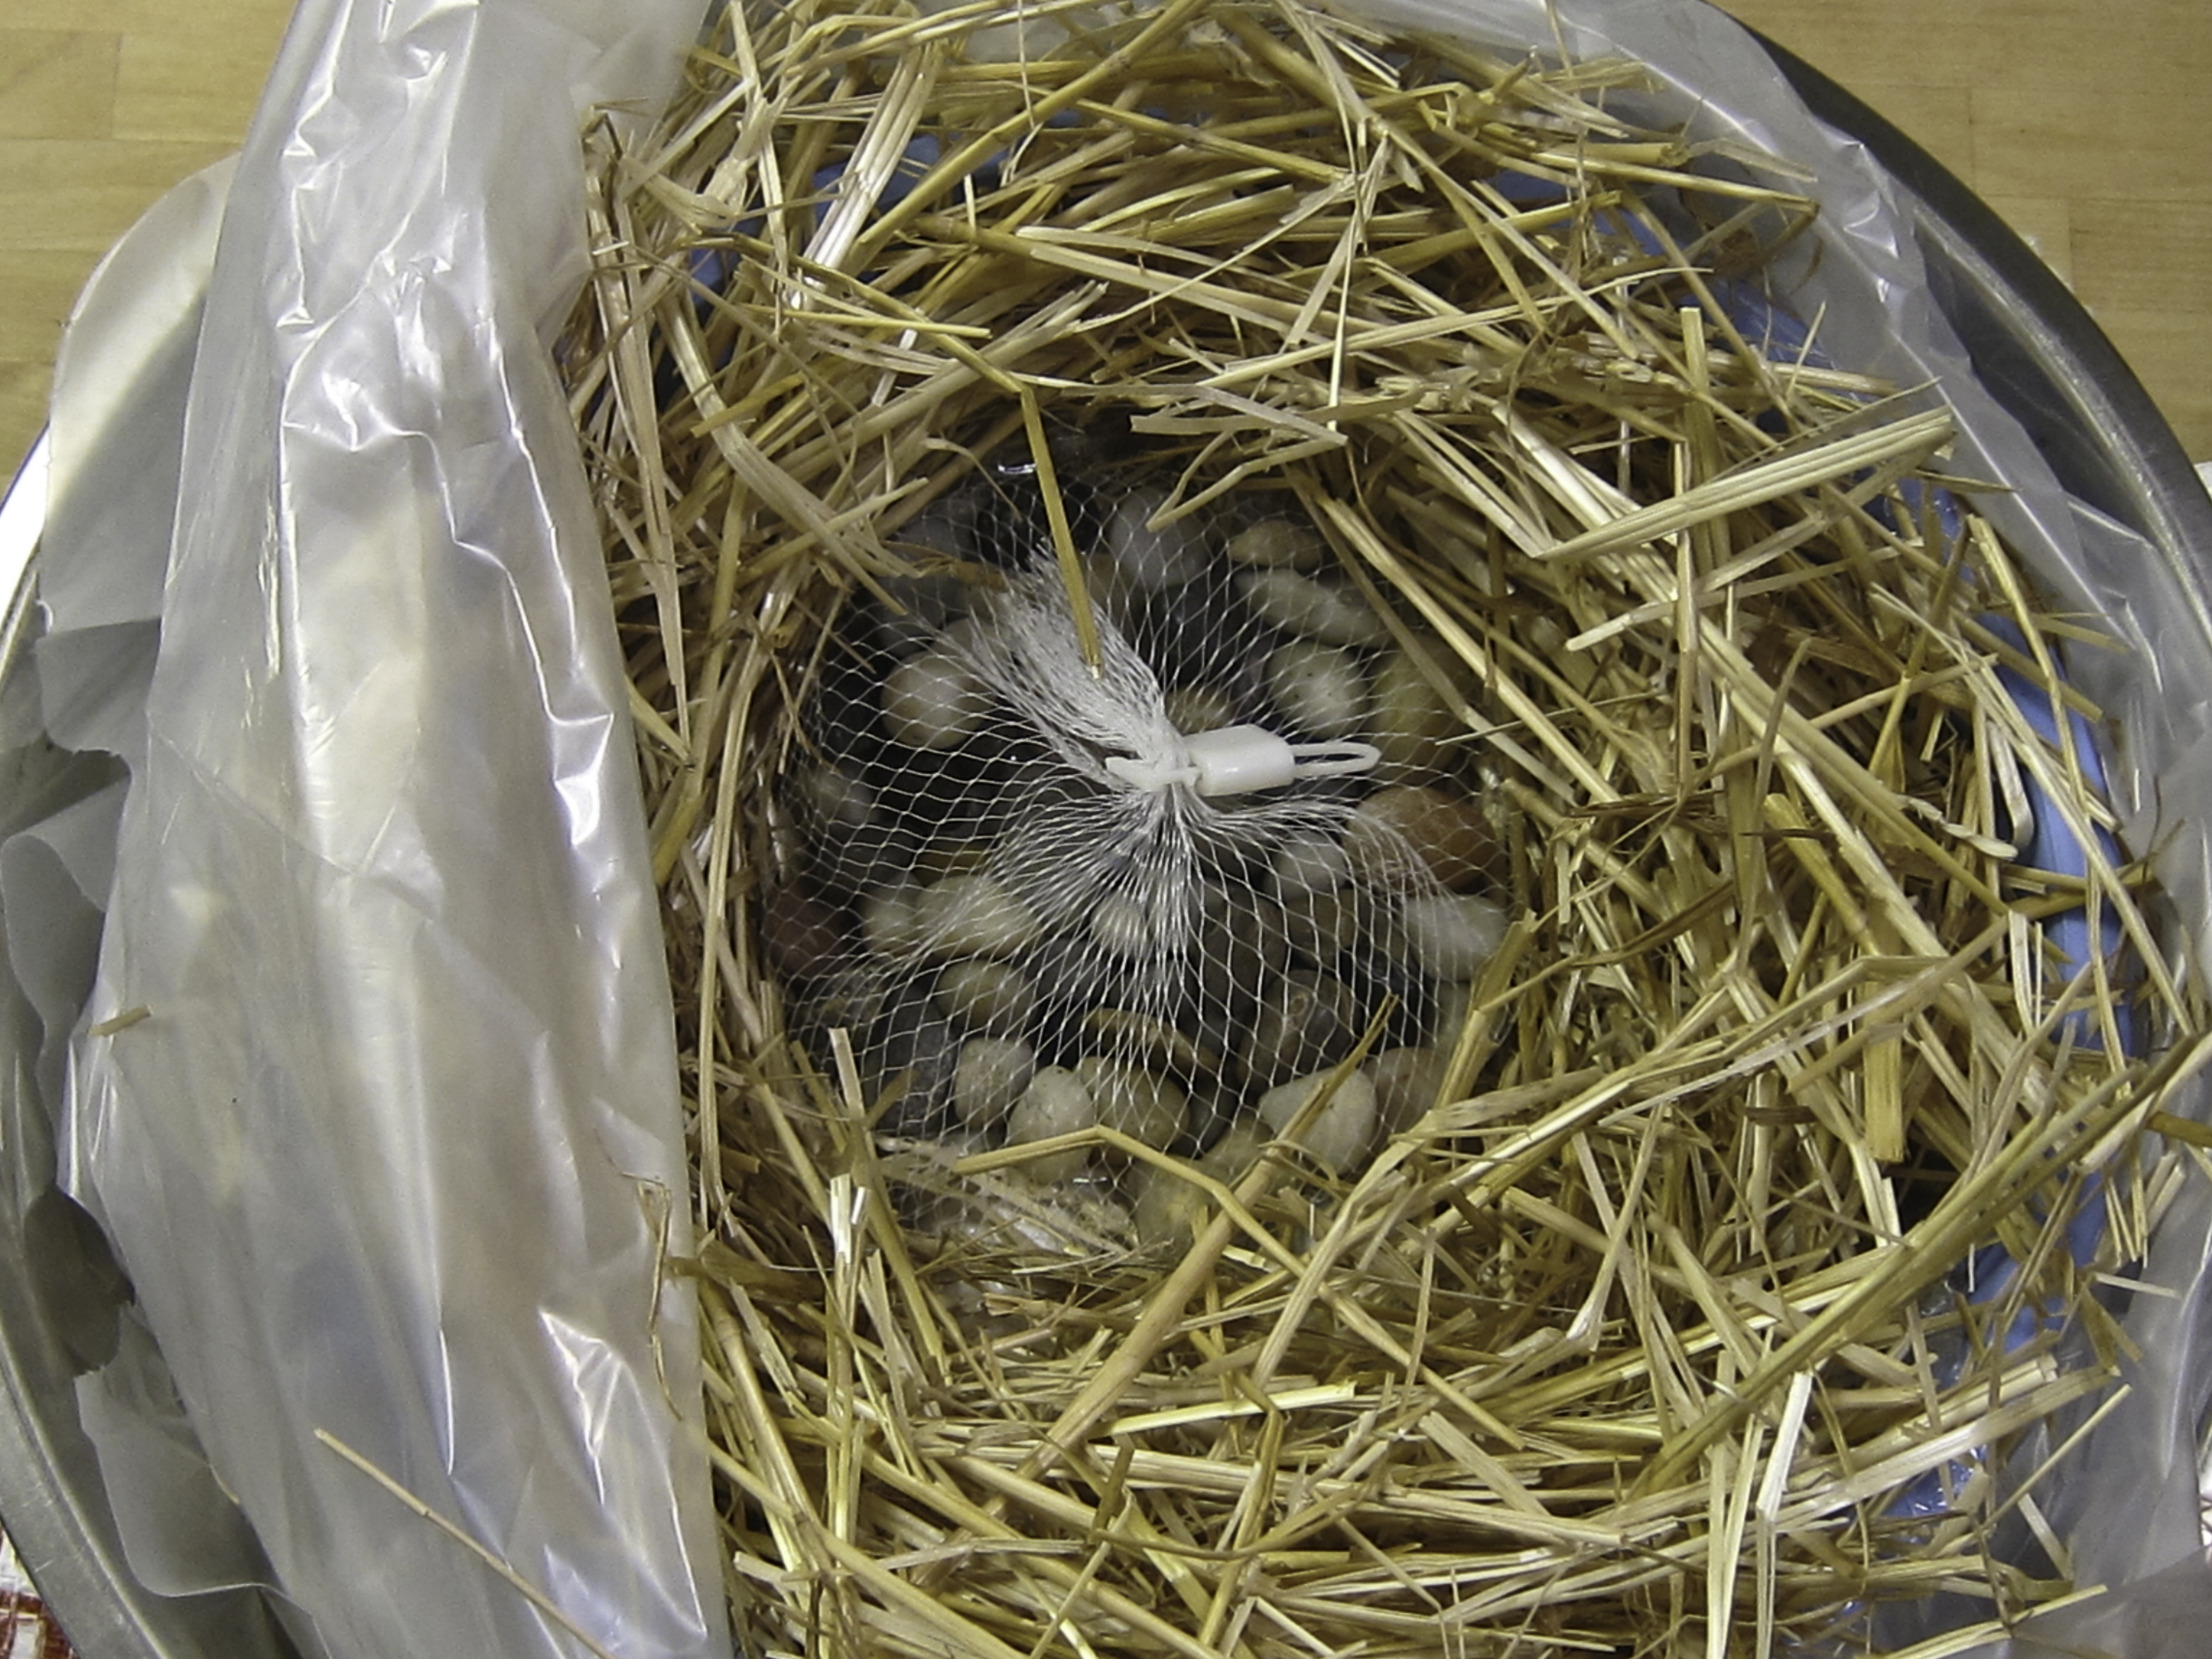
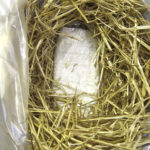 nest the bag in a bed of hay
- cover it with plastic and weigh it down with a stone, or a brick, or
 a log. Since even a brick is too big for this little indigo, I used a bag of pebbles from the local dollar store
 - put it someplace warm, with good air circulation
- stir at 5 days & 10 days
- if it isn’t done at 100 days, stir & keep checking periodically
I have no idea how long this small a mass of indigo will take to ferment. Actually, I’ll be very happy if it turns out to be big enough to achieve critical mass for fermentation!
In any case, it won’t be enough to dye the furoshiki – though there may be enough to dye one of the samples from my initial wisteria experiments!
Next: spinning more wisteria fibre