Eleonora stockings – progress!
My latest attempt at the Eleonora stockings!
This is actually my third go at these stockings. Between my first attempt and this one, a lot more information had come out about them, the best being the images in the Medici archive.
The first time I tackled the stockings was from a pattern I downloaded from the internet, and knit with commercially-dyed red wool fingering. I stopped knitting & discarded this test as soon as I realized that the pattern was for a stocking with a present-day shape, only using the surface patterns from the originals, and that the gauge was way too big – more of a sport sock than an elegant lady’s stocking. The pattern doesn’t seem to be on the internet any more.
The second test was from the pattern by Anne DesMoines published on Ravelry. This one I knit with a silk yarn finer than the wool of the first test. Initially, the silk was white, and I dyed it with cochineal. It had some issues – the dye insisted on being a fuchsia pink instead of red, and the gauge was still too big, with fewer pattern panels than the originals. Also, I found the silk very unpleasant to knit with, and abandoned the attempt.
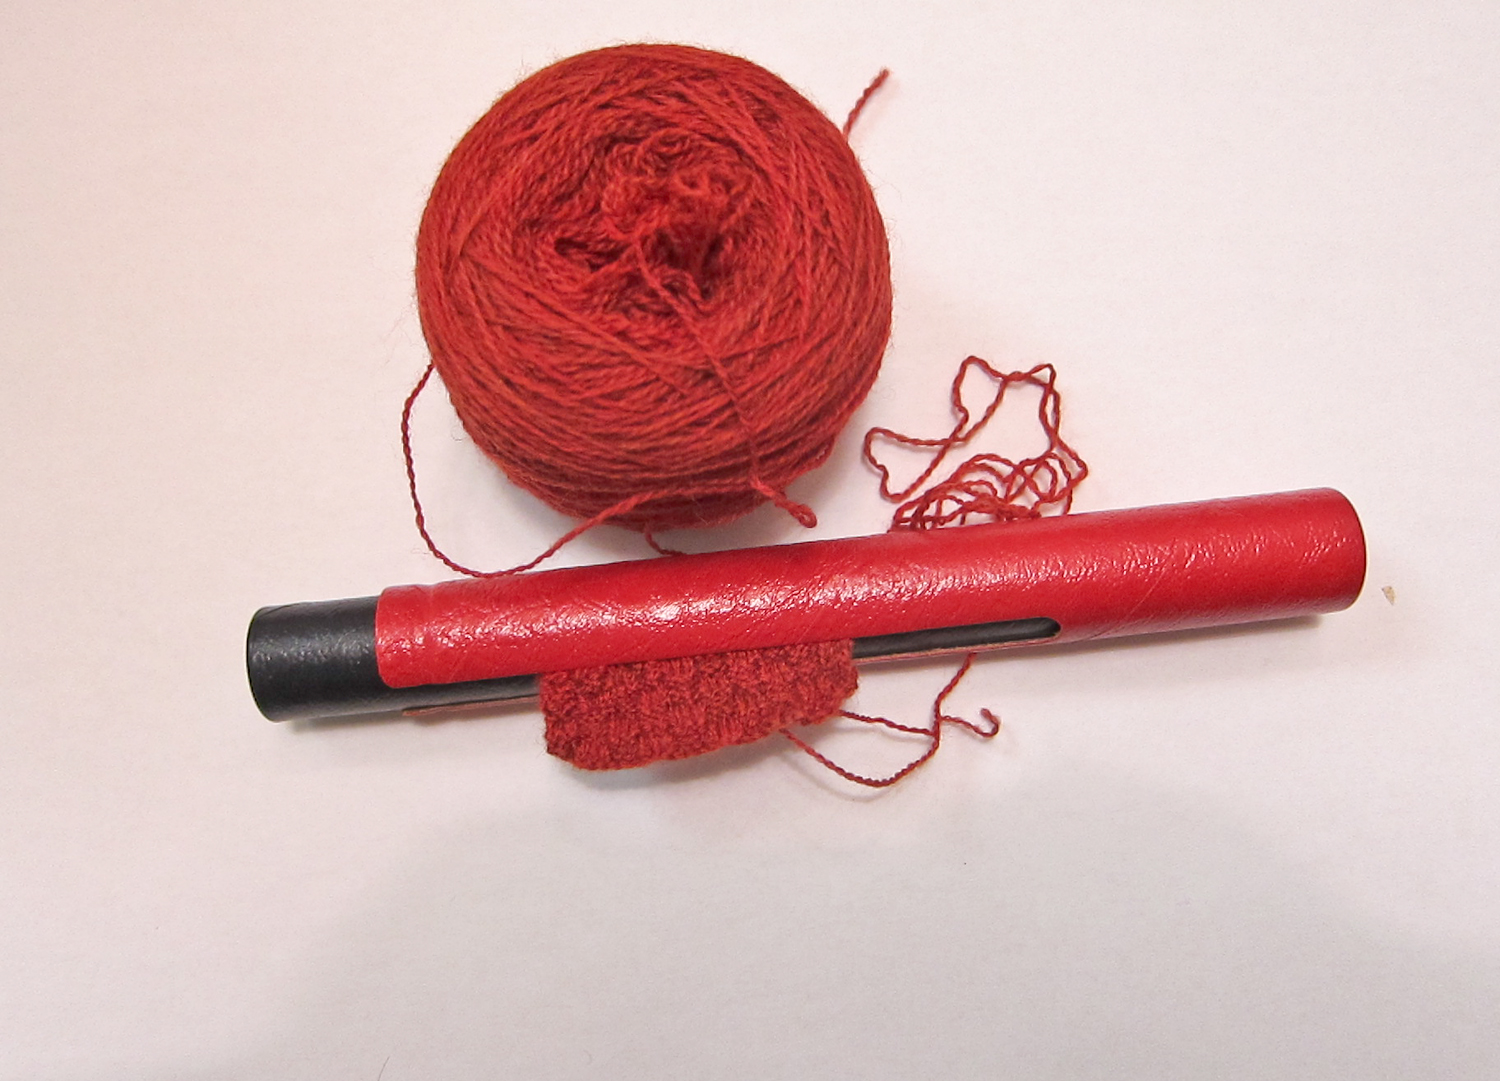 For the current stocking I bought white laceweight wool yarn. This time I dyed it with madder overdyed with cochineal, and got a very satisfying brick red.
This yarn knits up at a finer, more period gauge – approximately 14 stitches to the inch on 1mm needles. None of the documentation I’ve seen to date gives the gauge of the actual Eleonora stockings. However, because of the number of stitches in the pattern panels and the number of repeats, it must be very fine.
As far as I can tell from the available images, this edition of the stockings has same number of patterned panels as the originals, and the stitch count is very close.
I changed a few details – I didn’t like the second zigzag and the eyelets in the cuff or the “ladder” effect of the double garter stitch in one of the panels, so I eliminated the zigzag, and substituted a purl square for the eyelets and a chequerboard pattern for the “ladder” effect, all of which are consistent with late 16th century knitting techniques. 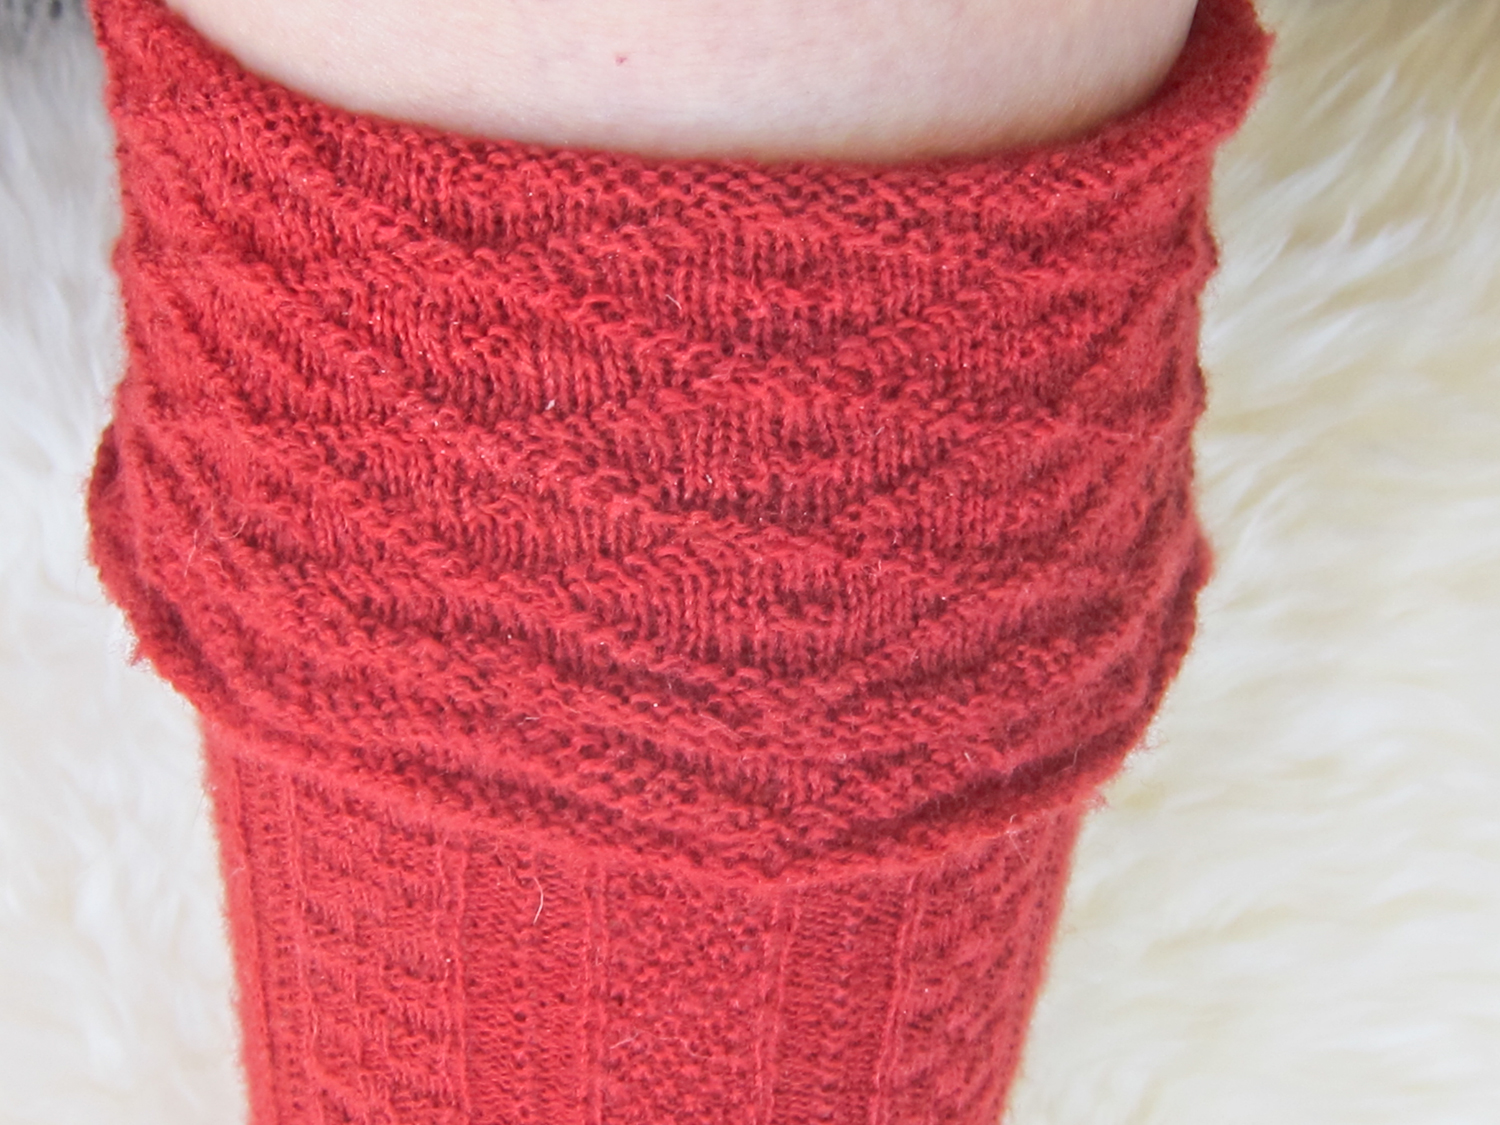
Since I plan to wear the stockings, I changed the shaping. The original Eleonora stockings are baggy in the calf and foot – the decreases for the calf are far too low on the leg to fit me and the feet are too thick. Perhaps, after at least eleven pregnancies, Eleonora’s feet and ankles were somewhat the worse for wear.
Instead of designing the foot following the the Medici archive images, I used the foot shaping for 16th century stockings shown in Richard Rutt’s A History of Hand Knitting. The soles of the originals are mostly moss stitch or seed stitch; instead, I picked up and continued the band pattern just for the fun of it.
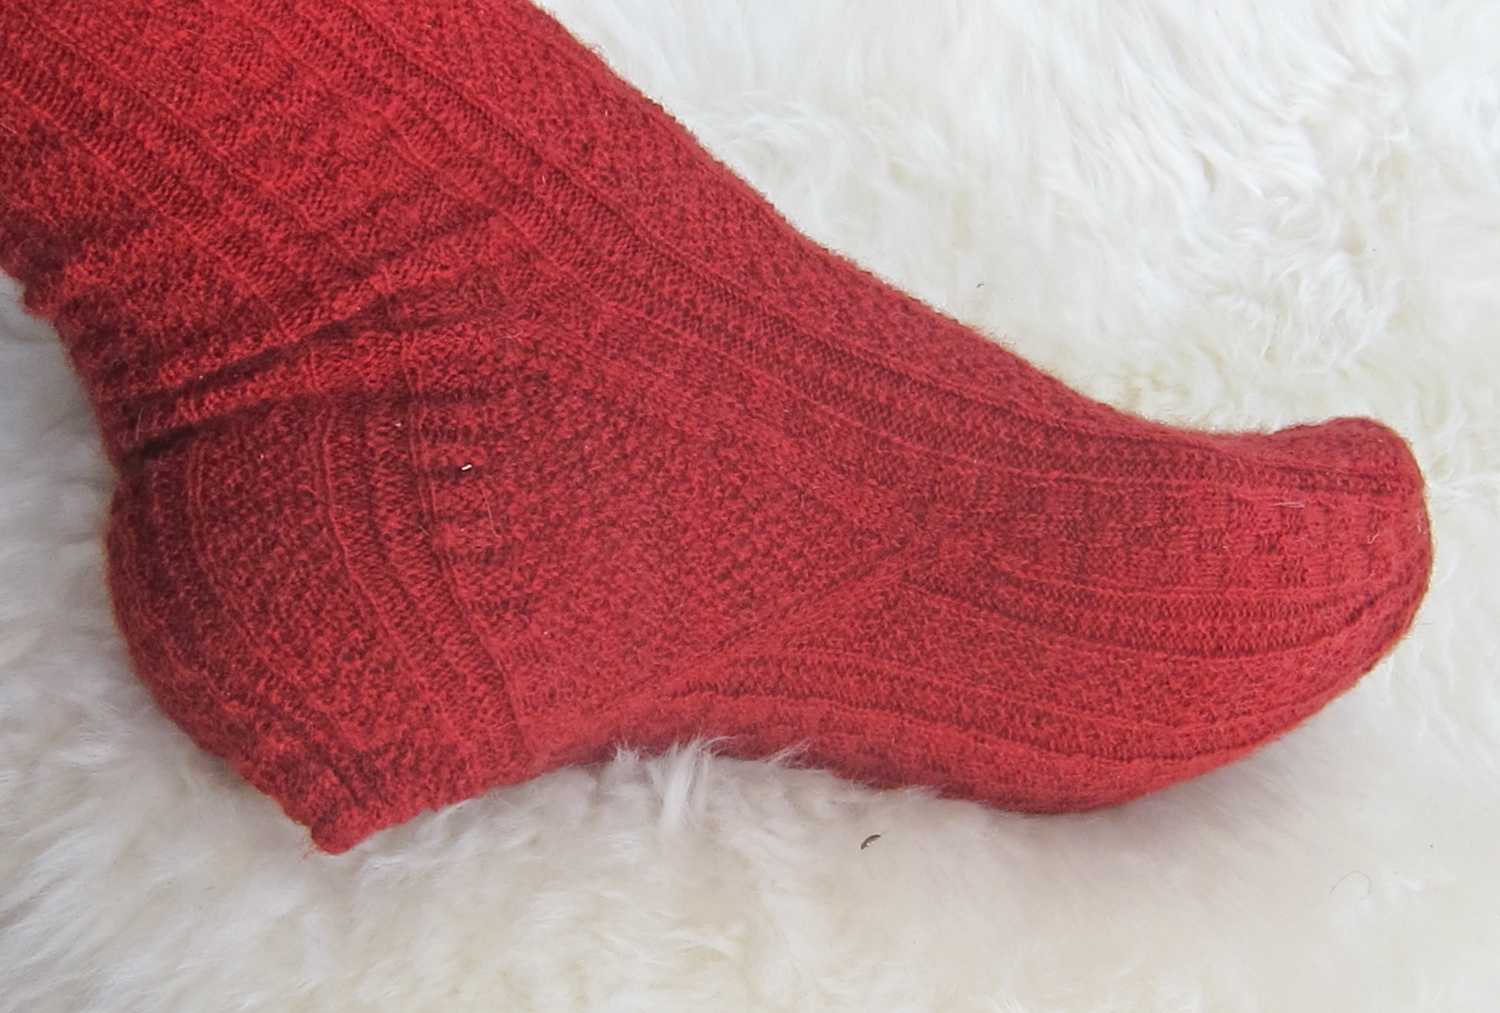
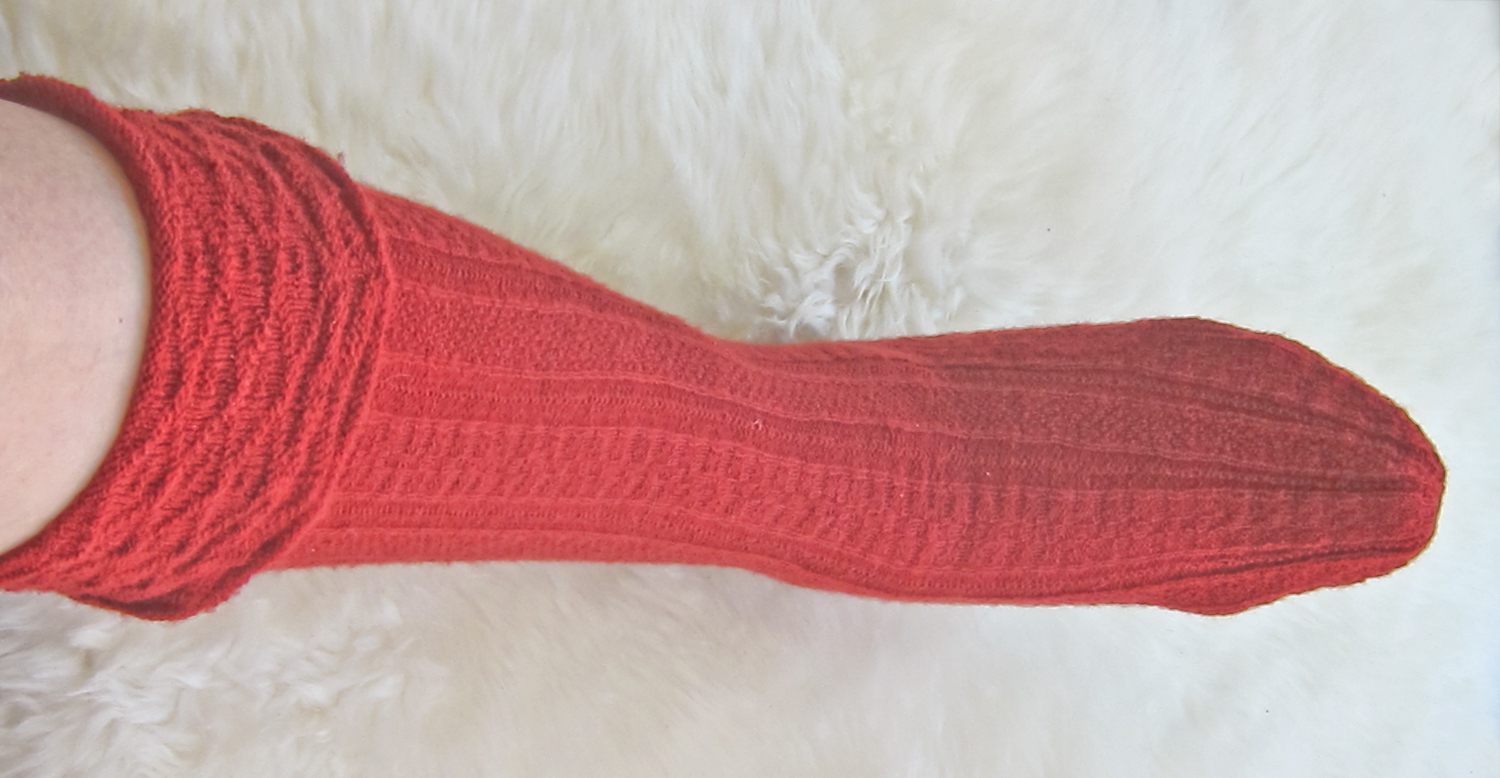
One stocking is done and the second is in progress. With luck & a following wind, it’ll be done by Pennsic!
(The little *blip* at the back of the heel is historically accurate. I’ve been assured that it wears in fast and is comfortable..)
I’ve just been reminded of another change that I forgot about – and this one’s a biggie!  The Eleonora stockings were knitted flat and sewn up the back; mine are knitted in the round. I couldn’t bring myself to knit them flat. The technique was known by Eleonora’s time – Bertram von Minden’s Knitting Madonna, painted ca 1400-1410, is knitting in the round!