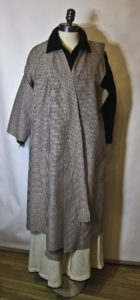
My Viking coat is finished!
 It’s been a journey; I’ve been working on the coat since spring. It came together from three sources: weather, a stalled project, and a pattern I bought so long ago that it now turns up in listings of vintage patterns on Etsy and eBay.
The weather:
Several years ago I was horribly cold at an SCA * camping event. There was frost overnight and, while daytime was warmer, it was still crisp.
It wasn’t the first time I had been cold at an event, just the worst, and I thought it would be nice to have a seriously warm Viking-style coat.
The stalled project:
During the years people were donating their furs to Goodwill, I got a full-length black mink coat that I intended to use to line a cloth winter coat. I found the ideal tweed for the coat shell, got the interlining fabric and studied much information on how to sew furs. And stalled there, intimidated by the idea of cutting into a fully-functional mink coat.
That was more than ten years ago. Finally, I figured this was ridiculous and decided to take the indirect route – to make a fur-lined Viking coat to get experience in handling that much fur.
Due largely to the lack of surviving physical evidence, there’s been a lot of discussion on whether the Vikings used much fur and whether they used it for linings. I think they did, and I agree with archaeologist Tuija Kirkinen. In her paper on the ritual use of fur, she stated that “the use of pelts and furs for clothing is self-evident in a region at the edge of the taiga”. ** While I don’t live at the edge of the taiga, the weather, even in southern Canada, can get ridiculously cold, and I’ve found that furs (and I include sheepskin) are best at keeping me warm when the temperature dips below -30C (-22 Fahrenheit).
The pattern:
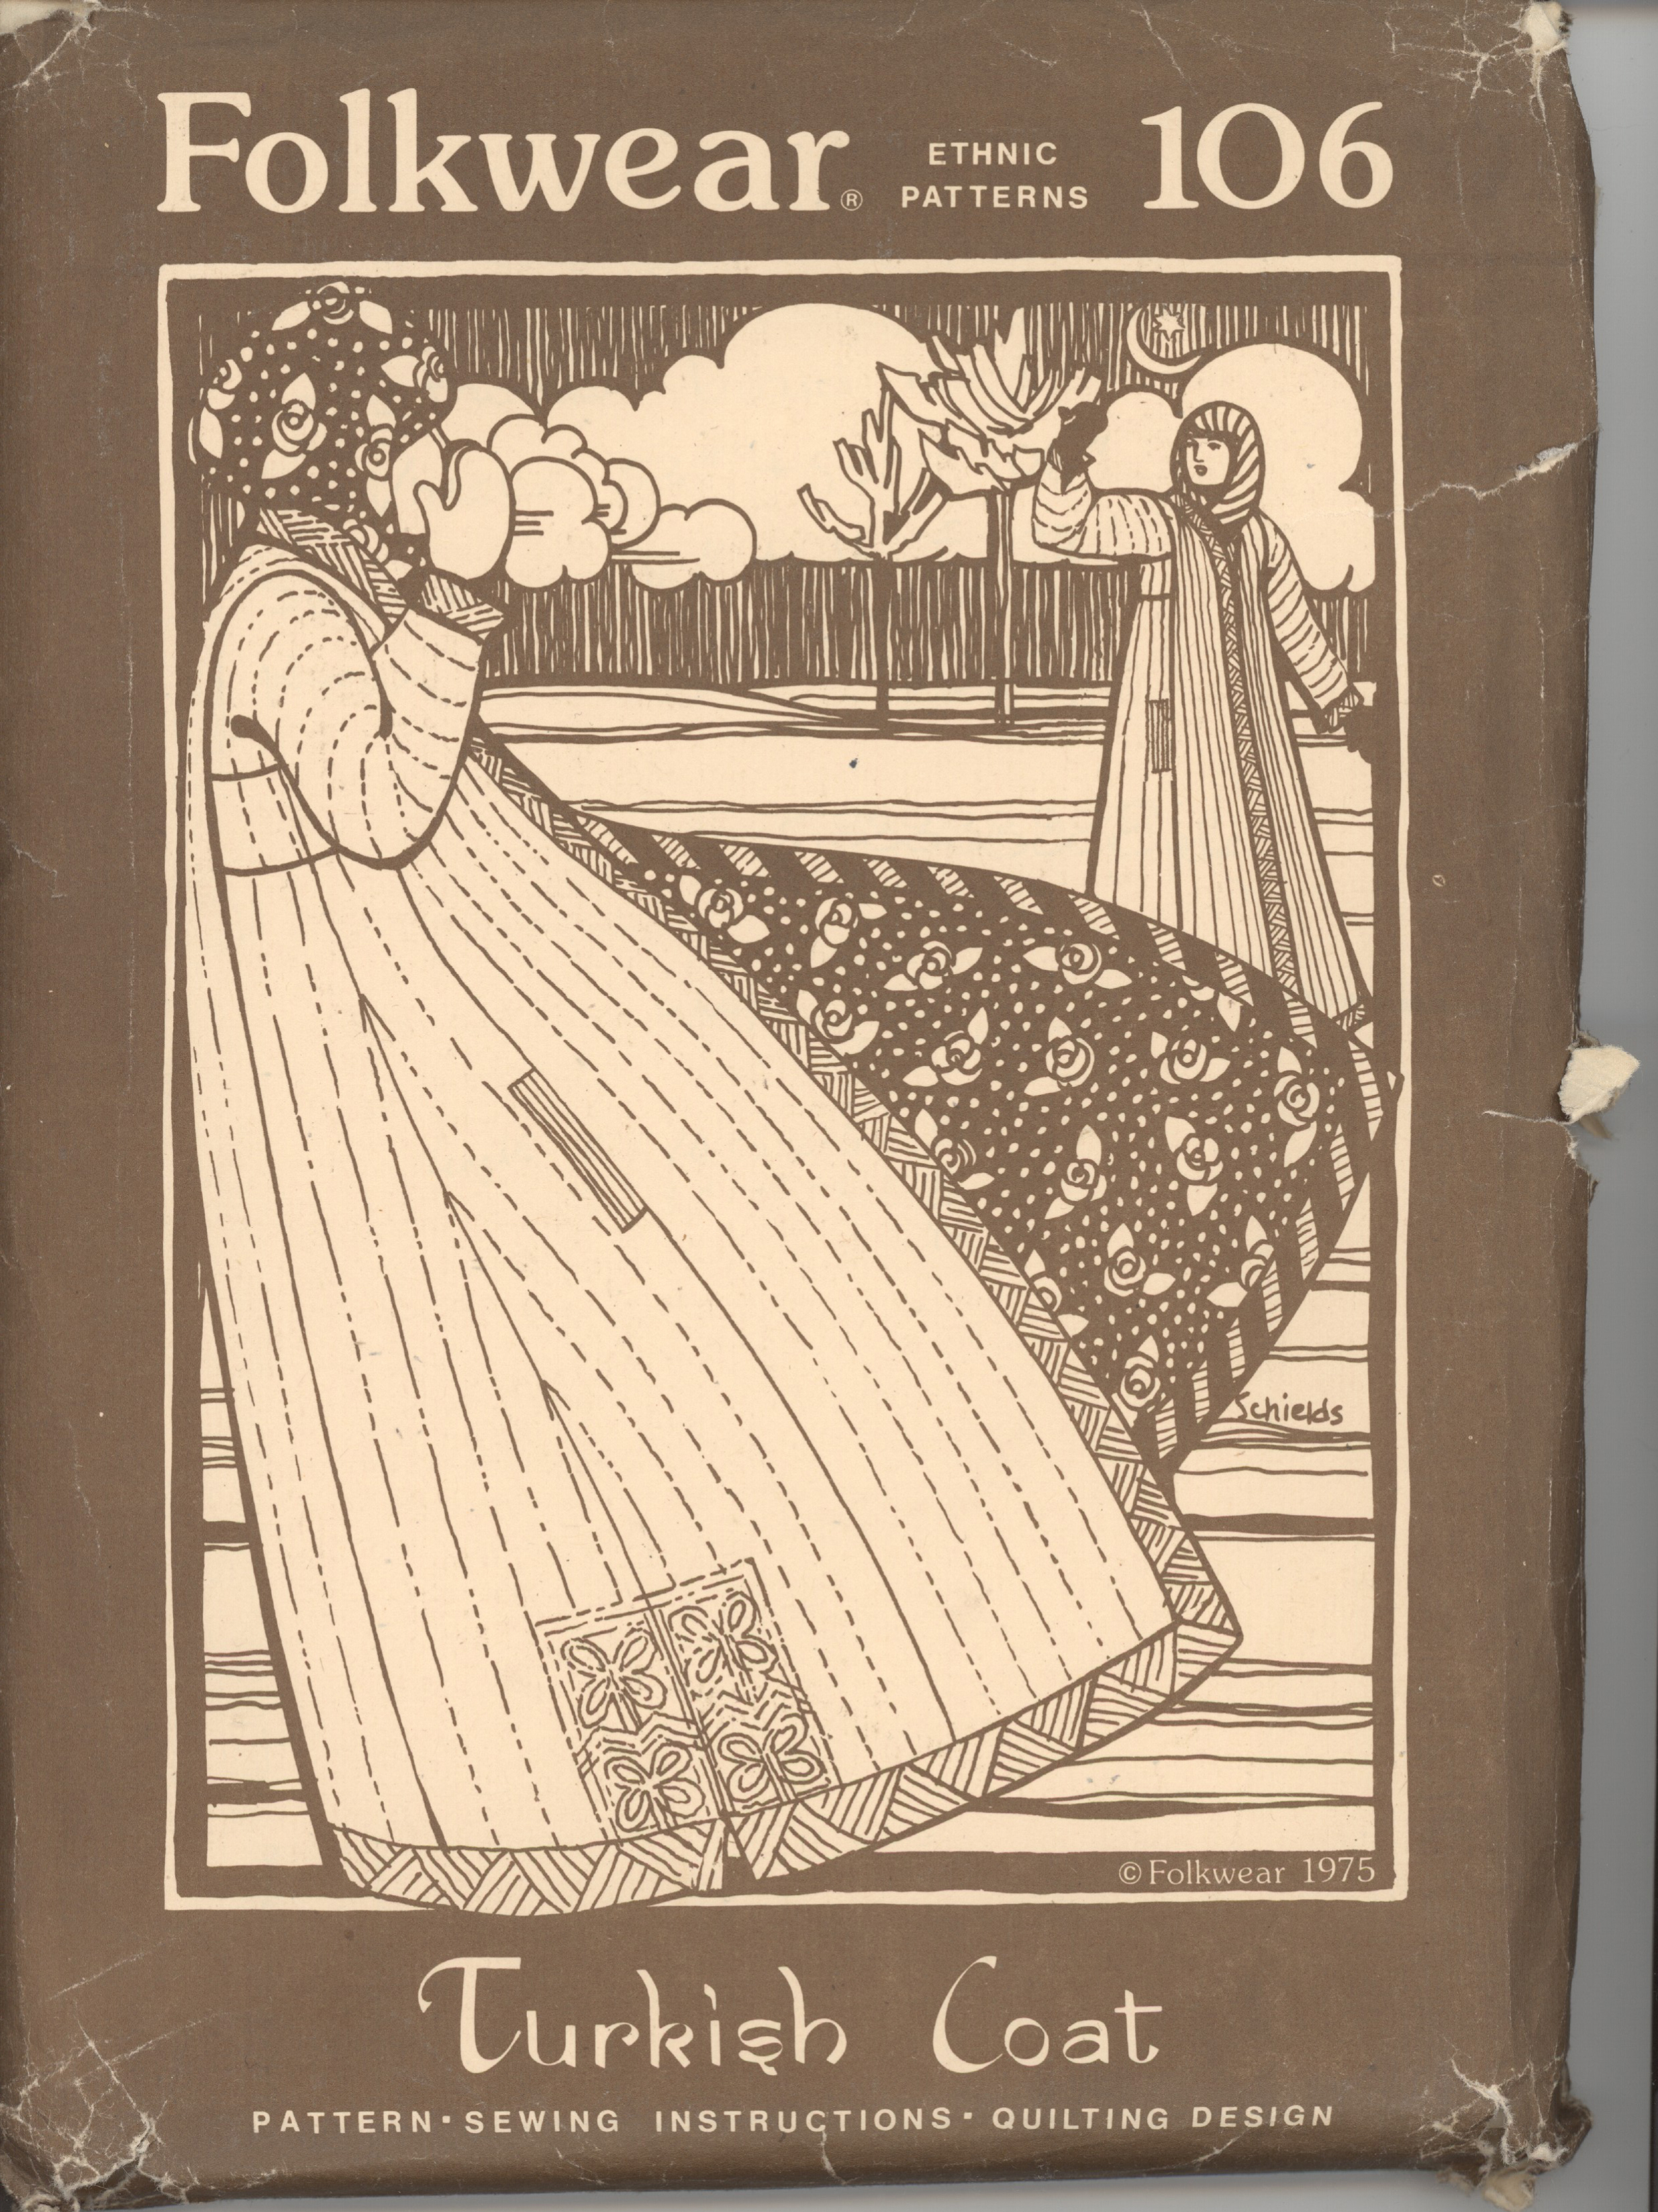
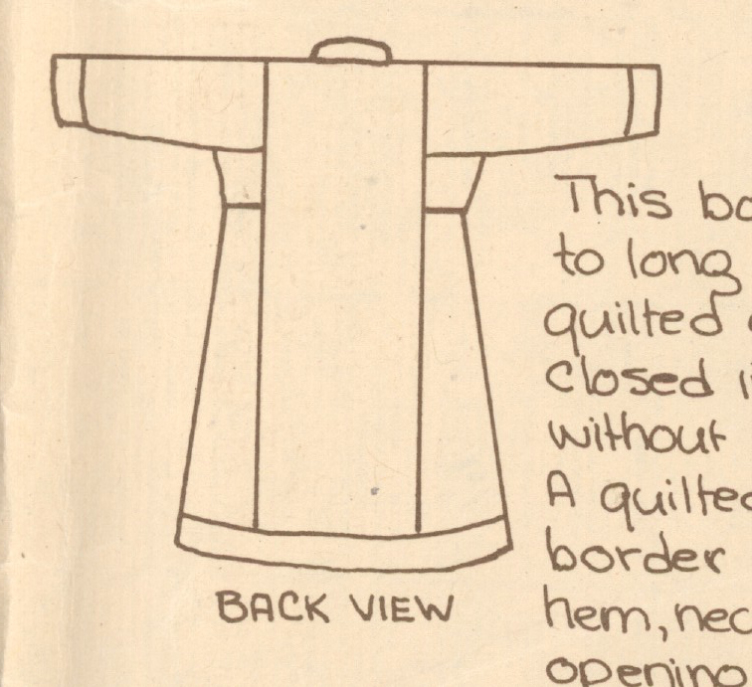
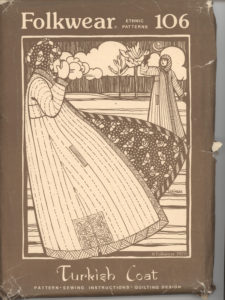 The Turkish Coat is one of the first patterns Folkwear published. I don’t remember exactly when I bought it – sometime around 1974. And I’ve been meaning to make it ever since.
The Viking coat was the perfect opportunity. From surviving fragments and images, it appears the coats Viking men wore might have been constructed in a similar way.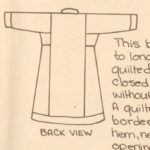
Granted, it’s a “male” garment, and the existing evidence shows women mainly in shawls. Which I’ve tried, and discovered that to keep warm in seriously cold weather, I’d have to wrap myself up in many, many layers.
Nope. For the sake of sanity and mobility, I decided on a coat.
The materials:
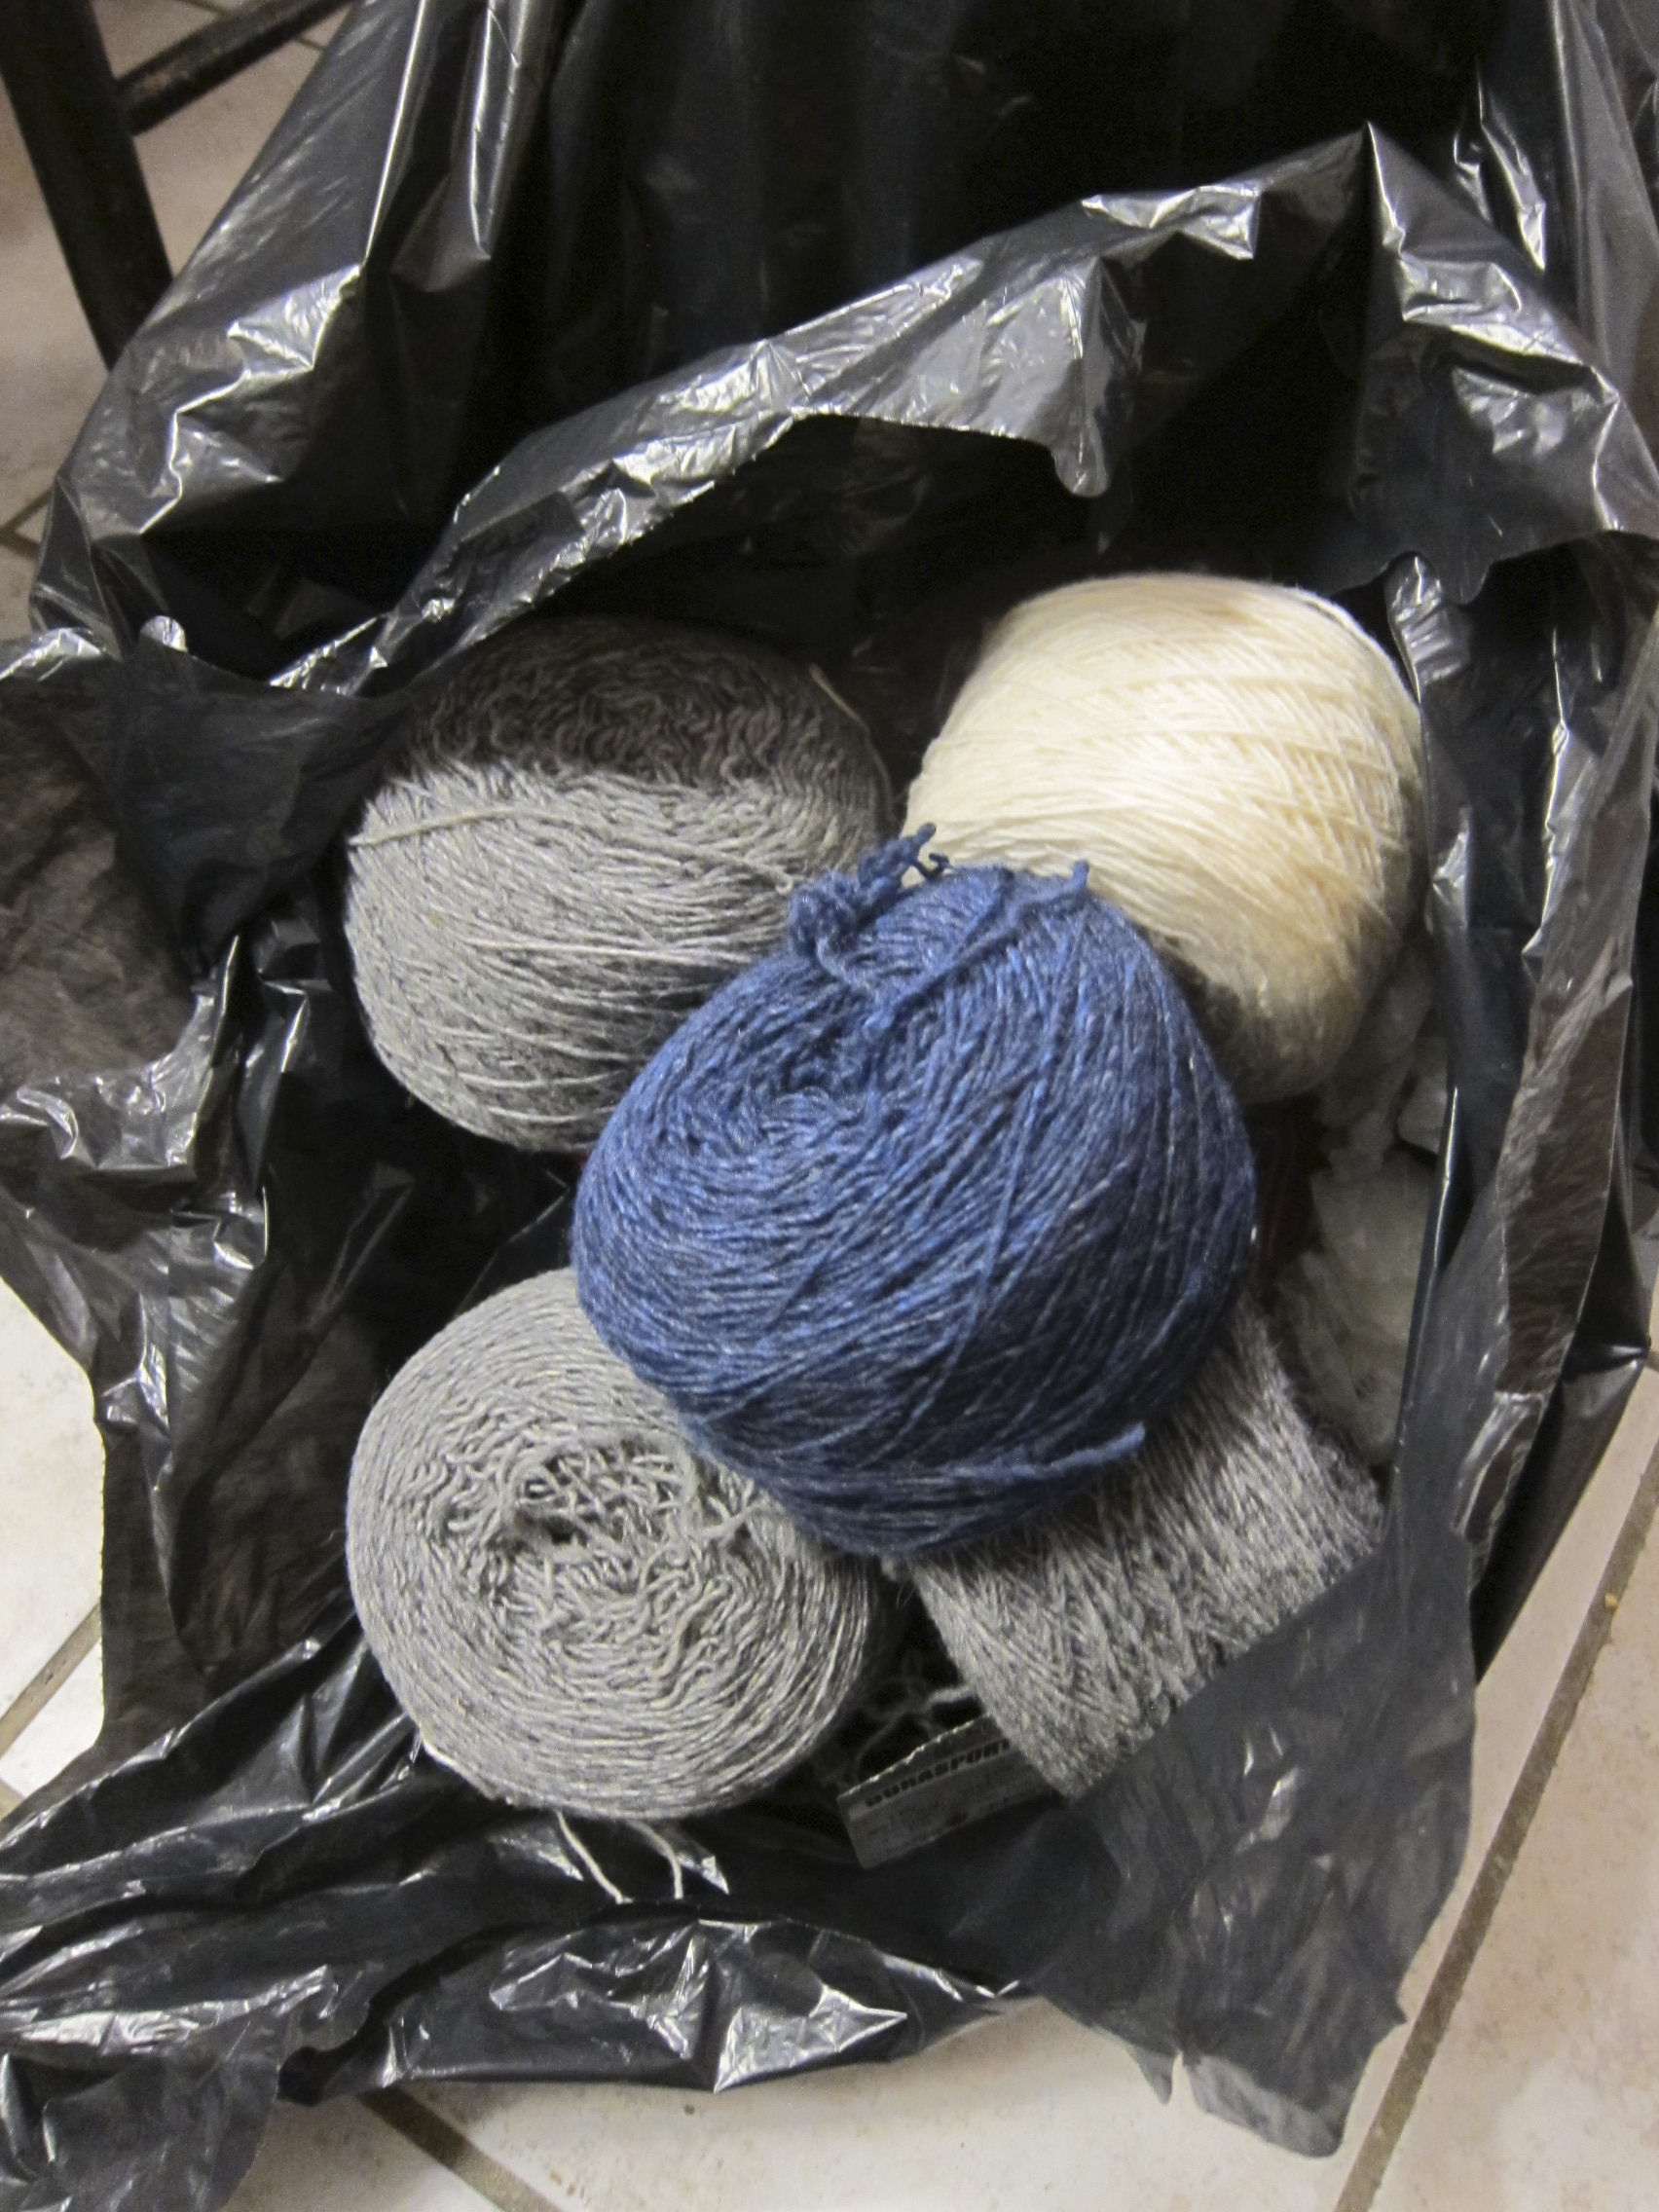
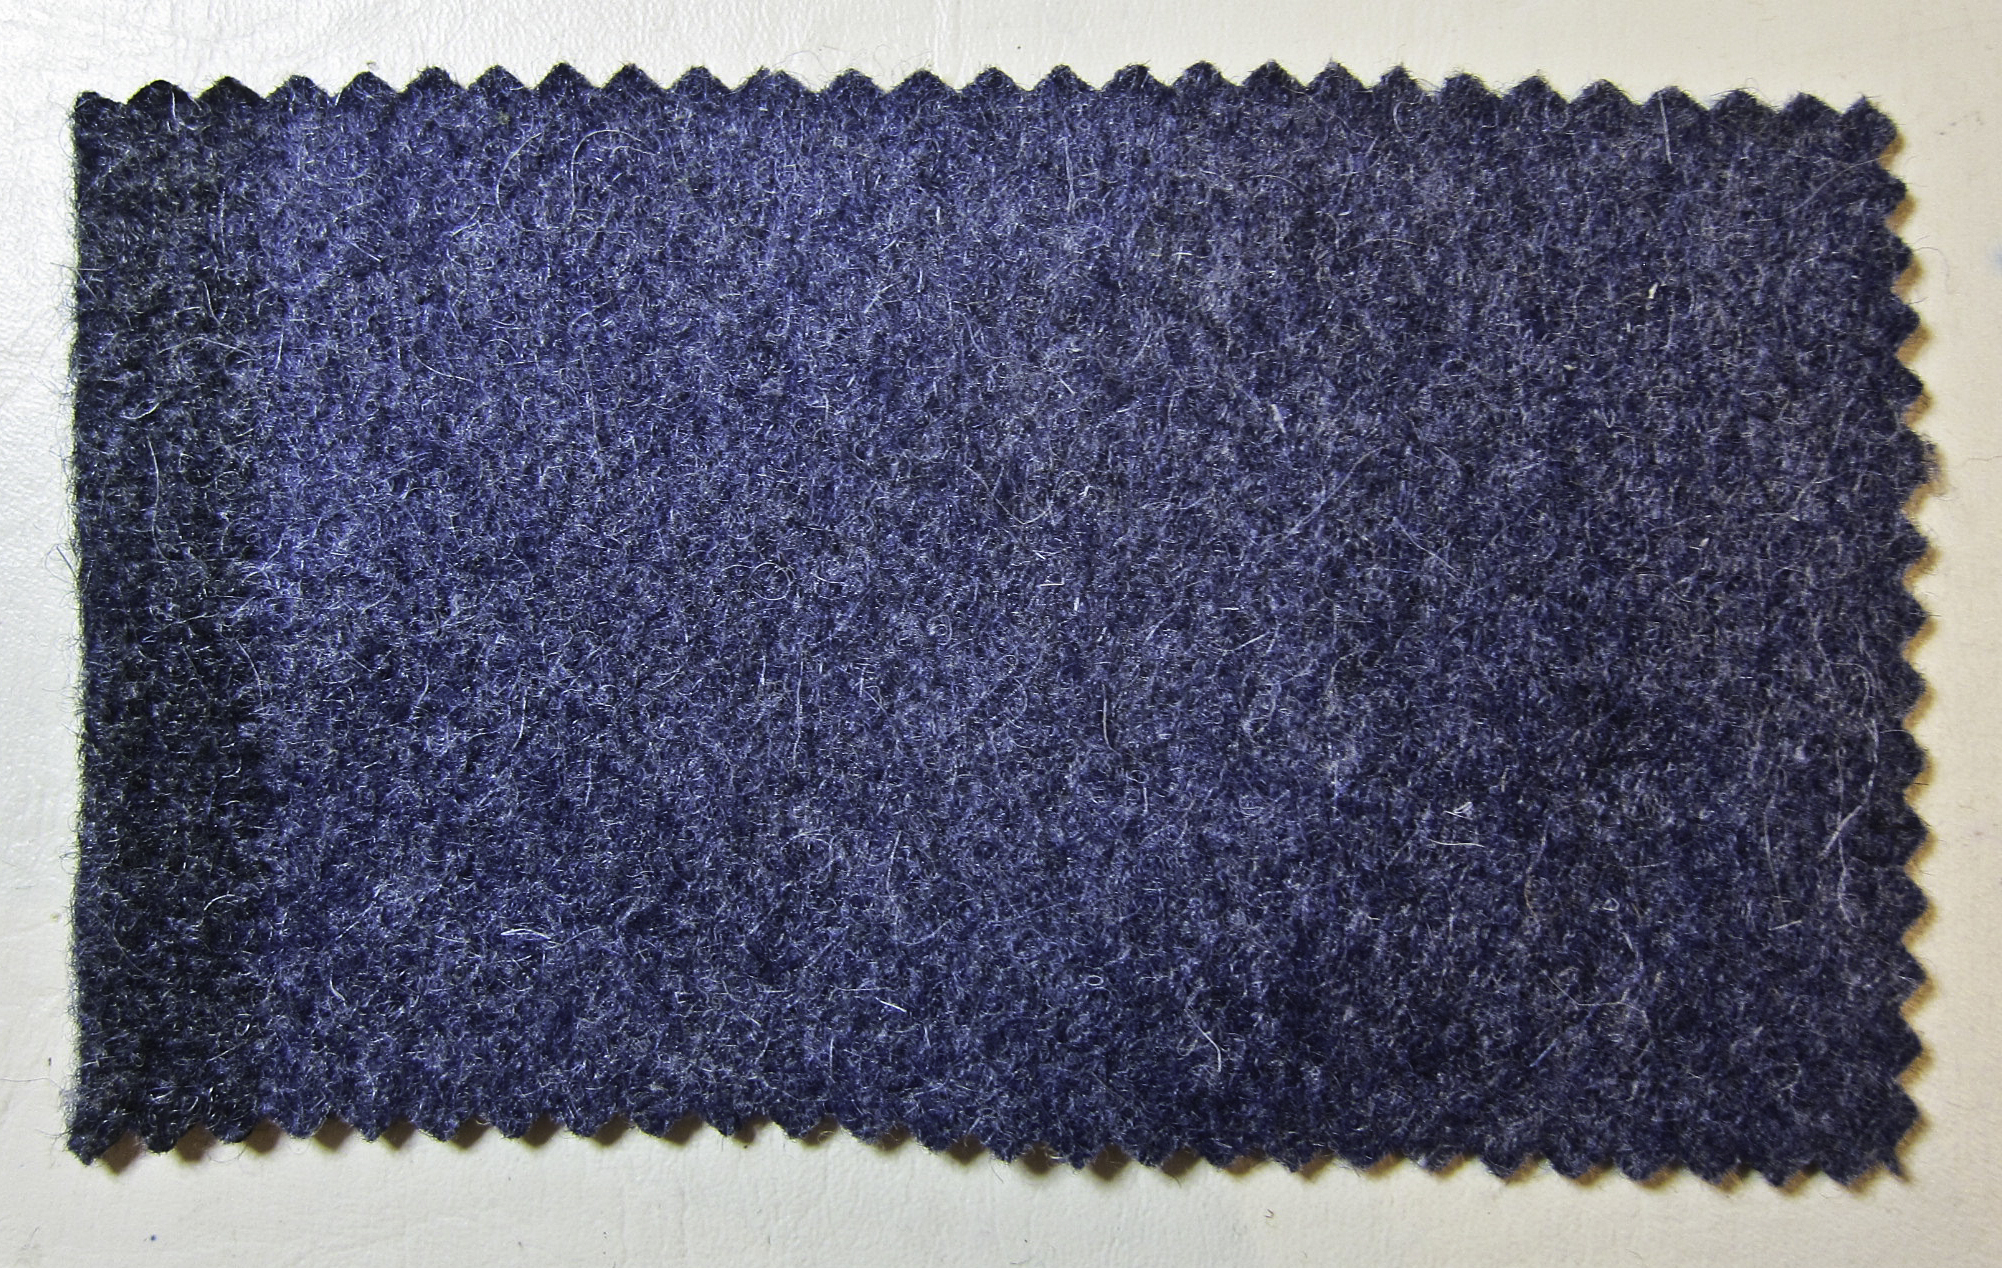
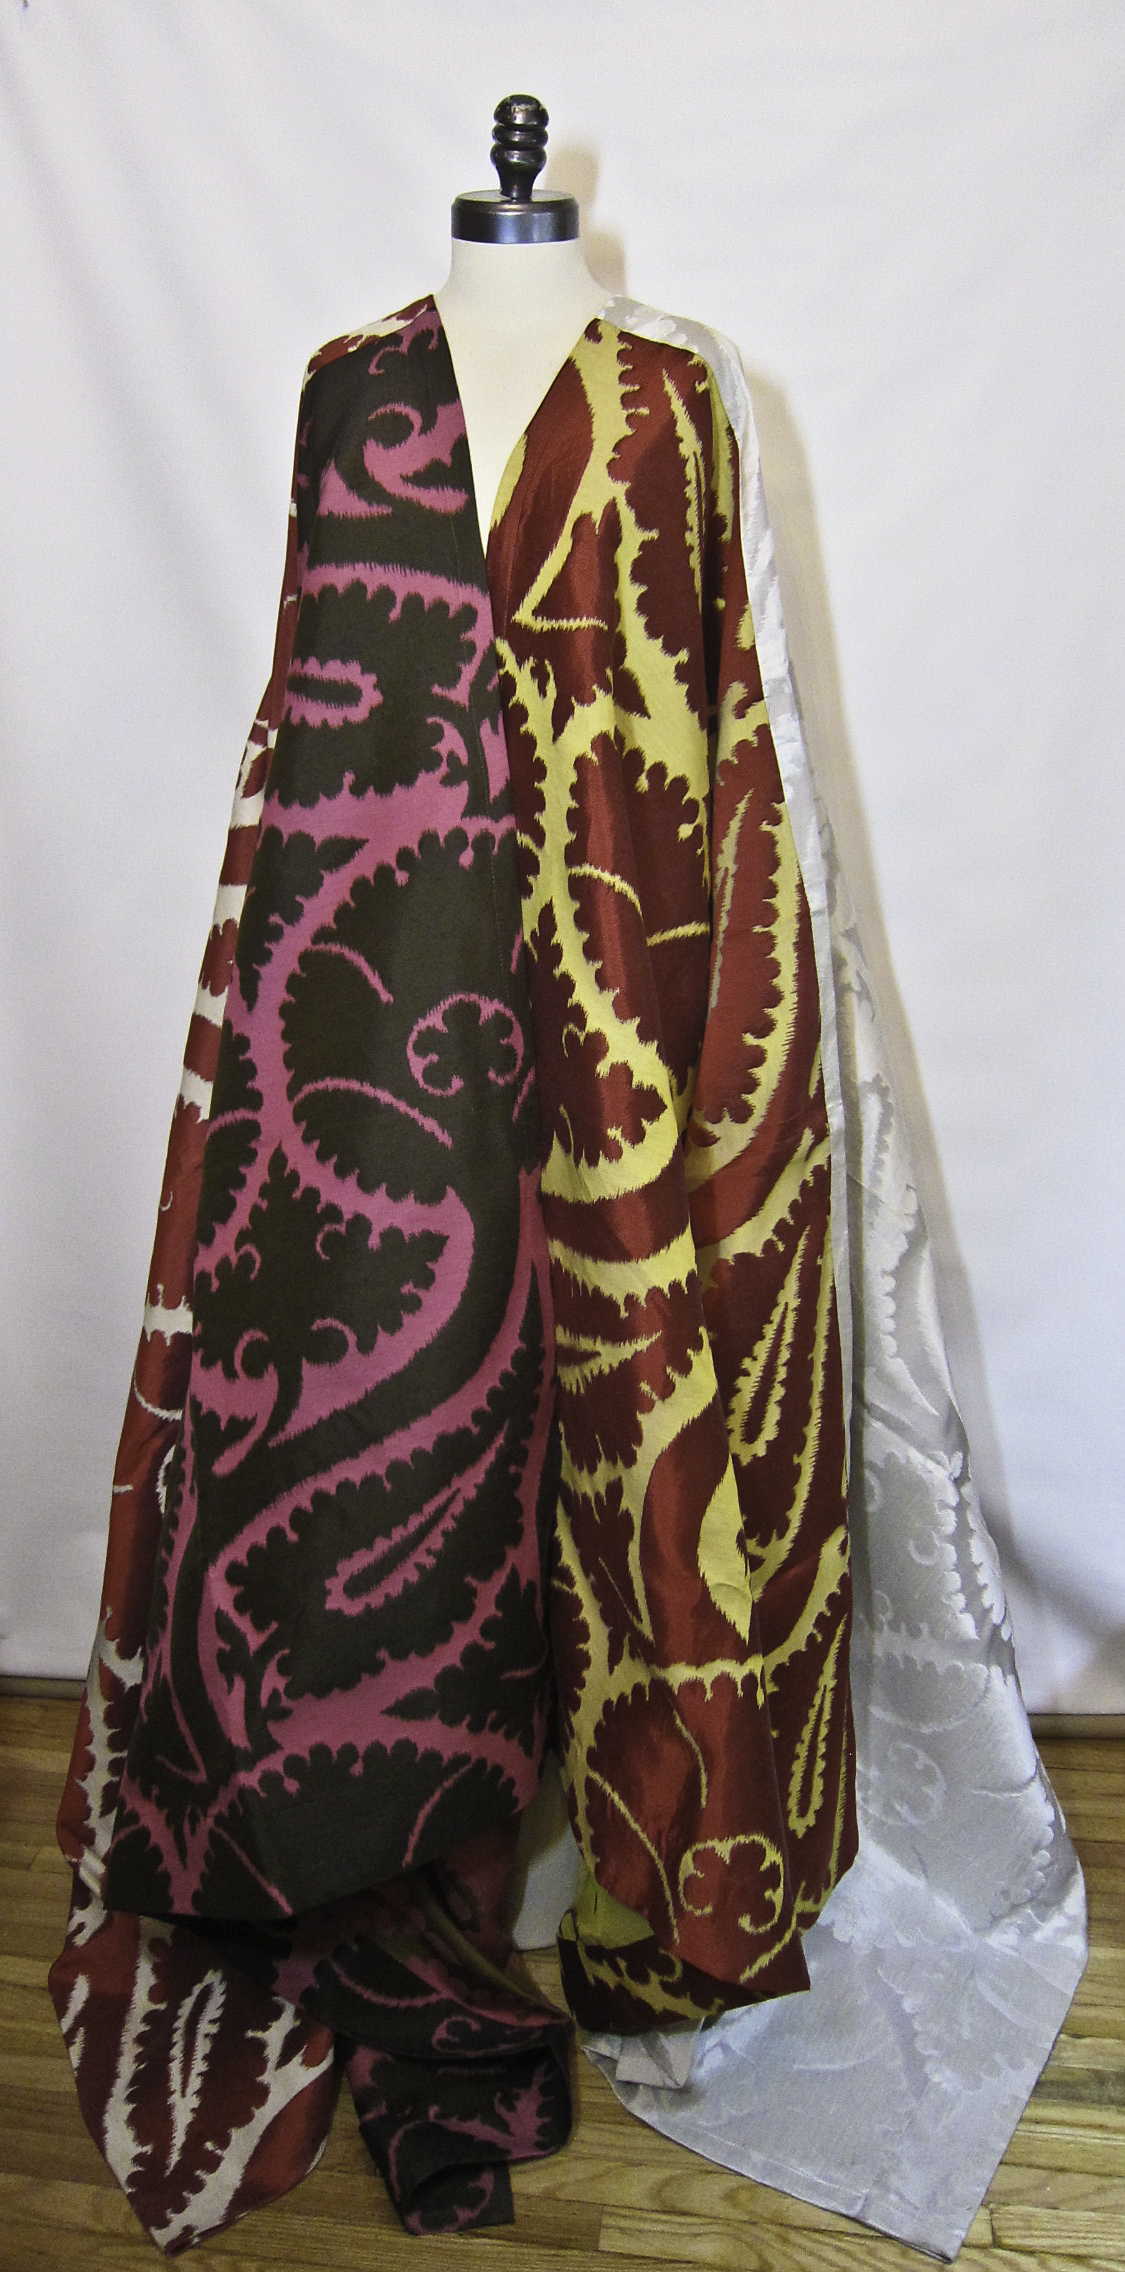
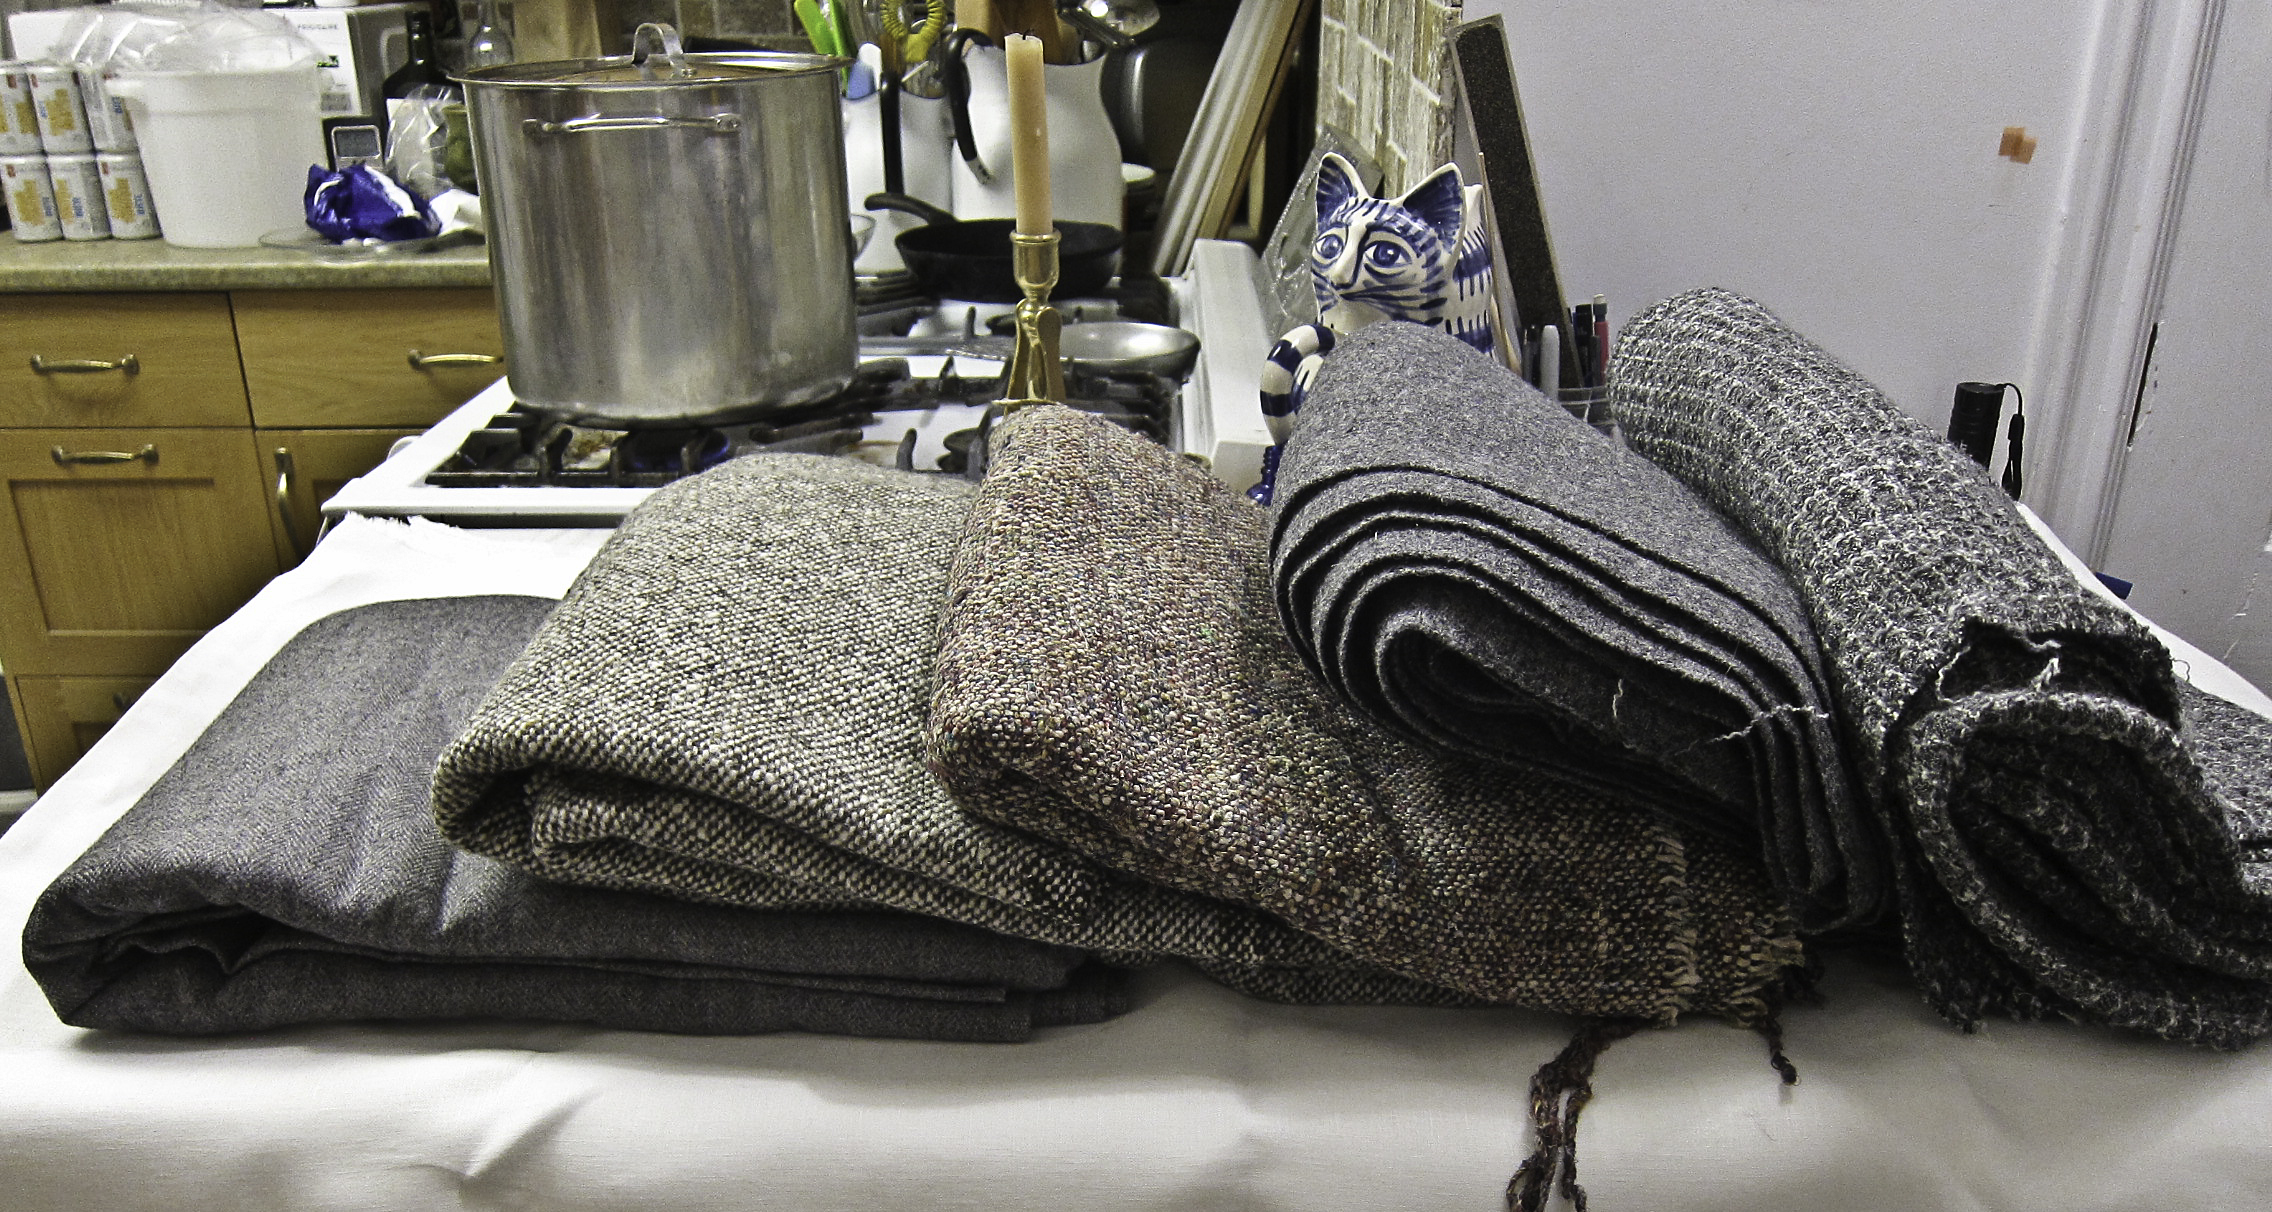
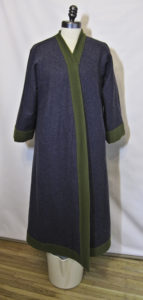
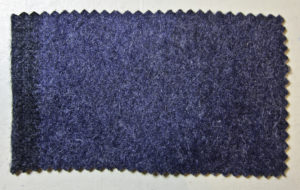
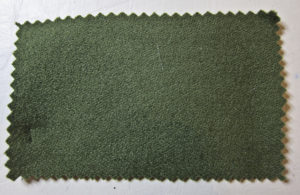
The fabrics: since this was going to be an experiment, I wanted to spend as little as possible on it, so I dug through my stash and found two yardages that worked well together – a medium“indigo” blue and a vivid apple green wool.
While they’re both commercially dyed, both are colours that are possible with natural dyes that were available to the Vikings.
The blue is easy – woad, which contains indigotin. Woad seeds were found on the Oseberg ship.
On the other hand, green can be dyed many different ways, so the possible dye sources are guesswork. Maybe woad plus weld or broom – or one of the many other sources of yellow.
Coincidentally, a friend – textile artist Jaclyn Paltanen – just did 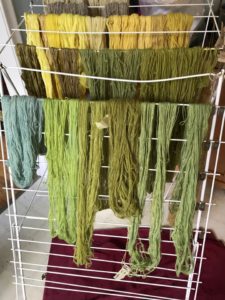 an experiment on dyeing woad-based greens on wool and got a lovely range, including that apple green!
Both fabrics are pure wool, and they’re fulled. The apple green is a lightly-fulled 2/1 twill; the blue is more heavily fulled so I’m not sure what the weave is.
There’s still occasional discussion about whether Vikings fulled their wools, but apparently archaeologist Inga Hägg has documented the existence of fulled wools in Viking-era finds in Hedeby in her Die Textilfunde aus dem Hafen von Haithabu***. Fulled wool is not appropriate for every kind of garment – but for a coat intended for Canadian winters it most definitely is!
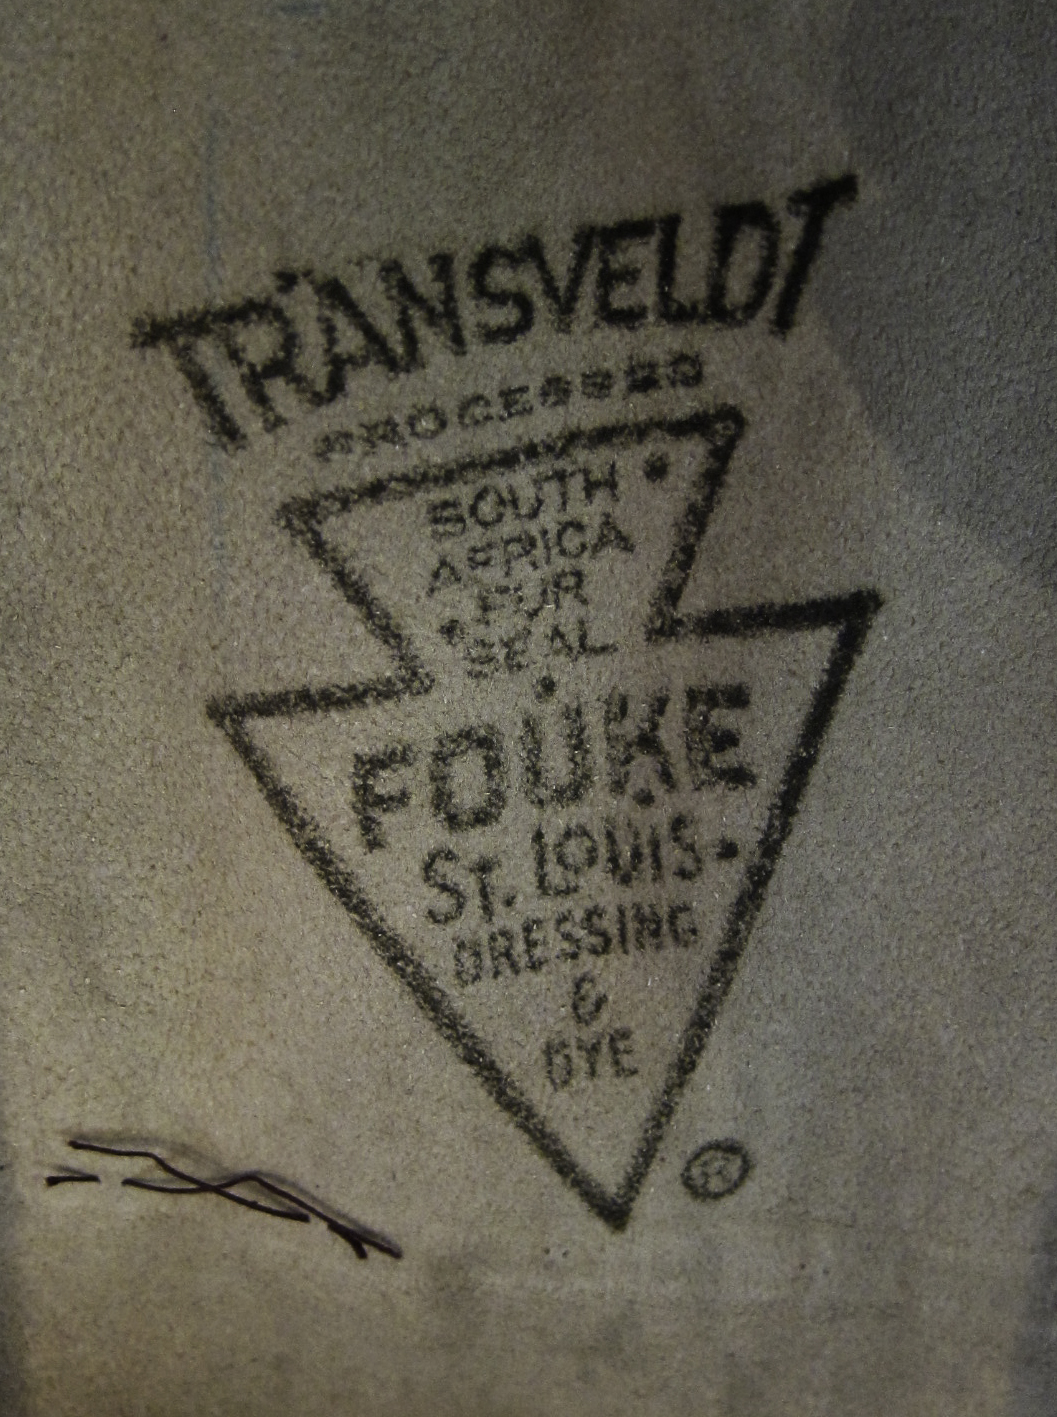
The lining: this is where I spent some money – $35 if I remember correctly. When I bought the donor coat for the lining, I wasn’t sure what the fur was (and neither was the man who owns the secondhand shop where I bought it). We guessed it was some sort of water critter – maybe beaver or otter – or maybe marten, all of which were available to the Vikings **.
To my surprise, when I took out the lining, I discovered it was fur seal. It’s not at all like what I know as seal!
Turns out the fur seal is a southern hemisphere beastie, so it’s improbable that a Viking-era coat maker would have had access to it. However, I’m taking a pass on “authenticity” here; the furs I thought it might be – beaver or otter or marten – would all have been available. We do the best we can!
Making the coat:
The first step was figuring out how to allow for the thickness of the fur lining. While I got over 48 million hits the last time I googled “fur sewing”, the vast majority handled fur in the present-day convention – as something to show on the outside of the garment. Finding information on working out how to allow for a fur lining took some digging. The clearest I found was on a Threads Magazine forum post from 2010:
“Take a length of the fur and wrap it around your middle with the fur facing inward, safety pinning it closed. Using a tape measure, measure around the outside of the fur. Take off the fur and measure around at the same spot. The difference between the two measurements will be your “fur adjustment.”
So that’s what I did, and it worked!
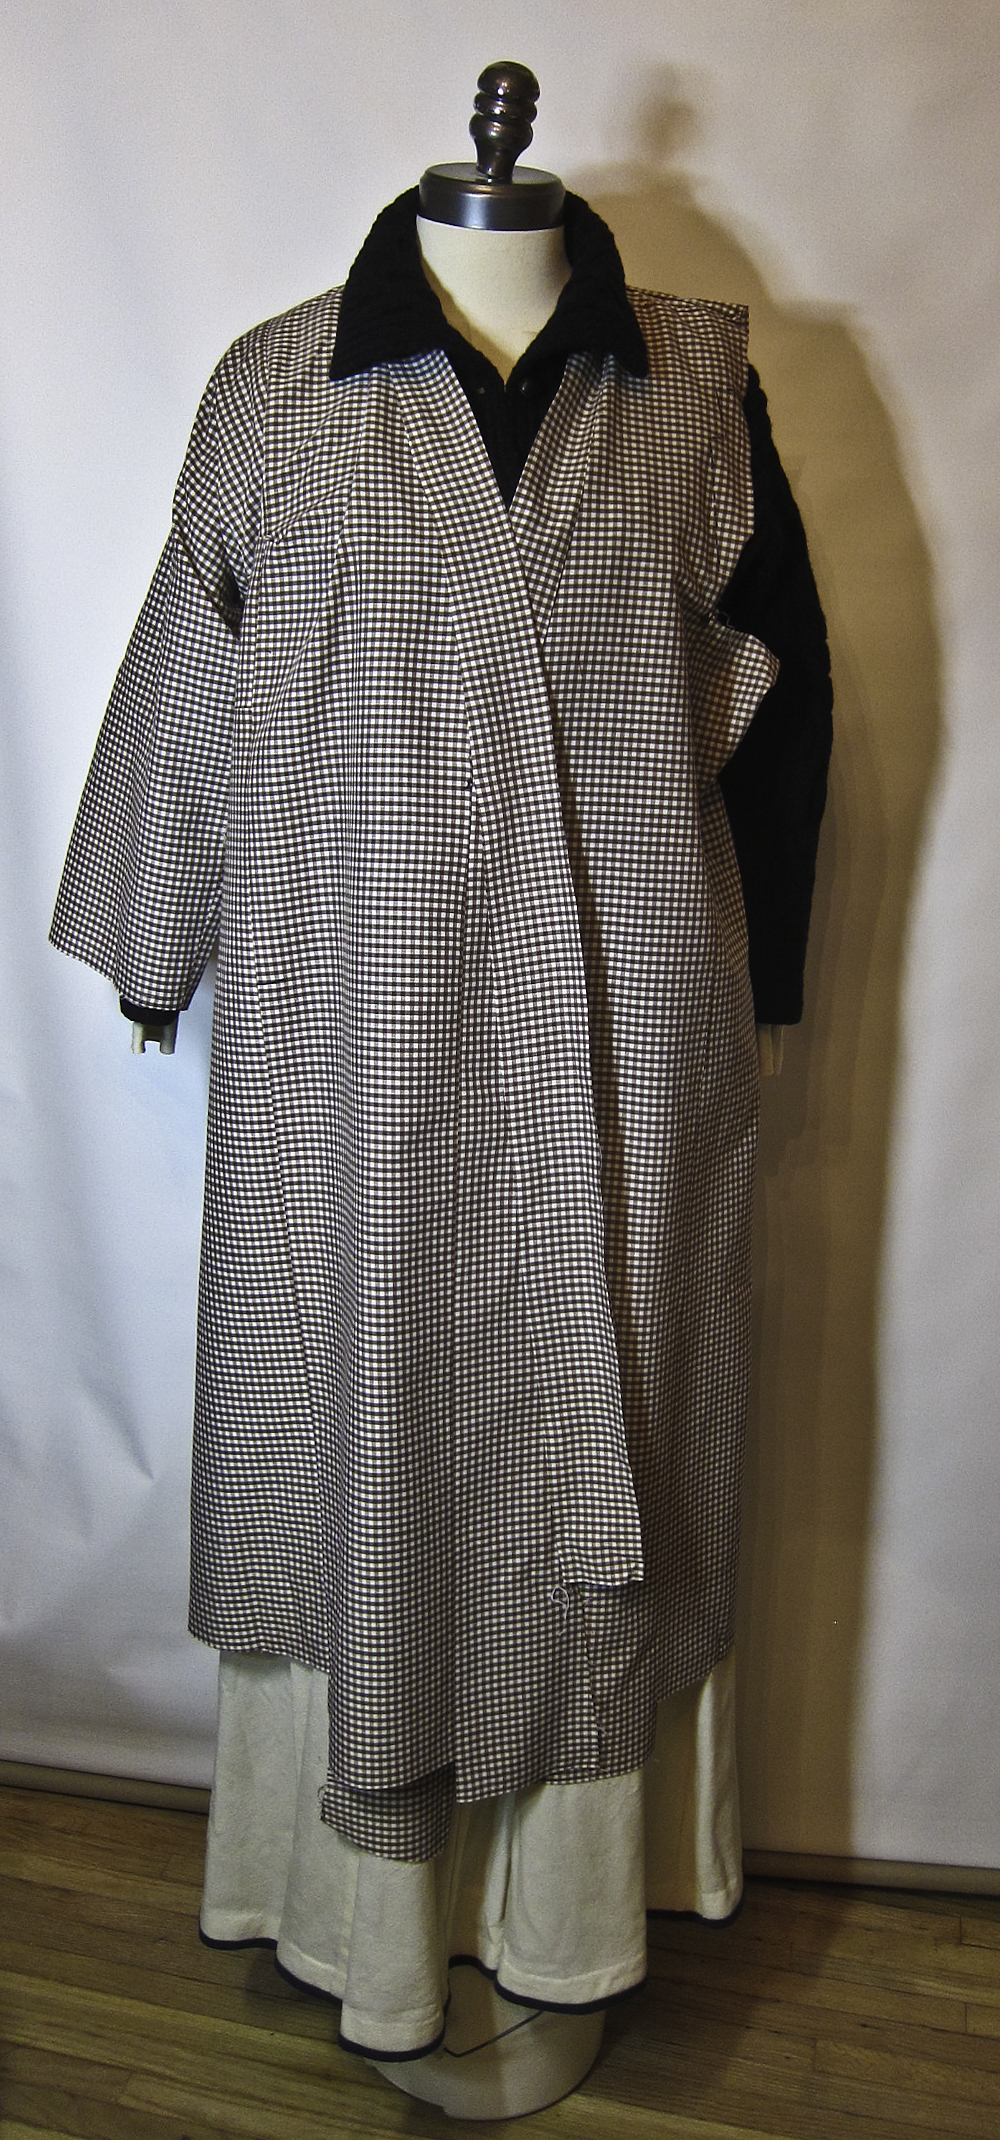
 To check the size and length, I made a muslin ****, trying it on over a wool Viking-style gown and a heavy sweater.
After I cut and assembled the shell fabrics I gathered my courage and started on the fur coat.
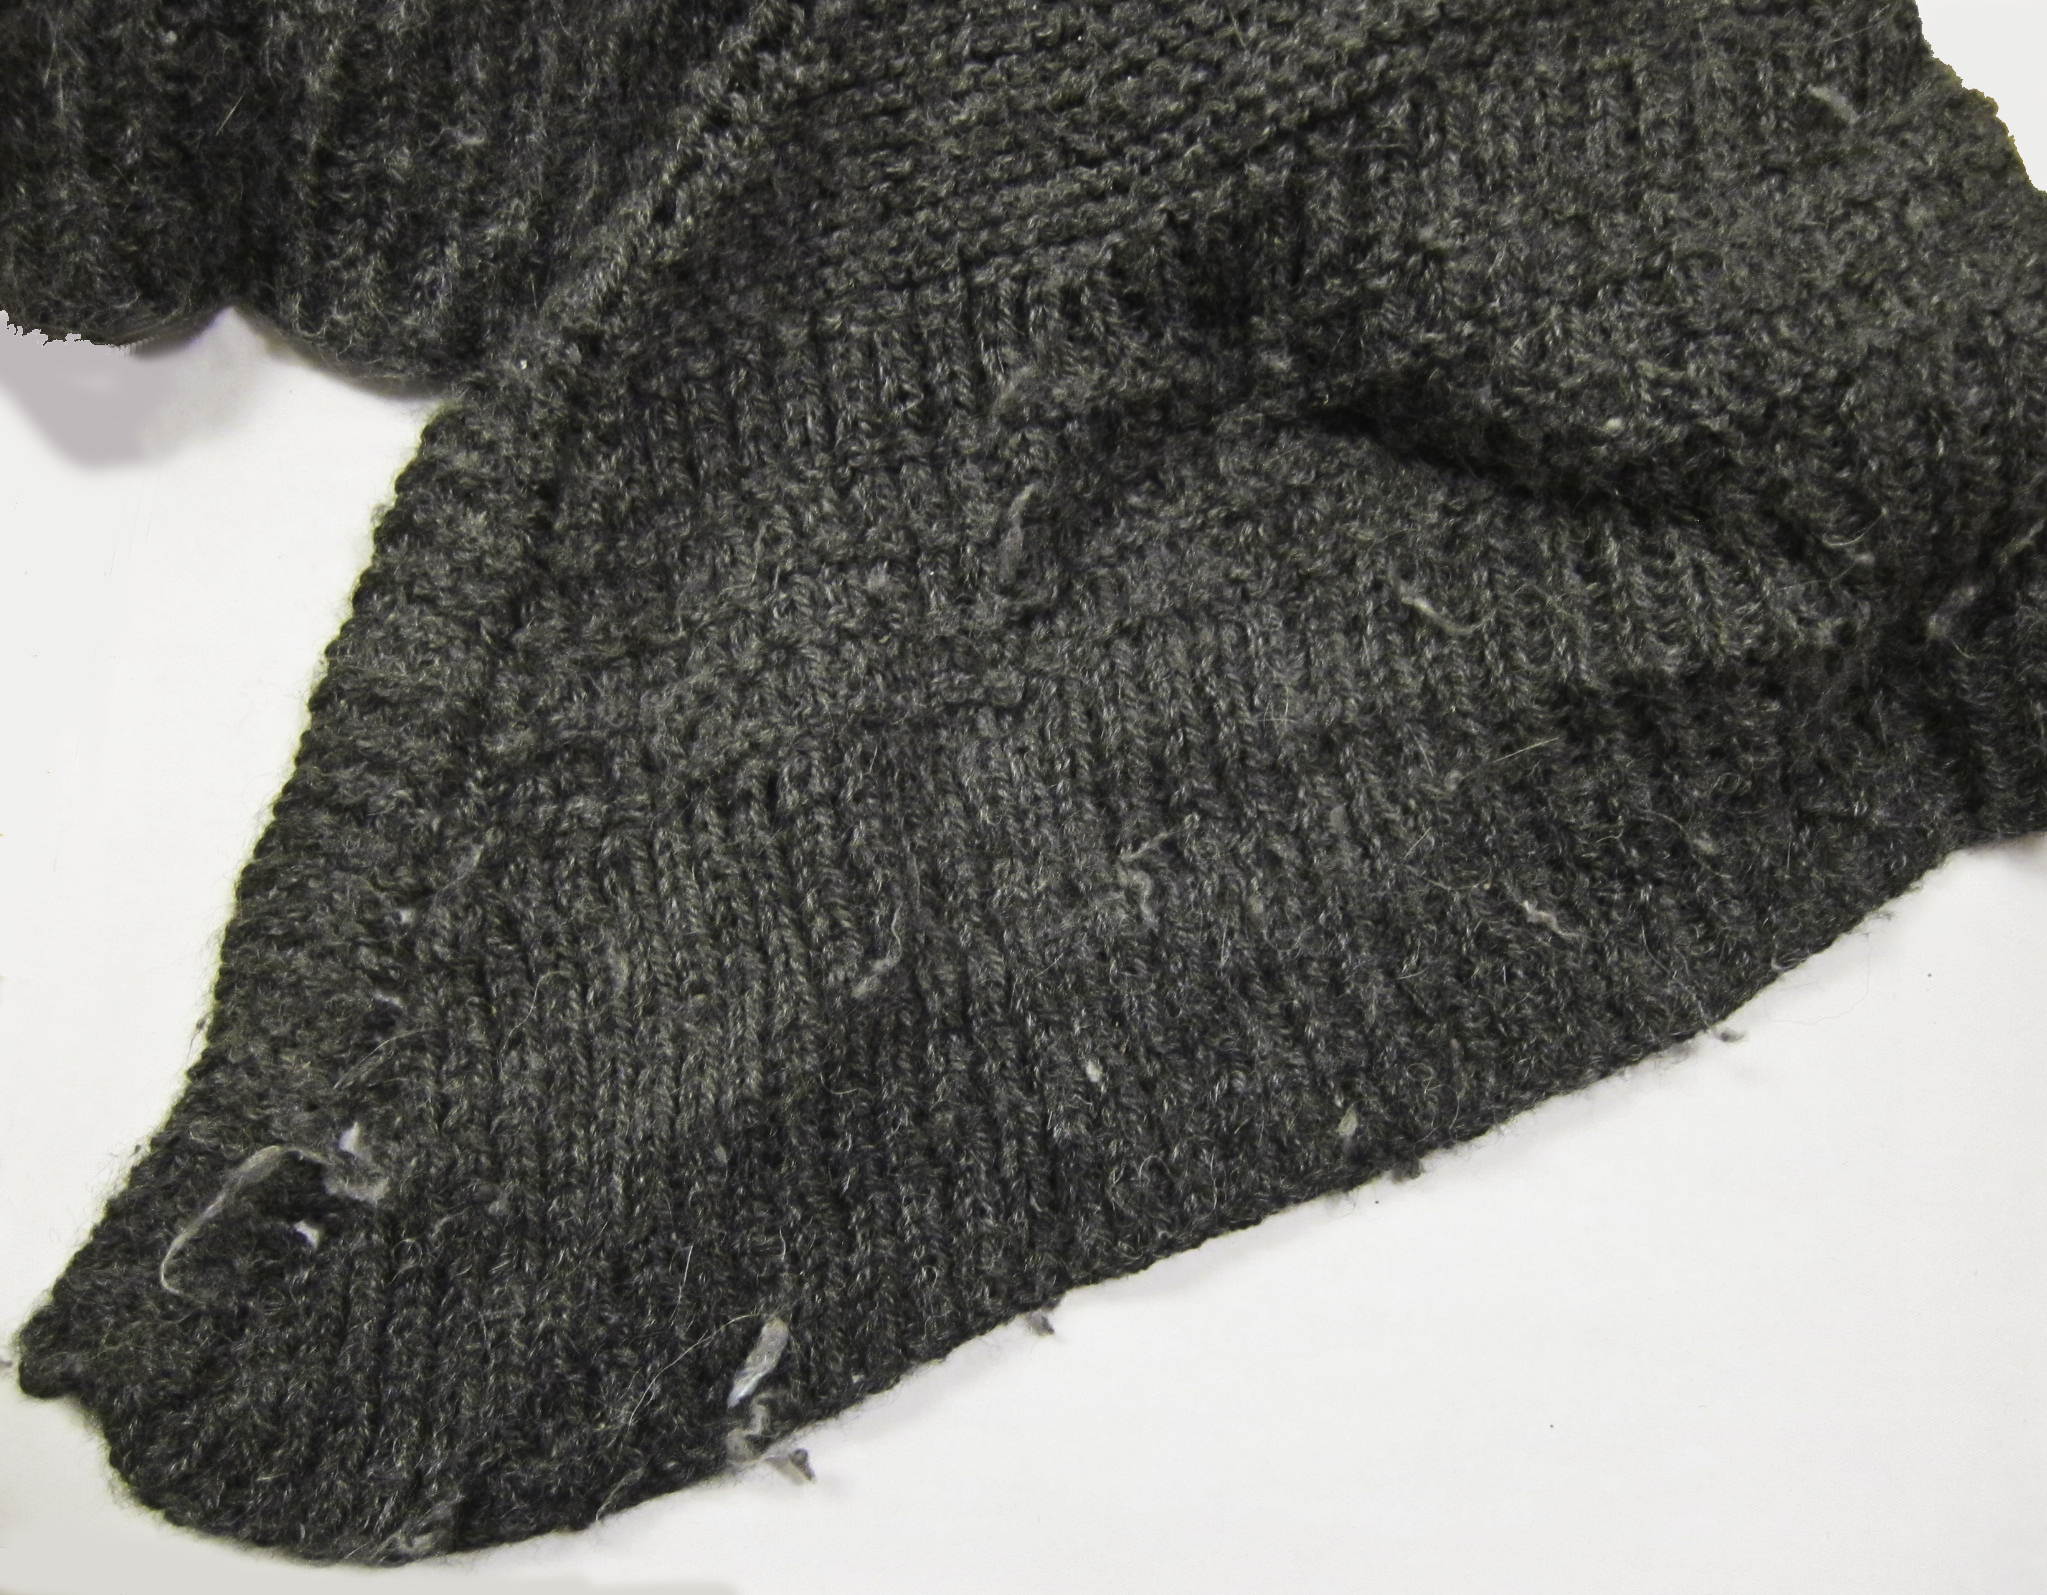
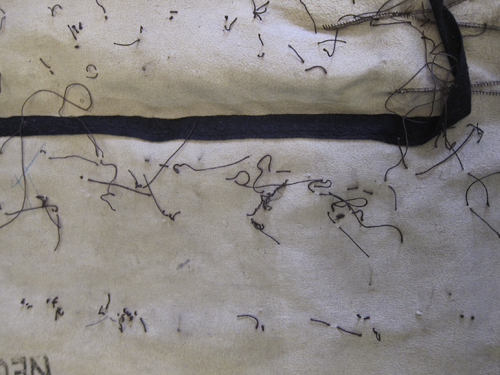
Taking it apart, I was reminded of the amazing amount of hand work that goes into furs! Even though the pelts are now sewn together by machine, the garment assembly is largely manual.  The edgings and the lining were sewn in by hand, and there was a grid of long, loose hand stitches anchoring the pelts to the underlining throughout the coat.
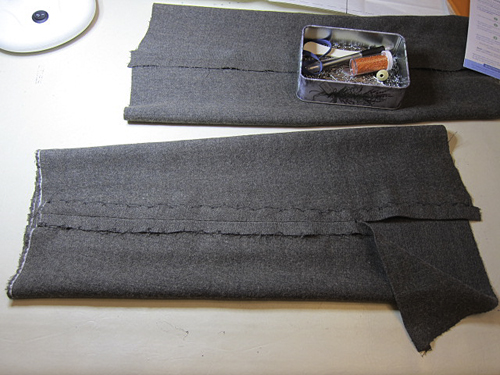
Once I’d disassembled the coat, I realized I’d been lucky. The body of the coat was very close to the shape & size of the body of the Folkwear pattern, with only one significant difference: the original fur coat had a straight up-and-down overlap, while the pattern’s fronts are at an angle that’s supposed to keep the coat closed without fasteners. All I needed to do was stitch in two triangular sections at the centre fronts to add the overlap – and luckily again, the front facings which I had removed were big enough to cut the triangles from.
The sleeves were another matter. Originally, I intended to use the fur sleeves to line the fabric 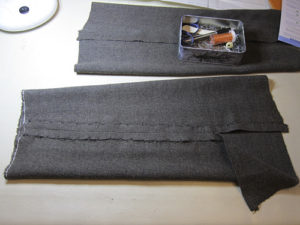 sleeve, but I found that the combination of the fur and the fulled wool fabric was too bulky for comfort. So back to the stash, where I found a medium-light woolen twill remnant that worked to line the sleeves.
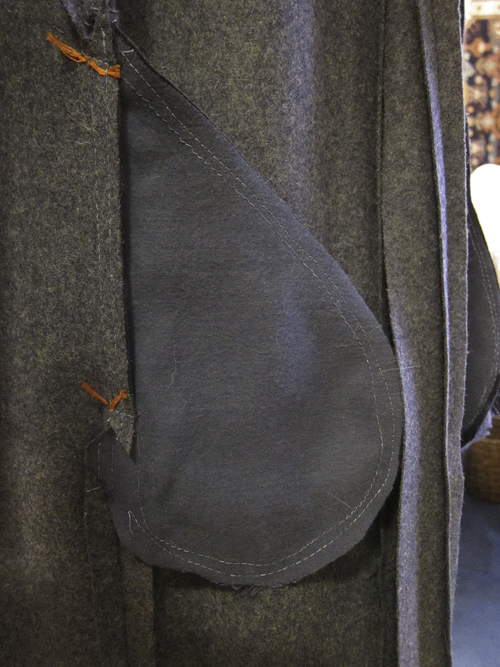
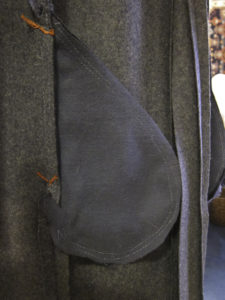 Regarding authenticity, I made two decisions to be deliberately inauthentic, and the first was pockets. The Folkwear pattern has no pockets – just pocket slits, which are probably Viking-appropriate. But with a fur-lined coat intended for brutally cold weather, making pocket slits that would have been convenient openings for weather to get in seemed self-defeating. So I added pockets. Gotta have somewhere to stash those kleenexes!
My other “inauthentic” decision was to underline the coat with a lightweight cotton, much as the 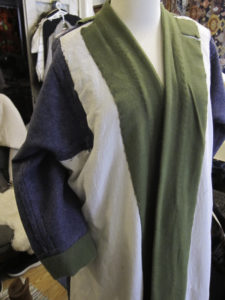 present-day fur coats are. I wanted to make this coat look good and last as long as possible, and the underlining helps with both. It keeps the internal stitching – and there’s a lot of it – from pulling on the outer fabric and showing through to the right side.
If cotton made it to Scandinavia at all during the Viking era it would have been a wildly exotic fibre, and way too expensive to use as an underlining.
I could have used linen, which was available then, but the 3.5oz linen I have in my stash would have added a lot of weight – and the coat is heavy enough as it is. There may be some super-fine linens that wouldn’t have been so heavy, but from what I’ve seen on the web they’re also super-expensive. Which is where reality cuts in – this is a coat to wear, not a museum-quality interpretation.
Final details and a decison:
Once the coat was “finished” and wearable, I decided that, having put so much thought and work into, it would be worth going the extra mile and spending a bit more time and money on trim and fasteners.
Which is another post!
* Society for Creative Anachronism – a world-wide reenactment group that focuses on pre-1700 CE history
** Tuija Kirkinen The role of wild animals in death rituals: furs and animal skins in the late iron age inhumation burials in southeastern Fennoscandia. Fennoscandia archaeologica XXXII, 2015
*** Inga Hägg Textilfunde aus dem Hafen von Haithabu (The textile finds from the harbour of Hedeby) Neumünster, K. Wachholtz, 1984, ©1985
****I use 1/4″ gingham for muslins – the gridded weave of gingham makes the grain lines obvious. (And yes, there’s only one sleeve – I took the other one off to use as a pattern for the sleeve lining.)